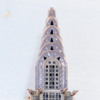
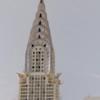
I have a city scene at one end of my layout. As do many of us, I force the perspective by reducing the scale of the buildings that are further away. Some of my buildings are even N Scale, so, I don’t just force the perspective, I downright bludgeon it. I thought the Department 56 Chrysler Building, which is clearly much smaller than N, would make a great background skyscraper
The effect I am going for is captured in a photo Joseph Frank put in his post in the Subways and Trolleys Section:
https://ogrforum.ogaugerr.com/t...sunshine-and-shadows
This was before the days when New York was riddled with random skyscrapers. So back then the Chrysler Building towered above lesser structures. So much so that it can easily be seen from far away. This is my rendition:
But getting there was a bit more work than I envisioned. As soon my Department 56 model arrived, I placed it on my layout. The results were not at all what I was after
The building has three problems
1) The lights are way too bright.
2) The lights illuminate the wall
3) The chrome plated dome is too shiny, too smooth, too devoid of texture, and the wrong color to represent the stainless steel panels of the original
4) The tall narrow section below the dome is way too short.
Let’s start with the lights. Note in the photo above I decrease the brightness of the other building lights the further they are away from the viewer. I do this to further enhance the perception of distance. Thus the lights on the Chrysler Building need to be really dim. The building lights can be dimmed by inserting a resistor in the electrical feed. The problem is the blue lights (LEDs), which that illuminate the dome and the uplights, dim more as you reduce the current than the orange LED’s, which illuminate the rest of the building. So when the orange building lights are the right brightness, the blue LEDs are off.
After some messing around, I realized the best solution was to adjust the resistance so the blue lights looked good, and then place sheets of darkened plastic behind the windows. Following that approach, I found a 33 ohm resistor gave the proper brightness:
For the darkened plastic, I used .010” styrene painted with Rustoleum “Soft Iron Flat” Spray Paint
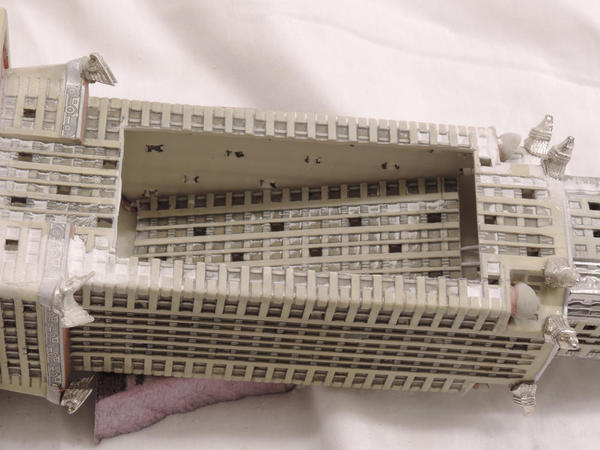
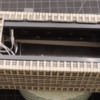
The idea is to insert them in from inside the building. Now for those of you who have not tried, these Department 56 buildings are tough buggers that defy disassembly. They are kiln cured ceramic and not easy to cut, take apart, or get into. I tried a bunch of things to open a hole in the backside wall, and the only thing that worked at all (and in fact it worked very well) was a diamond wheel attached to a Dremel tool:
I tried lots of things before getting to this, including: a hack saw, a band saw, ceramic drills, glass drills, carbide tipped drills, an end mill, hammer drills etc. All were ineffective. One resulted in a tragedy which does not bear repeating here because the whole affair was so awful. Trust me, go with the diamond wheel. I ran it at 15000 RPM, and with no lubricant. It took only ten minutes to turn this:
Into this:
If you don’t do it by accident (which I did) cut the wires to the backside up lights. Otherwise, they are just going to illuminate the backdrop:
After opening up that big a hole, it was quite easy to install the plastic with the painted side out. I used 5 minute Epoxy. Here the first piece has gone in:
And here all the pieces are installed:
Since I am only going to let the tall tower and the dome section show,(to give the perception of extreme height) I did not have to worry about the other sections of the building. I’ll cover them with black paper tape.
It occurred to me that I might want to change the opacity of the darkened plastic, (after all, I was sort of winging this as I went) so I better make the back side removable. I epoxied in these ledges, so the piece I cut out can be taped against it:
I held the piece in with black photographer's tape. I then went whole hog and applied the tape to the backside of the building, covering up every window that will not be seen directly. The objective is to prevent the lights from illuminating the backdrop or the sides of other buildings. Note I applied the tape all the way around the bottom sections because they will be below the building in front of it. By the way this photographers tape, sometimes called "Black photographic masking tape" is a crepe tape that is totally opaque to light. Its great for this purpose
Finally, I covered the back side of the dome section with bare metal foil to block those windows. The reason I used Bare Metal foil is the dome will be easily visible (that’s the idea!) so I wanted to be sure that if a viewer peeked around the corner they would not see a starkly contrasting black tape.
Next up is changing the color and sheen of the stainless steel trim on the dome. I masked off the brick sections, and first applied a coat of Testors Semi Gloss, then two coats of Dull Cote. Lastly I drybrushed the Rustoleum Soft Iron to highlight the features of the panels. Here is the dome, in place on the layout before the treatment;
And here is the after:
So all that remained was to place it on the layout. You can see from this “far away view” that I got the light brightness right:
and the night time version of the lead photo also looks good:
Particularly if you photoshop in a real evening sky:


