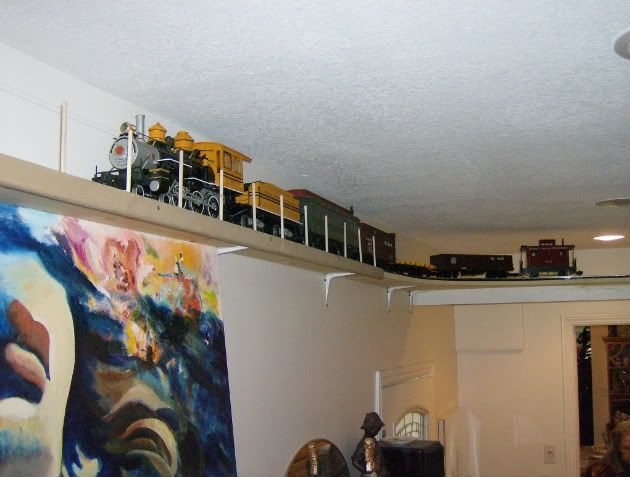
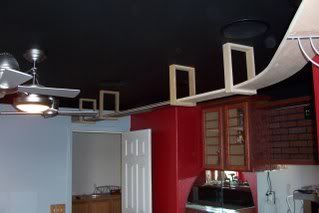
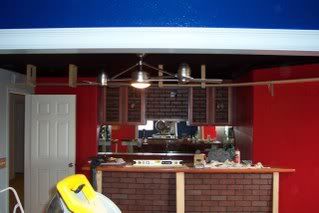
Has anyone on this forum built a ceiling layout of the type that goes around the walls about a foot below the ceiling? We moved into a smaller house, and until our 2 daughters finish college and move out on their own, I do not have space that is appropriate for a layout, not even a shelf for back and forth running. My wife suggested I put one up by the ceiling like we have seen in restaurants. They have never appealed to me, but given that I can't run my MTH Hudson and SD70ACE and my On30 2-6-0, I have decided, why not. I have looked at a few of these on YouTube and searched the Web for ideas. I just wanted to get some first hand observations from anyone who has done this. My thoughts are to do this in a basement family room that is 12' x 11'. Thank you.
Happy Model Railroading,
Mark Boyce
Butler, Pennsylvania
Original Post