
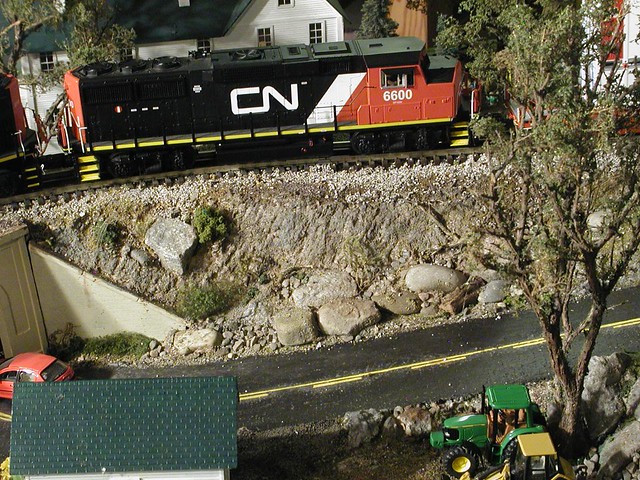
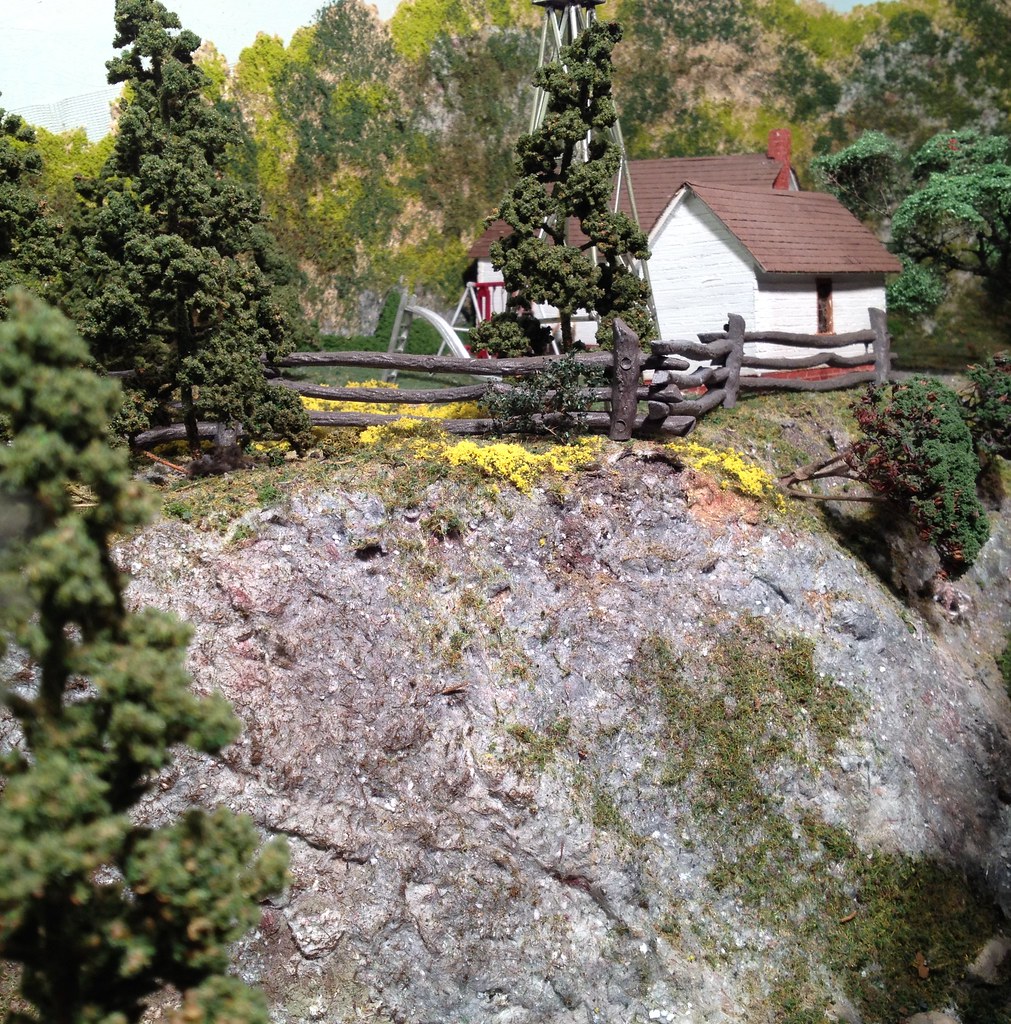
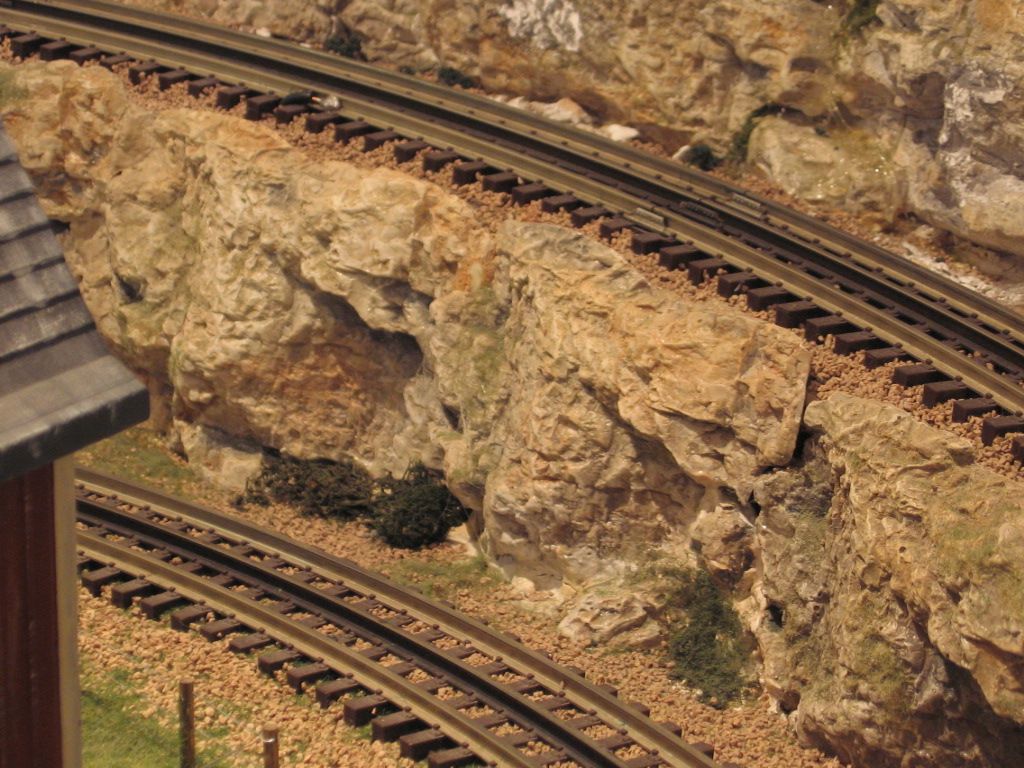
 I have a hillside 14 feet long which  arches from an elevated track down to table level.  The height varies from to 12 inches end to end.  The slope is made from sculptamold over newspaper and cardboard strips.  I have painted the area with a dark brown "earth tone"latex.  I plan to cover the hill with ground cover.  The surface just naturally took on the appearance of an eroded hillside with a lot of projecting ridges.  I am thinking I should dry brush the tips of the ridges before covering the hill with ground cover.  I expect this would give the appearance of rock projecting thru where the soil has eroded away.  Do you think this is a good plan, and if so, what color or colors should I dry brush?

Original Post

Replies sorted oldest to newest

Not seeing your exact layout.....general tips offered.

I like a light gray base. I then wash it with a dark brown or even black....a very thin wash that settles in low spots and cracks. Then you can dry brush with a light gray or even off white. Then apply ground cover of dirt and grasses.


Just try different methods......you can always repaint.

My recipe:

Start with a base of very flat black. This will give you the deep shadows that add depth and drama. Then use fairly heavy dry brushing to build up random layer of medium browns, greens, raw sienna, burnt umber, gray, and a touch of naples yellow.  End with a very light dry brush of bright white.  The white simulates the glint of sunlight and is very important.


Do not use expensive paints.  Walmart hobby paints are just fine. The exception is the naples yellow. You need a tube of the real thing, but it will last forever.

Last edited by Avanti

Hi taylorra,

eric's trains has a nice tutorial in his building a mountain series. Start with #4.


Woodland Scenics has a tutorial also.


Finally, on youtube, there is a Dave Frary video on drybrushing a mountain.


From those, you'll have the technique for the effect that you want.


Most start with a black wash, let it dry, then take three or four colors found in that area and dry brush those. Use the starter artist's acrylics. No need for the money stuff for scenic work. The stiff bristle "chip" brushes work well.

I learned dry brushing from Jim Policastro. Typically I use a flat latex base with a HD color called Volcanic Ash. I then dilute burnt umber and spray the surface liberally. From there the dry brushing starts. Flat black is good, one thing I like to do is to go back to the Volcanic Ash. The final coat it typically antique white.


If you've ever cleaned a paint brush, you have dry brushed. I use a scrap of plywood or card board. Lightly load the brush with paint, and just slap if off on your scrap. When it's almost gone, very lightly brush your surface. There's no rules, no right or wrong. If you put it on too heavy, worse case just go back to your original base color.


Gilly

Originally Posted by wsdimenna:
Sometimes adding real rocks enhances the effect


I have often struggled to make real rock look right when mixed with artificial materials. To my eye it often looks "stuck in" and out of place.  Wsdimenna, I think your's look great. Here are a few scenes containing real rock that I was fairly pleased with:


(please excuse the dusty water )

shelf 2

shelf 3


In the following, only the large flat slab behind the picnic area is real,  Even it needed a little dry brushing in order to blend in:

shelf 4


shelf 5


shelf 1


Attachments

Images (5)
  • shelf 1
  • shelf 2
  • shelf 3
  • shelf 4
  • shelf 5
Last edited by Avanti

Add Reply

Post

OGR Publishing, Inc., 1310 Eastside Centre Ct, Suite 6, Mountain Home, AR 72653
800-980-OGRR (6477)
www.ogaugerr.com

×
×
×
×
Link copied to your clipboard.
×
×