Moonman posted:

JP,

I like the Double 11° #175 for the crossover. When you total the cost of 4 switches and a crossover separately, they are more than a #175.  It should be somewhere prominent as it is a very cool looking junction. Look at the photos of Alex M.'s layout on the forum.

I don't think Elliot( Big_Boy_4005, My Dream/Nightmare thread) uses any double crosses- but he didn't have any left over from his mall layout. But you can get a look at how a long double main looks. Also, throughout the thread are tutorials on various topics. Tortoise machines for slow action switching from under the layout or manual switch controls as an example. Ballasting-soon to come, but early on he purchased about 600lbs. of crushed granite from a local stone business. He cuts his own roadbed from Homosote on a table saw.

His track laying techniques are wonderful. Draws his centerlines and just builds it.

I'm not sure if you made a decision on the double crossover, Carl's post is a month old. He's correct, I don't have any on my layout, but it's not only because I didn't have any "in stock", but I'm just not a big fan of them. I use 4" spacing, so the regular one would have forced me to widen my centers. The other thing is real railroads don't really use them.

Typically, they are for tight situations, and are more commonly found in passenger related operations, terminals, subways, light rail, etc. I have the space, and I just use single crossovers, sometimes times in pairs, sometimes not, as the situation demands.

It's a little hard to see, but I used four single crossovers to span 3 tracks. This is actually what the real railroads use, except they have five tracks to span.

IMG_1930

Attachments

Images (1)
  • IMG_1930

I have to agree with Elliot on the mainline ballast. It looks too fine. More like the smaller type used in yards or what you see used for driveways and such. A person can walk on it easily. The mainline stuff is more like 4". I remember laidoffsick talking about you don't want to walk on mainline stuff. He works on the rr.

I did see a nice idea from Norm Charbonneau, lost in a description of an area that he was working on. He fills almost all of the space between the ties with play sand and then puts the ballast on top for detail. Saves on ballast cost.
I am more of a toy train guy or display type when it comes to the crossovers. The double #8 keeps 4" centers(dbl #11- 4.5") and it looks cool. Plus, they are all in one spot when a pesky engine or piece of rolling stock decides to pick point or something.

Big_Boy_4005 posted:

JP, since you're asking, I would say that the sand is too fine grained. If you have glued it, it looks like the edges have kind of washed away. Are you planning on painting your rails?

110829301ATSF-242-Lebo-KS-6-9-71-2

I think it's a regional thing. Most model railroad ballast looks out of scale to me.

 These two photos are both taken on ATSF (now BNSF) Mainline in Kansas - one is pretty recent, the other one is from the 1960s during my modeling period - they are taken in-between Melvern and Lebo  along the route I'm using as inspiration.  The mainline ballast is pretty darn fine.  By my estimation, few if any of these rocks are / were larger than 2 inches.  Having grown up on these tracks (3 generations of my family all worked these exact tracks) - i'd say these photos are very accurate ATSF mainline ballast in Kansas - Missouri.  If anything, I might just need to add more sand / cinders for a more pronounced look?

Yes, planning on hand painting rails.  Eventually I plan to pull the middle rail if the new RC / Bluetooth control works out for me. 

Attachments

Images (2)
  • 110829301
  • ATSF-242-Lebo-KS-6-9-71-2

It could be a regional thing or a railroad's specifications. It's pretty chunky around here in NJ and the Philadelphia area for the freights.

I know more about the Alaska RR than here. They mine and crush their own granite. They do use "fines" like that siding in the old picture for sidings, shoulders and the yards where a crew will do a lot of walking. The mains are chunky looking

hey, you know what you like and that's how it will be.

Moonman posted:

It could be a regional thing or a railroad's specifications. It's pretty chunky around here in NJ and the Philadelphia area for the freights.

I know more about the Alaska RR than here. They mine and crush their own granite. They do use "fines" like that siding in the old picture for sidings, shoulders and the yards where a crew will do a lot of walking. The mains are chunky looking

hey, you know what you like and that's how it will be.

yea, that siding is super fine - basically dust.  The double main behind it is super accurate for Kansas roads - about 1-2 inch stones - .02-.04 scale inches.  It's mostly sandstone, limestone, and cinder -  and there's just not a lot to grind out in the middle of the great plains.   The typical stuff I see on O gauge layouts would be unthinkable. 

Big_Boy_4005 posted:
I'm not sure if you made a decision on the double crossover, Carl's post is a month old. He's correct, I don't have any on my layout, but it's not only because I didn't have any "in stock", but I'm just not a big fan of them. I use 4" spacing, so the regular one would have forced me to widen my centers. The other thing is real railroads don't really use them.


 I'll probably do what's most economical -  I can fit four #8s in the space - right now I'm just installing the outer loop - i'll edit this section when I install the inner loop. If I can pick up #8s for less than one #8 double cross, I'll do that. 

Experiments with Ballast - Attempt #2:

Took a different approach - and really like the results - mixed play sand in Folk Art Burnt Umber acrylic.  Used that as primary ballast material.  Mixed homax medium in cheap black acrylic.  Used play sand for most the ballast.  Created definition with the homax and two different woodland scenics fine dirts - Earth and Earth Blend. I'm digging the results.


IMG_20160130_212918638IMG_20160130_212837696IMG_20160130_212945594

Although the play sand might be finer than other options, its closer to the scale 2" and under than most manufacturers have available.  Painted up real easy.  Just threw it in a cup with some paint and mixed away.

Attachments

Images (3)
  • IMG_20160130_212918638
  • IMG_20160130_212837696
  • IMG_20160130_212945594
Last edited by Jacobpaul81

And 2 days later...

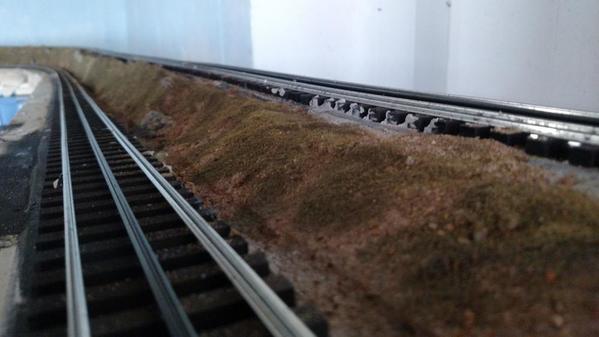
IMG_20160209_235019008IMG_20160209_235024991IMG_20160209_075126668

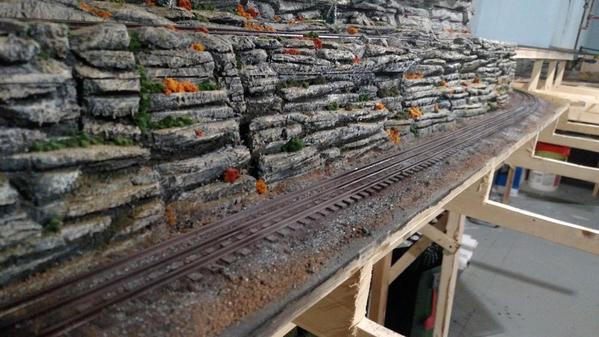
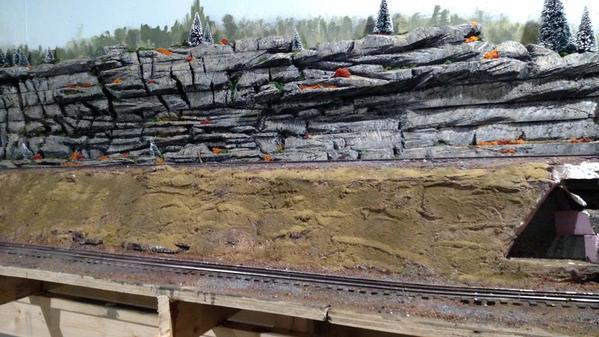
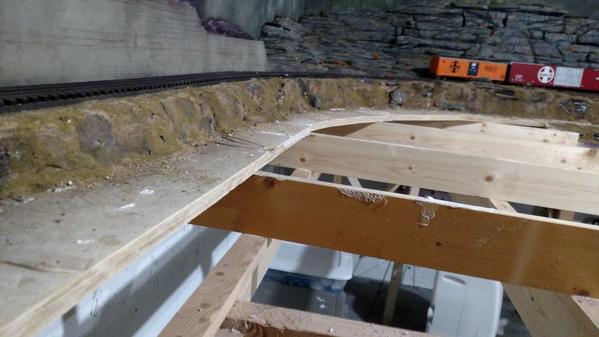
... My first attempt at a rock surface is now a thing of the past.  Replaced by a hillside  - Going to work on matching it with the below track area over next few days.

I'm pulling my initial bushes - just wasn't working for me. Gonna take everything to a more burnt green late summer season.  Gotta learn to do static grass and tall grass.

Attachments

Images (3)
  • IMG_20160209_235019008
  • IMG_20160209_235024991
  • IMG_20160209_075126668
Last edited by Jacobpaul81

Holy Smokes, over 40 days without an update.   Guess I better fix that. 

Finished the lower level I was working on last time - haven't removed the bushes. Had these evergreens from a Christmas display - makes me feel like there's some foliage about.  I spray painted the walls with Rustoleum Camo - Tan, Brown, and Green to give the illusion of hills without having to hand paint or hang a backdrop.  I like the effect. 

IMG_20160318_180856878IMG_20160320_184349264

I've weathered that cement wall - I'll get ya a picture next time. 

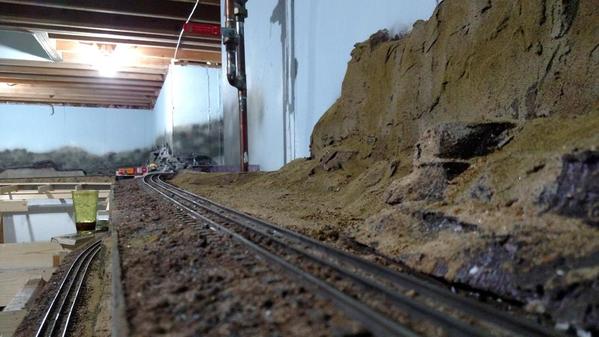
I've begun work on the south end of the layout - since it's my "flint hills" region...  Itll be easier to complete as there won't be many trees.  I'll be applying tallgrasses here if I ever figure out how.

Looking North along east wall

IMG_20160320_183812165

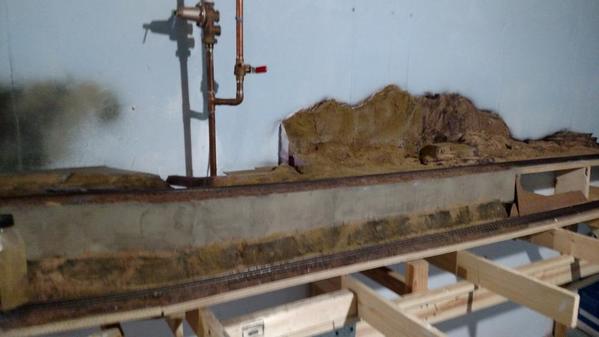
Looking at east wall and water main - work has begun behind the tracks - was debating whether I would add a highway in front of the tracks, or lower the posts and put in water - leaning towards water for some river scenes.IMG_20160320_183828772

Looking East along South Wall - about ready to work behind the tracks.

IMG_20160320_183932895

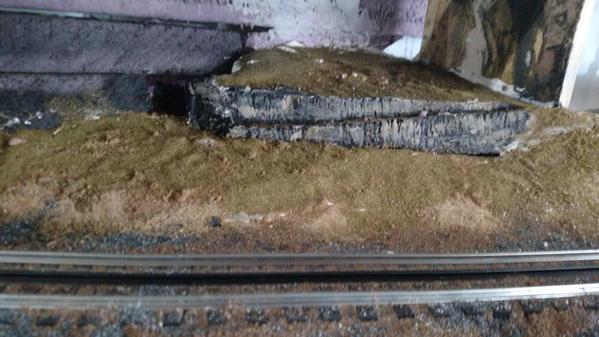
And on the North Side, I've installed all the dirt and just need to detail the rocks - also installed another concrete wall. Playing with scenery above the wall right now. 

IMG_20160318_204056684

 Hoping to do a bit over the Easter holiday - but my wife has been promised a new bathroom tile floor - so, ya know,  priorities. Happy Wife = not so unhappy about my toy trains. 

Attachments

Images (6)
  • IMG_20160318_180856878
  • IMG_20160320_184349264
  • IMG_20160320_183812165
  • IMG_20160320_183828772
  • IMG_20160320_183932895
  • IMG_20160318_204056684
Last edited by Jacobpaul81
Jacobpaul81 posted:

Greetings!

This thread documents progress on my basement layout - The Topeka, Kansas City, and St. Louis.

- The layout  features the Atchison, Topeka & Santa Fe Railroad during the late 60s and early 70s.  Also will feature rolling stock from roads I commonly saw growing up in Topeka - Frisco, Rio Grande, MoPac, MKT - but it is primarily Santa Fe.


I think I'm gonna like you.  

Number 90 posted:
Jacobpaul81 posted:

Greetings!

This thread documents progress on my basement layout - The Topeka, Kansas City, and St. Louis.

- The layout  features the Atchison, Topeka & Santa Fe Railroad during the late 60s and early 70s.  Also will feature rolling stock from roads I commonly saw growing up in Topeka - Frisco, Rio Grande, MoPac, MKT - but it is primarily Santa Fe.


I think I'm gonna like you.  

My Father, Grandfather, and Great-Grandfather were all Santa Fe Engineers. 

Add Reply

Post
The Track Planning and Layout Design Forum is sponsored by

AN OGR FORUM CHARTER SPONSOR

OGR Publishing, Inc., 1310 Eastside Centre Ct, Suite 6, Mountain Home, AR 72653
800-980-OGRR (6477)
www.ogaugerr.com

×
×
×
×
Link copied to your clipboard.
×
×