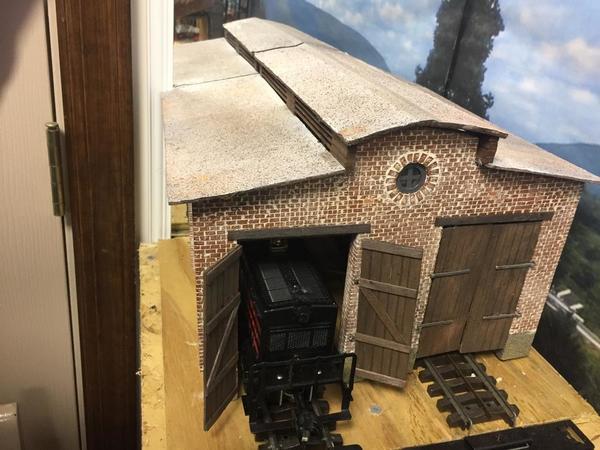
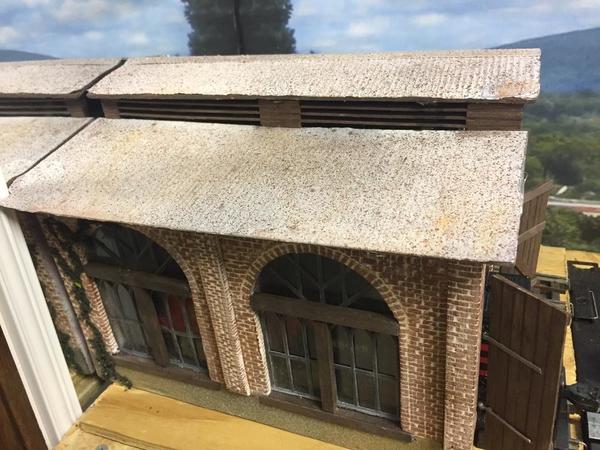
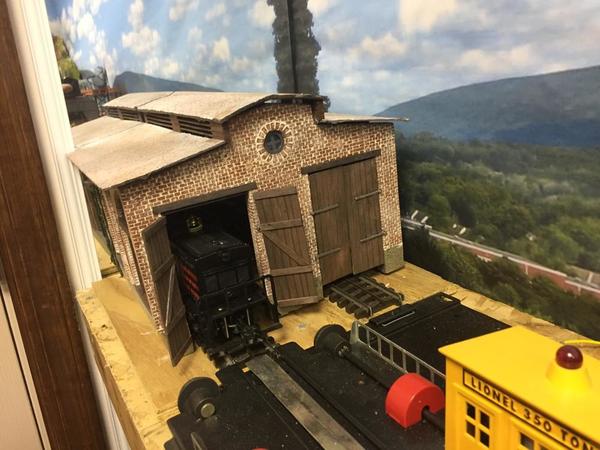
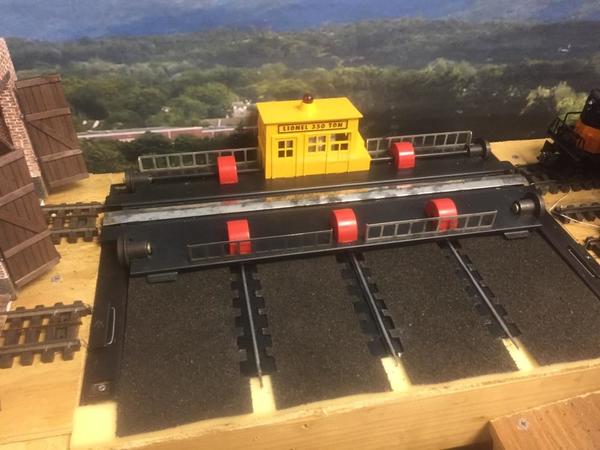
I have a tiny area at the bitter end of my layout that has long been reserved for a very small engine house facility. It is really TOO tiny, so I put in a mirror, with the plan of building half of an engine house, the mirror to provide the other half:

Diesel Yard

The plan is to scratchbuild a freelance structure that captures the look-and-feel of these structures from the old CNJ Ashley yards:

CNJ Ashley Car Shops EE FEB 25, 1968

The model will represent a utilitarian structure build in the 19th century as it would have looked in 1957 (the target date of my layout). 

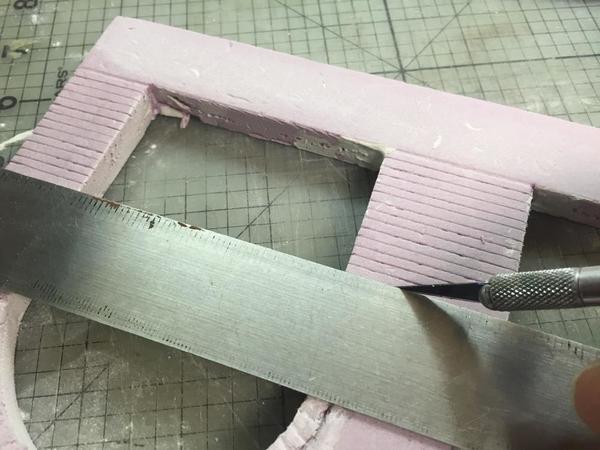
The first step is to build the two brick side walls. I started with my go-to scratchbuilding material: pink foam, and carved out the old rough brickwork:

IMG_7476

IMG_7480IMG_7481

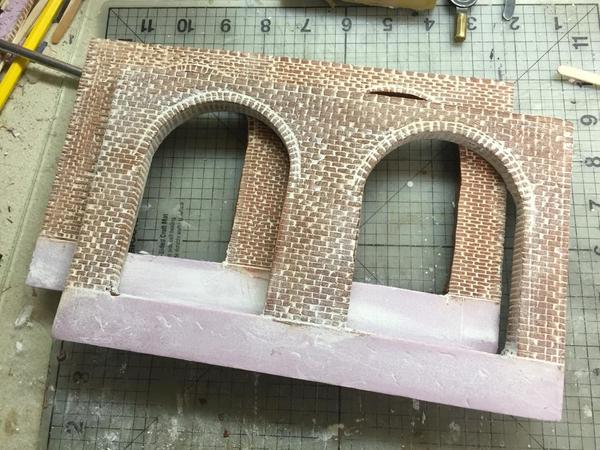
Next, I painted it with burnt sienna hobby acrylic (which captures "old brick" very well), and then applied joint compound for the mortar:

IMG_7482IMG_7483

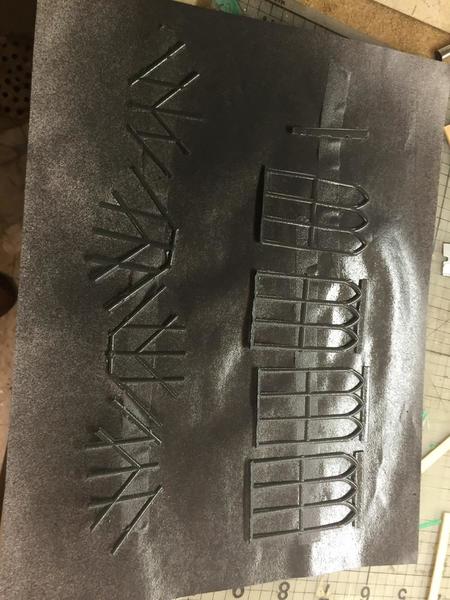
Window muntons are always a challenge when scratchbuilding. For a victorian structure like this, these plastic vegetable baskets are just the ticket:

IMG_7486IMG_7487

Painted the concrete footers with black acrylic under a light dusting of Rust-Oleum "Desert Bisque," and assembled the muntins over clear plastic windows. The timber mullions and millwork are balsa wood stained with alcohol mixed with black and brown ink. Finally, a climbing vine for accent:

IMG_7521

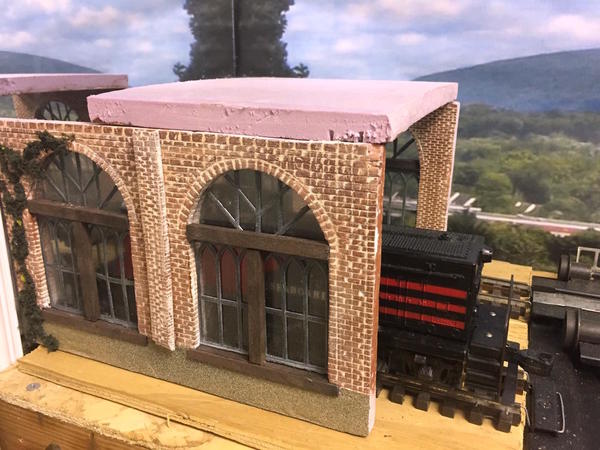
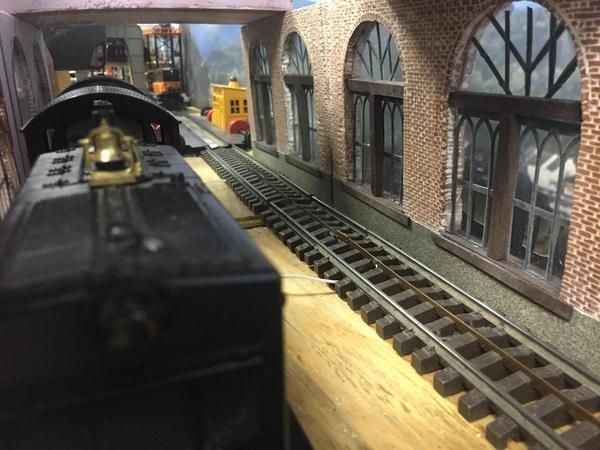
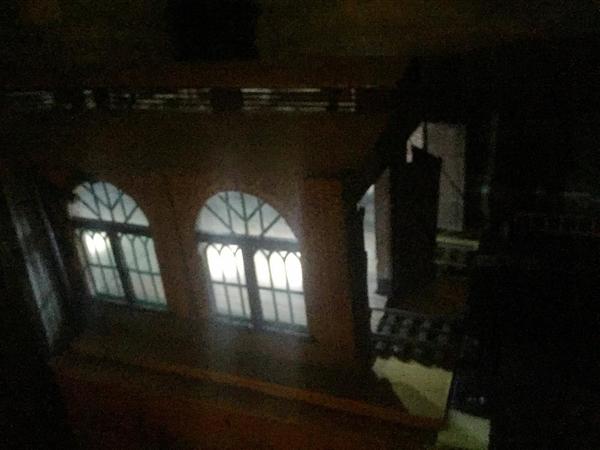
Just a start, but I couldn't help running to the layout to get a rough idea of what the finished structure will look like:

IMG_7523IMG_7525

Stay tuned...

Attachments

Images (13)
  • Diesel Yard
  • CNJ Ashley Car Shops EE FEB 25, 1968
  • Diesel Yard
  • IMG_7476
  • IMG_7480
  • IMG_7481
  • IMG_7482
  • IMG_7483
  • IMG_7486
  • IMG_7487
  • IMG_7521
  • IMG_7523
  • IMG_7525
Original Post

Replies sorted oldest to newest

Avanti posted:

I have a tiny area at the bitter end of my layout that has long been reserved for a very small engine house facility. It is really TOO tiny, so I put in a mirror, with the plan of building half of an engine house, the mirror to provide the other half:

Diesel Yard

The plan is to scratchbuild a freelance structure that captures the look-and-feel of these structures from the old CNJ Ashley yards:

CNJ Ashley Car Shops EE FEB 25, 1968

The model will represent a utilitarian structure build in the 19th century as it would have looked in 1957 (the target date of my layout). 

The first step is to build the two brick side walls. I started with my go-to scratchbuilding material: pink foam, and carved out the old rough brickwork:

IMG_7476

IMG_7480IMG_7481

Next, I painted it with burnt sienna hobby acrylic (which captures "old brick" very well), and then applied joint compound for the mortar:

IMG_7482IMG_7483

Window muntons are always a challenge when scratchbuilding. For a victorian structure like this, these plastic vegetable baskets are just the ticket:

IMG_7486IMG_7487

Painted the concrete footers with black acrylic under a light dusting of Rust-Oleum "Desert Bisque," and assembled the muntins over clear plastic windows. The timber mullions and millwork are balsa wood stained with alcohol mixed with black and brown ink. Finally, a climbing vine for accent:

IMG_7521

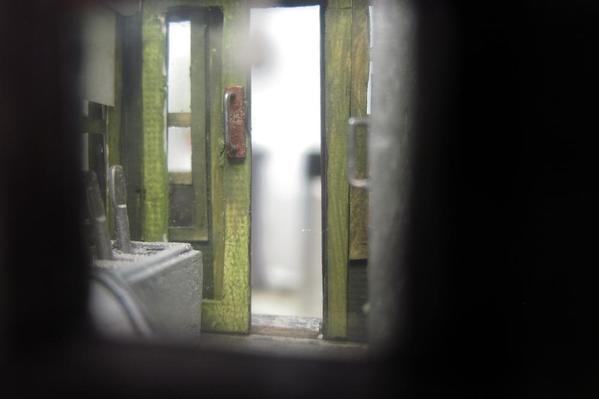
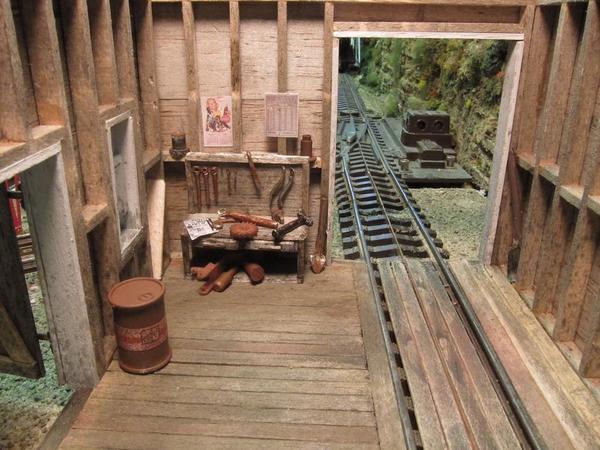
Just a start, but I couldn't help running to the layout to get a rough idea of what the finished structure will look like:

IMG_7523IMG_7525

Stay tuned...

Wonderful!

Creative windows!  From the title I thought this would be about one of those several tiny engine house kits sold for On3/30 tank engines (apparently) that I have looked at and that you need to abut three end=to-end, and jack them up on a high foundation, if not widen, to use for the usual O scale/gauge Mikado or whatever.  In those cases you get half or a third, of an enginehouse, in the kit.

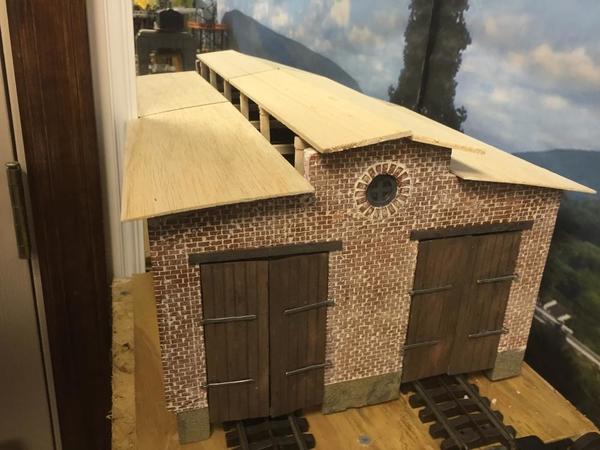
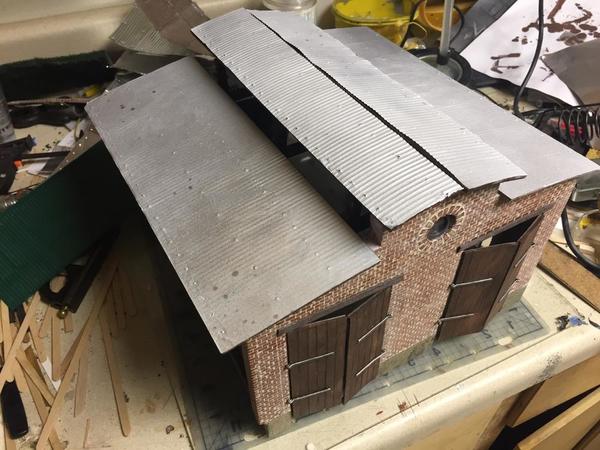
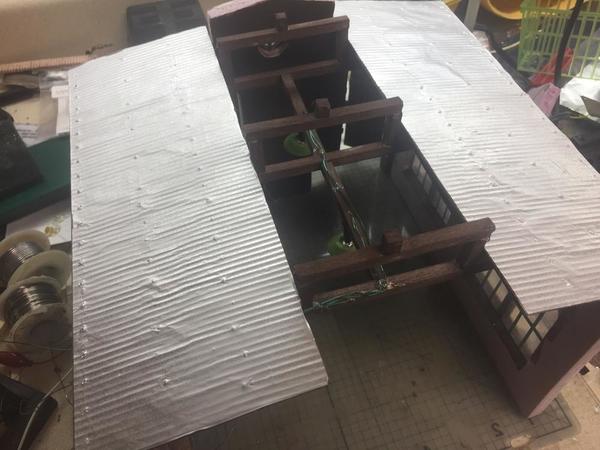
Finished the roof and associated structures.

IMG_7723

I made corrugated roofing by rubbing a pattern into heavy-duty aluminum foil using the roof of a Lionel accessory as a pattern, dull side up:

IMG_7728IMG_7730

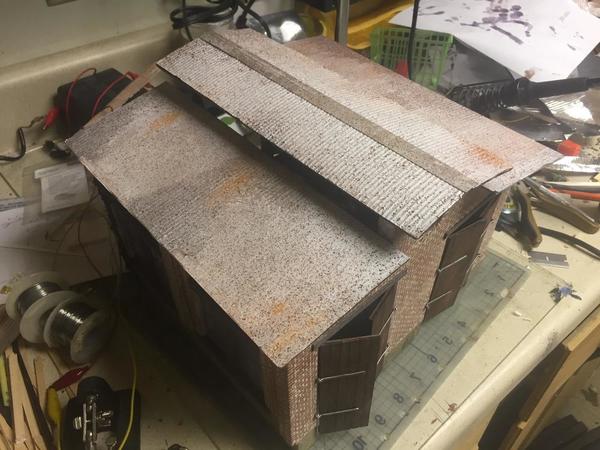
Weathered with spray paints, chalk powders, and dull coat:

IMG_7746IMG_7750

Clerestory vents made from coffee stirrer sticks and bits of balsa:

IMG_7755IMG_7756

Getting there:

IMG_7771IMG_7772IMG_7774IMG_7775

Attachments

Images (11)
  • IMG_7723
  • IMG_7728
  • IMG_7730
  • IMG_7746
  • IMG_7750
  • IMG_7755
  • IMG_7756
  • IMG_7771
  • IMG_7772
  • IMG_7774
  • IMG_7775
coach joe posted:

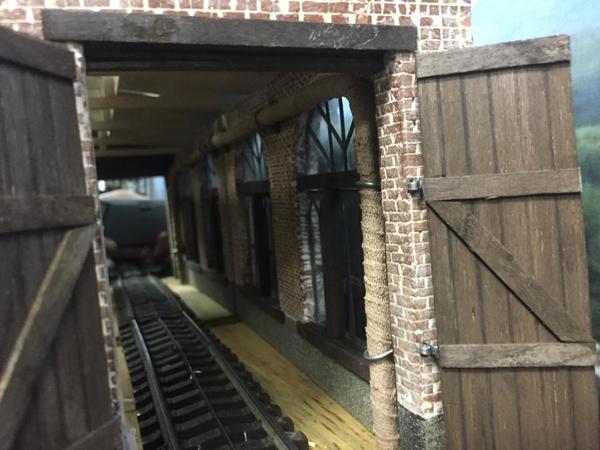
Really creative, from the windows to the roof and clerestory vents.  The last picture from 9-14-16 shows a burlap wrapped "pipe".  Is that steam?  Does it double as a support for the wall(s)? What did you use for door hinges?

Thanks!

Yes, that pipe is intended as a steam line. I warn you, though, not to read too much into my fantasy builds.   No, it is not structural--just hot-glued onto the pink foam wall.

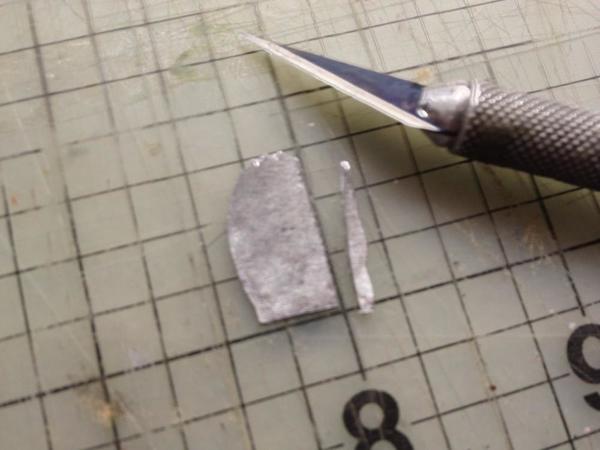
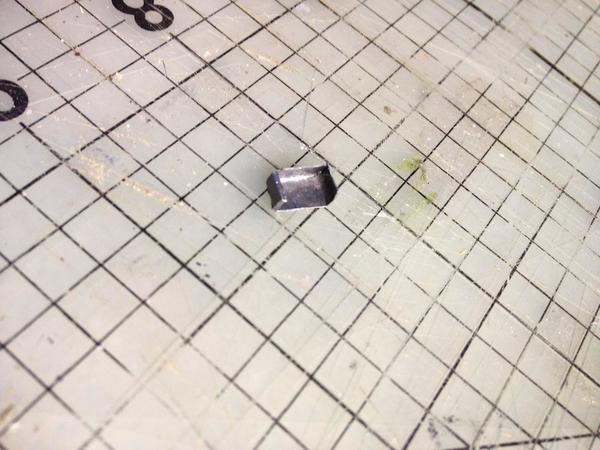
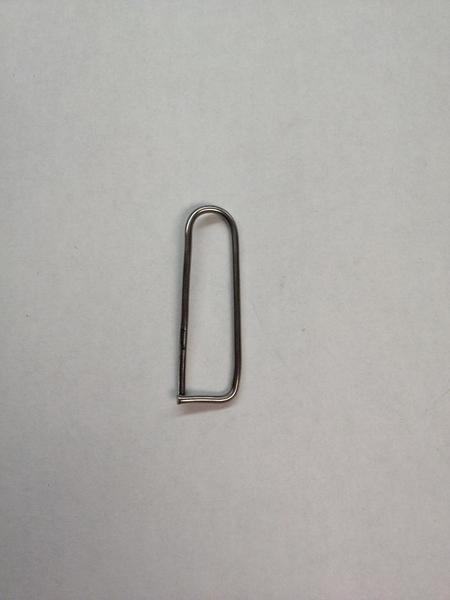
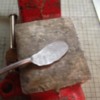
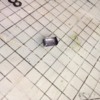
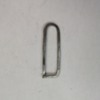
The door hinges are hammered solder with the pins made from straight-pins. I once posted a tutorial on working with solder for making detail parts, but it seems to be gone. Here are some pics showing the technique:

solder Asolder Bsolder Csolder Dsolder Esolder Fsolder Gsolder Hsolder Isolder Jsolder Ksolder L

Attachments

Images (12)
  • solder A
  • solder B
  • solder C
  • solder D
  • solder E
  • solder F
  • solder G
  • solder H
  • solder I
  • solder J
  • solder K
  • solder L
Last edited by Avanti
AMCDave posted:

Great work!!! Your brickwork is fantastic.....mine always looks like stacked marshmallows!!!  How about a how to?!?!?! 

Thanks! I'd be glad to share the details of the brickwork, but I kind of thought my first post pretty much covered it. Please ask any remaining questions and I will try to answer. I love modeling from simple materials and am glad to share what little I know. Mostly, my advice consists of this: If it doesn't look right, try it again. The second one is always much better.

OK, wrapping this one up.

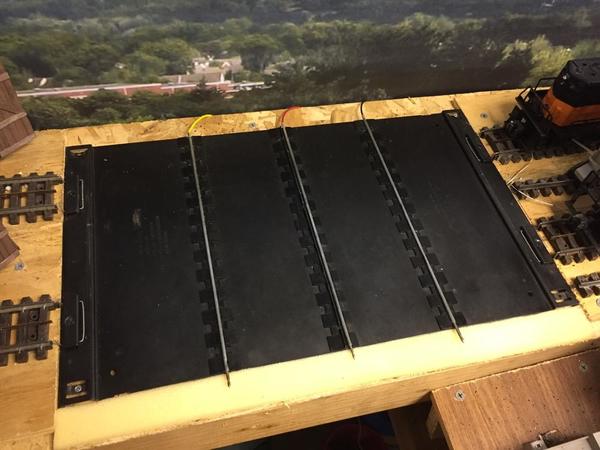
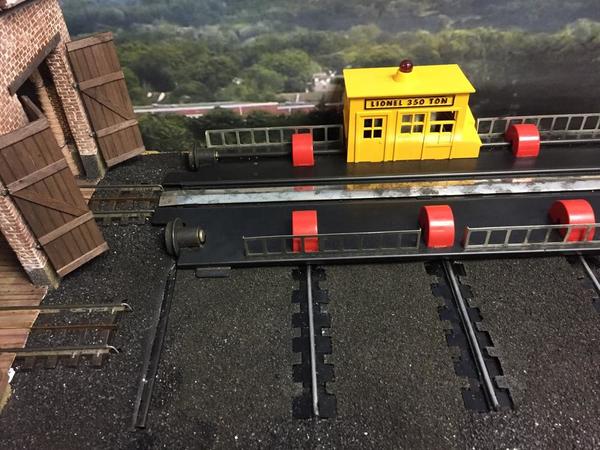
Time to make the Lionel transfer table a bit nicer:

IMG_7832

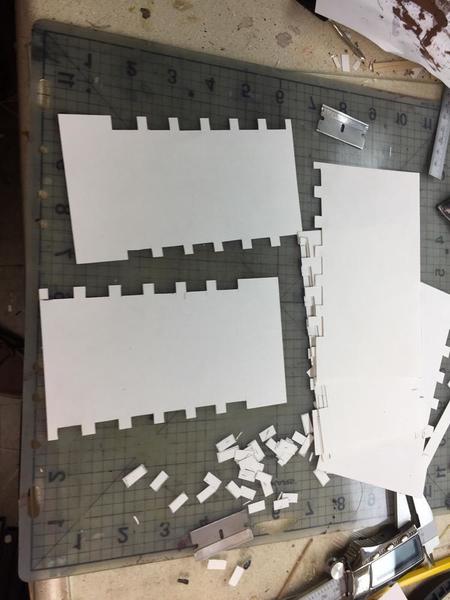
I like keeping my postwar accessories 100% original and undamaged, but that doesn't mean that we can't spiff them up a bit. In this case, I want to improve the appearance of the transfer table's base. Started by cutting out some card stock:

IMG_7830

Painted the cards black (painted both sides so the cards would't curl) and then glued on some HO scale "coal". Started with spray adhesive, but white glue worked better.

IMG_7831IMG_7835IMG_7860IMG_7873IMG_7921

So, let's call it a project. Thanks everyone for following along and for all the encouragement.

Attachments

Images (7)
  • IMG_7830
  • IMG_7831
  • IMG_7832
  • IMG_7835
  • IMG_7860
  • IMG_7873
  • IMG_7921

Add Reply

Post

OGR Publishing, Inc., 1310 Eastside Centre Ct, Suite 6, Mountain Home, AR 72653
800-980-OGRR (6477)
www.ogaugerr.com

×
×
×
×
Link copied to your clipboard.
×
×