Hey Gang,


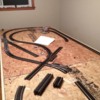
Thought I'd share my little slice of heaven as it has panned out thus far. This thread will focus only on the layout. I've decided a separate thread on layout building for new modelers would serve that purpose better.


Dimensions

10' x 9' 10" Around the wall and island combination.


Track

AtlasO


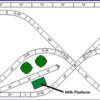
Haphafew & Runnem RR


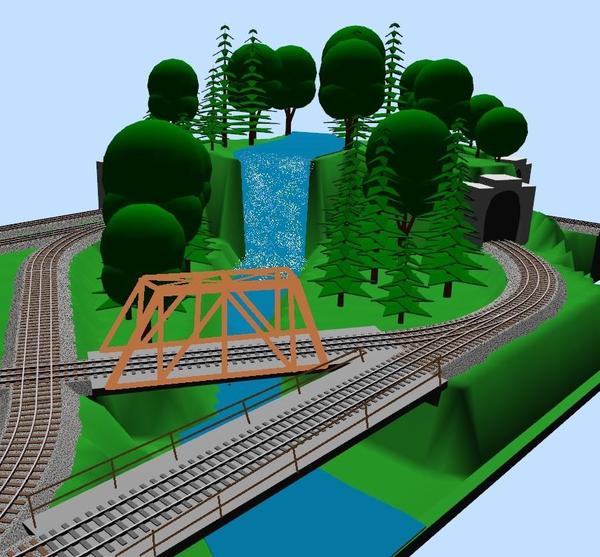
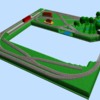
H&RRR overview


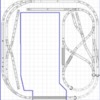
H&RRRtrack


Attachments

Images (3)
  • H&RRR overview
  • H&RRRtrack
  • Haphafew & Runnem RR
Files (1)
Last edited by ChessieFan72
Original Post

Replies sorted oldest to newest

Originally Posted by Moonman:

Very Interesting. Nice work with SCARM! I know you spent a lot of time with the 3D bridges.


Thanks for the compliment, but alas, it is just a façade. They say a good magician never reveals his secrets, but I'm a model railroader, so...the bridge structures were drawn In using Microsoft Paint, along with the falling water and spray.


A ton of thanks has to go to Mixy for creating SCARM and all of its features.

OK, so apparently I can't use the other mag's three letters unless I want my reply blocked.


Because I'm frustrated and tired, here's the reader's digest version...


New plan, 4' x 11' - Continuous running without needing to stop the train unless I want to swap out rolling stock.


hfrr


Progress so far -


starthrrr


Frame is flush with baseboard. Will get a stain and possibly routed. Baseboard made of chip board because I'm cheap and this layout will eventually come down. (Always go with plywood unless you're lazy like me and the layout won't be up for an extended period of time.) Skirt will be added. High heels optional.


That's it, waiting for just a couple of pieces to arrive that I was short, and then the work will continue.

Attachments

Images (2)
  • hfrr
  • starthrrr
Last edited by ChessieFan72

The planned layout underwent a drastic change recently. In the interest of getting trains running sooner than later and to save some coin, I challenged myself to use the track I have to come up with a track plan. There was a 5' x 9' layout that had been published in a CTT special edition that I have always liked, and comparing its parts list to what I had, realized it was a perfect fit. I was able to tweak the plan into a 4' x 11' layout. The turnouts for the mainline will be run by non-derailing boards, so the only time I will need to touch the layout will be to change out cars.


hfrr


Here's a quick snap-shot of what I was able to accomplish today. The baseboard is flush to the top of the frame. The frame will be stained and possibly routed, and a skirt will be added. I went cheap (and this layout will only stand for a year give or take,) and picked up chip board. Because I drive a small car, I got the 2' x 4' pieces for less than $5 a piece. This layout couldn't be any easier for a lazy modeler such as myself.


starthrrr


Take care gang!


Attachments

Images (2)
  • hfrr
  • starthrrr
Originally Posted by Putnam Division:

I am envious of your creativity! Nice ideas here. Thank you for sharing them.

Peter


Peter,


Thanks for the kind words!


The latest update is that I am waiting for a couple of specialty pieces to come in to finish laying the track. The delay is fine as I am going to paint a wall in the Chessie System scheme. I just haven't decided which wall yet.


I got some coaster wheels at HD to make some movable storage to go under the train table. I'm tinkering with the idea of attaching them to the table legs also. Right now, the legs have leveling felt furniture pads. The table is relatively easy to move around, but that's without scenery. If I go ahead with the plan to put display shelves on the wall behind the layout, it would probably be best to use the coasters.


As I mentioned before, I took a different approach to building the train table by placing the baseboard flush with the top edge of the frame. I have already noticed a few areas where I should add more support beams.


Originally Posted by Moonman:

Are you letting the non-derail determine the direction?


Yes, you are correct. For those who may be a little puzzled, here is how it works: A train will enter the reverse loop via a turnout. As the train completes the loop, it will exit via the turnout. The non-derail board will activate the turnout to ensure the rails are aligned. The train will then move on to the next reverse loop and return. When the train returns to the first loop, it will enter the turnout and proceed in the opposite direction around the loop. This action can be seen in the above video from 1:35 through 2:30.


Post
The Track Planning and Layout Design Forum is sponsored by

AN OGR FORUM CHARTER SPONSOR

OGR Publishing, Inc., 1310 Eastside Centre Ct, Suite 6, Mountain Home, AR 72653
800-980-OGRR (6477)
www.ogaugerr.com

×
×
×
×
Link copied to your clipboard.
×
×