Sandy:
All above offer good advice.
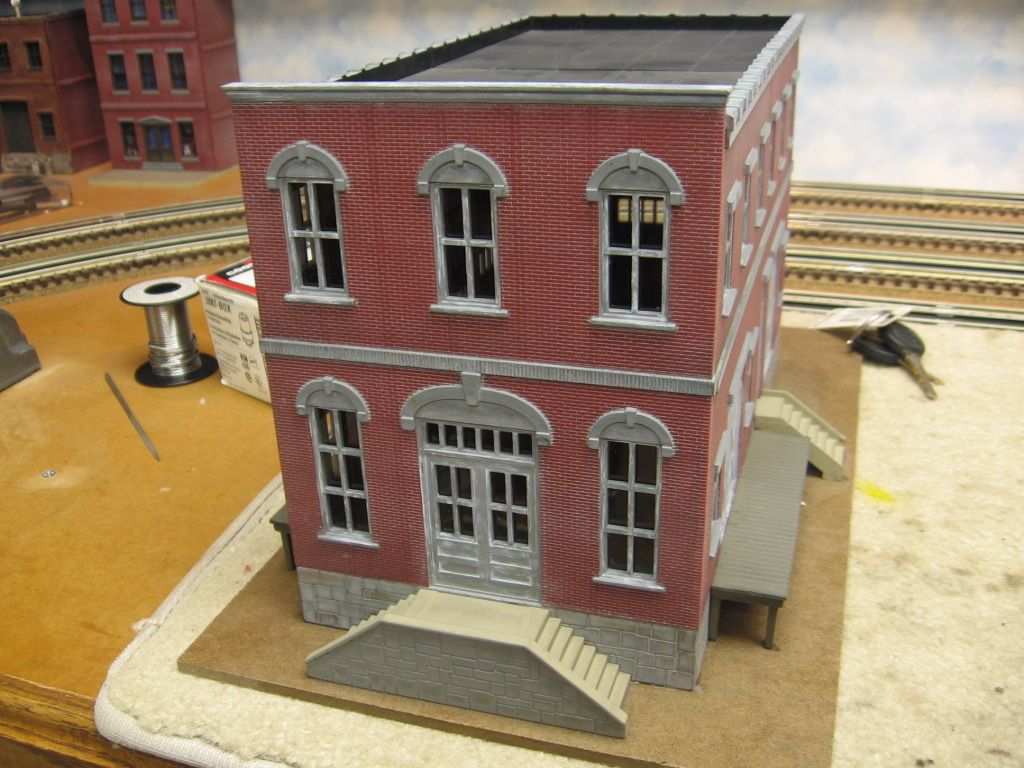
I have built quite a few of these. My technique has evolved to:
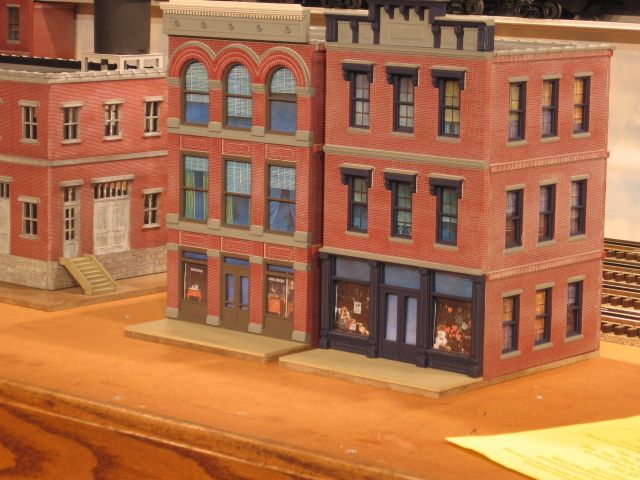
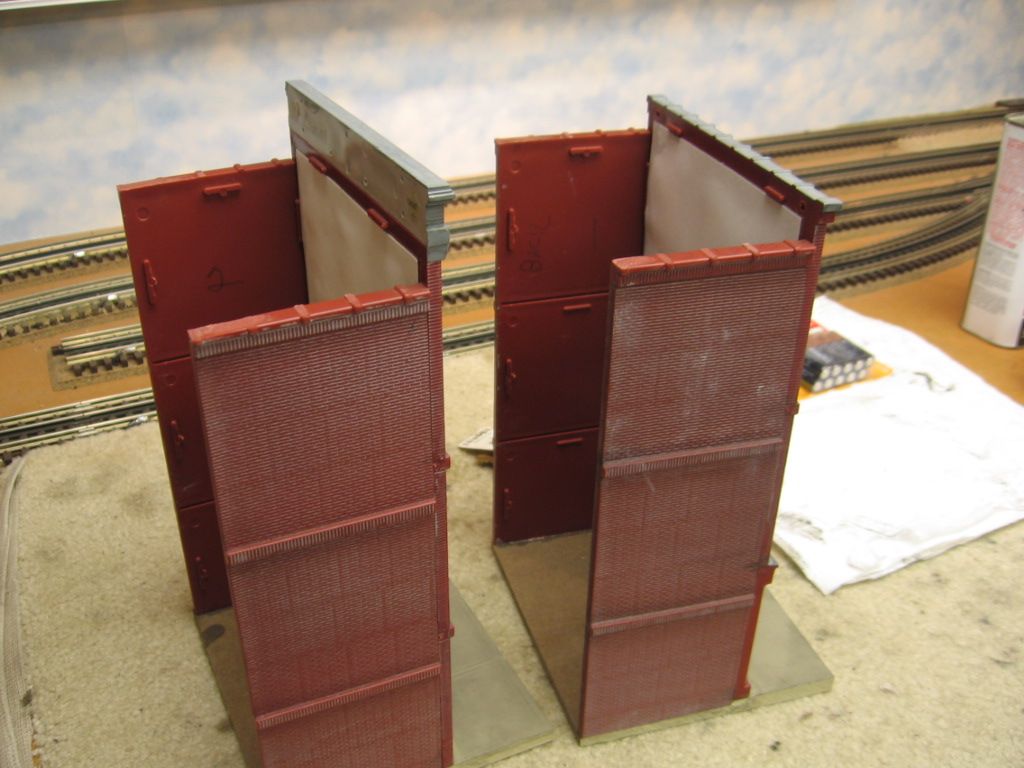
1. Construct the building
2. Wash in warm (temp don't matter - use a wash cloth and make believe you are washing dishes) and dish detergent.
3. After the plastic is completely dry spray with testors dullcote or krylon crystal clear satin. This adds a little 'tooth' for paint.
4. Spray or air brush the brick base coat color over everything. Some people brush paint with great success but this technique never worked for me. Let everything dry for at least 2 days if you plan on mortar.
5. If you want to use mortar do it now. I use Robert's Brick mortar and lightweight Spackle interchangeably.
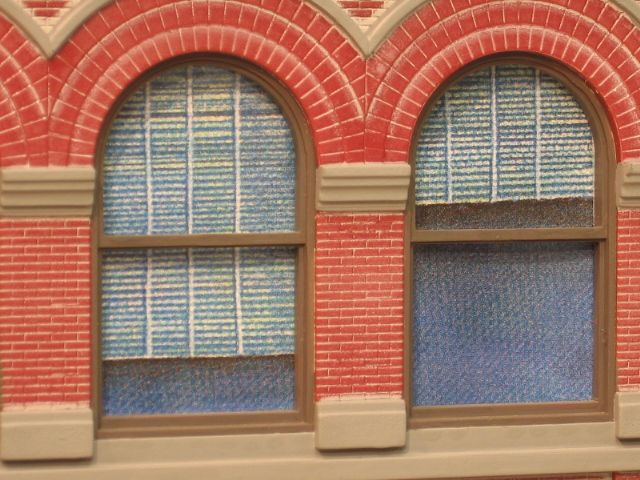
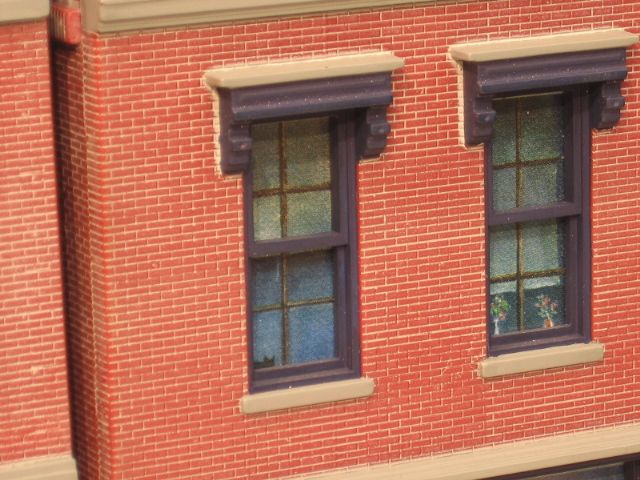
6. Once dry hand paint the popouts, doors, windows the color of your choice. With the base coat on, hand painting is easy. If I try to hand paint bare plastic I find that I just push the paint around without it sticking. The reason for painting the details after mortar is that with either Robert's or Spackle some always gets into the doors, windows etc so you find yourself cleaning and touch up painting anyway.
7. Once all the painting is done you can concentrate on decals and paper signs.
8. After the decals/paper dry spray the building with dullcote to protect everything.
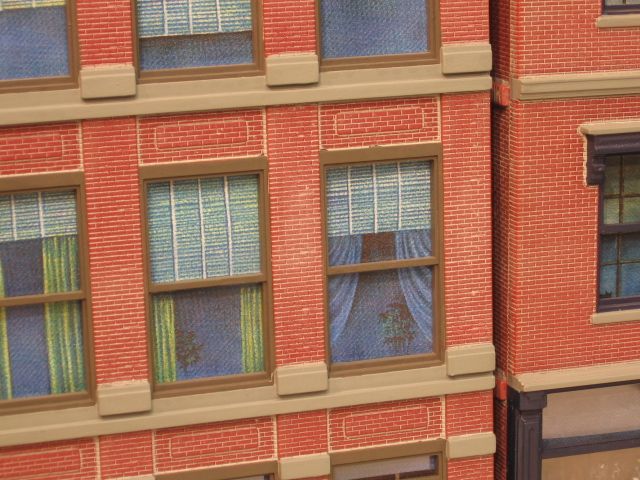
9. Once dry you can concentrate on window treatments and lights.
Joe