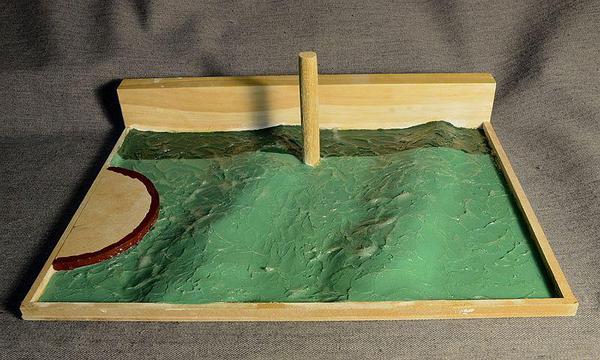
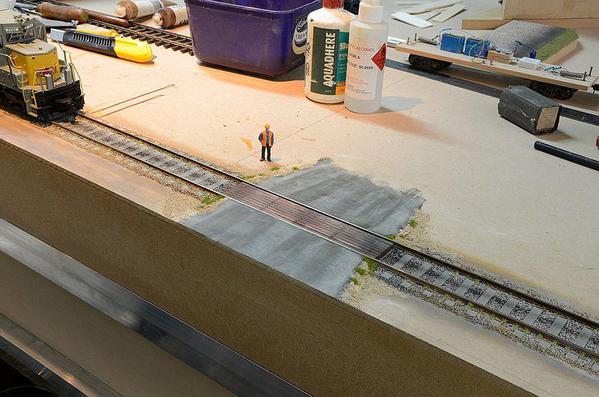
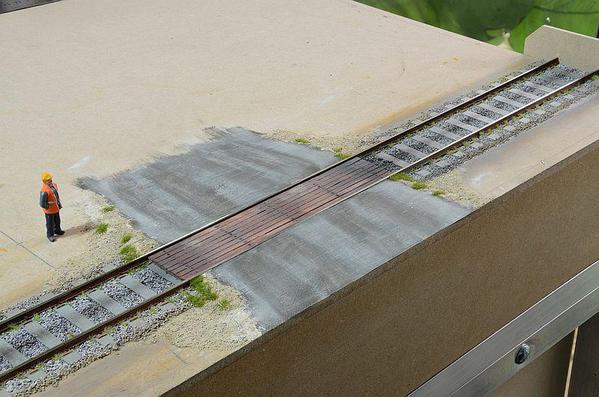
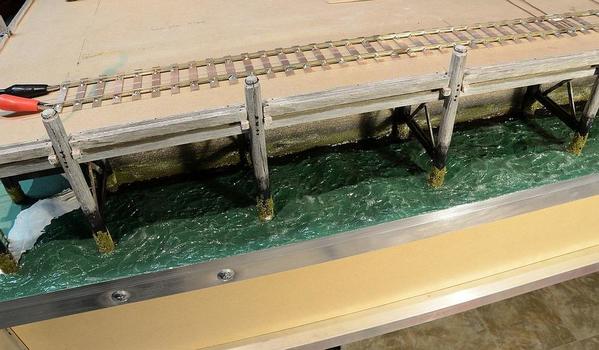
I wasn't happy with Troel's result using the palette knife, so I tried a teaspoon.


I'm not happy with that, either so I'm going to try some other applicators.


Here's the spoon results . . .


aaaa

It's not quite been 24 hours, so there are still some milky bits; but it doesn't look very convincing.


One thing that I'm very happy with is the way the small plaster blemishes have been hidden.


Onwards and upwards.


Cheers

Attachments

Images (1)
  • aaaa
Last edited by MaxSouthOz

In the spirit of constructive suggestions:

1) I think I would try more subtle swells--to my eye, the waves should carry more of the visual effect, and the swells should be less prominent. 

2) I think the green is too green and too uniform. I would try a very flat camo green and stipple it with a little camo brown.

3) I would try a much thicker layer of acrylic gel. Will take a long time to dry, but it will give you more to work with when sculpting the waves.


I'm really excited about your project.  Please don't take any of this as criticism -- just a few thoughts.

Thanks for your thoughts, Pete.


I'm working with reference photos of my local area, so I'm very sure of the look that I'm after.  If you go back through the thread to the photos, you will see what I mean.  I plan to reduce the troughs when I start in earnest, because I agree that they are still too deep.


The colour is affected by the gel.  It doesn't look the same as when it is au natural.  I agree as well that I should grey it down a bit.  I don't want a blotchy bottom, as the docks area here is a plain sandy bottom.  It needs to be more like the reference photos.  But I'm getting closer. 


Dragging any kind of tool around in the gel like Troel and I have done so far, makes lines rather than wavelets.  This time I've tried dipping my finger into the gel and stamping blobs of gel on to the sample.  It pulls the gel upwards as the finger is removed, leaving more of a point.


The gel also slumps like PVA does, but not to the same extent, so I'm hoping for some nice wavelets.  It takes more than 24 hours to set up now.  I'm applying about 2 mm.


One thing I have noticed; I can get the knife/spoon/finger to slide across the gel as it sets up much better if I wet it first.


I appreciate your interest. 


Cheers

Thanks, Guys.


I'll certainly look at those tools, Carl.


I've got two areas to attack.


Firstly, the gel has made the green look wrong.  Easy to fix.


Second, the gel surprisingly slumps as it sets up, - more than I thought that it would - leaving strings rather than wavelets.  I think Pete is on to something.  I might need to push the gel into thicker shapes.


I've got about 2 square metres of sea to do, so I want to experiment with small samples until I have the process worked out.  Then I can launch into it with confidence.


All good fun.


Cheers

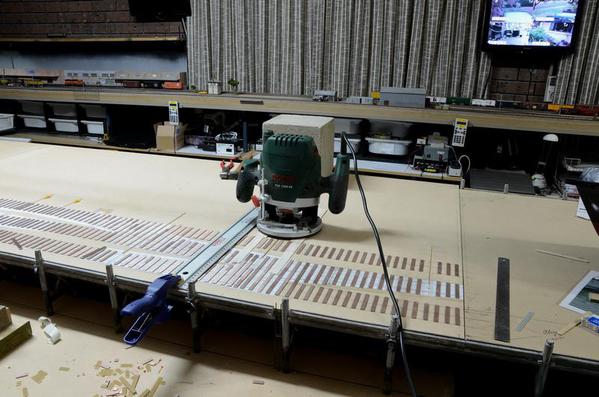
All of the ties have been glued on to the centre module, which is where all of the turnouts are located.  Throwbars, trunking, rodding, cranks and servos have been installed.


The servo centering device is vital to get everything centred in the drive trains of the turnouts.


004


Now to lay the ties for the end module.

Attachments

Images (1)
  • 004

Well, I've tried using thicker shapes and ended up with ugly pointy waves and some accidental voids.  It's been two days and the gel still hasn't set up completely.


I went back and watched Troel's movie again for the umpty-ninth time and one thing he did stress was to keep the gel thin.  I'm currently working on a way to stamp it to pull up the wavelet shapes.  I'm thinking something like the butt end of a pencil.


I've started remixing the paint and it's looking better, as well.  I'll post up a photo later today.


In the meantime, the ties continue to march along the docks.


Cheers

I need to keep taking breaks from laying the ties, as it's killing my back. 


So during the breaks, I've been playing with the water effects.


PE 61

I've had to Photoshop it to get the colour close to the naked eye look.  It's not easy to photograph.  Anyway, the photo looks similar.


I'm happy with the wavelets.  Thin gel and the but end of a pencil to stamp them.  There are still some that haven't finished setting up, but you get the idea.

Attachments

Images (1)
  • PE 61

To me eye, it appears that shower door glass with the swells then detailed on top would create the effect of your reference photo.


But, the pilings and bulkhead pose a problem.


After looking at this thread on water effects, I would suggest a product from the U.S. that appears to achieve the effect is called Enviro-Tex and Envirotex-Lite. Seems like 12 thin coats are needed.

Last edited by Moonman

Hi Carl.


Thanks for the thought, but as you say, the shower glass idea won't work because of the logisitics of trying to fit it to the layout.  I'm dealing with a couple of square metres here - with all of the piles already in place.


The examples in the link are all excellent, but don't fit the waterfront scene I'm building.


The gel is working really well now - using a single thin coat.  One of the problems with PVA based water effects is that small bubbles become trapped in it, ruining the effect.  The gel never traps any bubbles, and now I've worked out how to make convincing wavelets, my problems seem to be over.


Thanks for your interest.

I'm away for a week with the band, doing a music festival in NSW, so this will be the last post until I'm back.


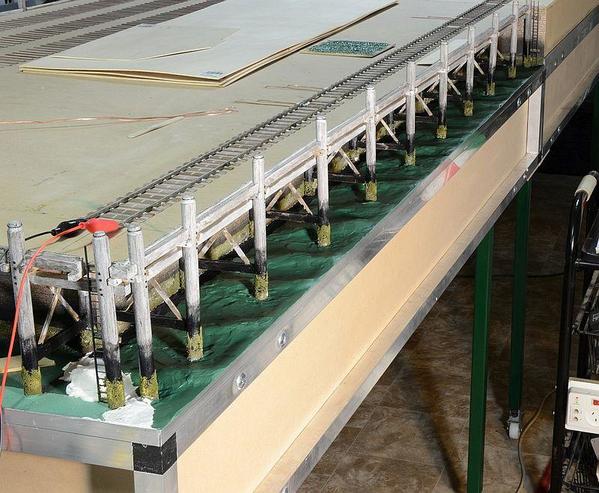
The right hand side road will be a Profiling track for Railroad & Co software, so it's pretty much just a straight run.  The ties have all been laid.  Phew!


PE 63


Next step is to install the Block detectors and bus.  I'll be using Lenz LB 101 Block detectors and LR 101 feedback modules.  I could run the locos straight off the bus, but I have to put the detectors in later anyway, so I may as well do them now.


Also, I now have a grip on what I want to do with the water.


All that is for next week; meanwhile we must tend to the needs of our "Adoring Few."  


Cheers
Attachments

Images (1)
  • PE 63

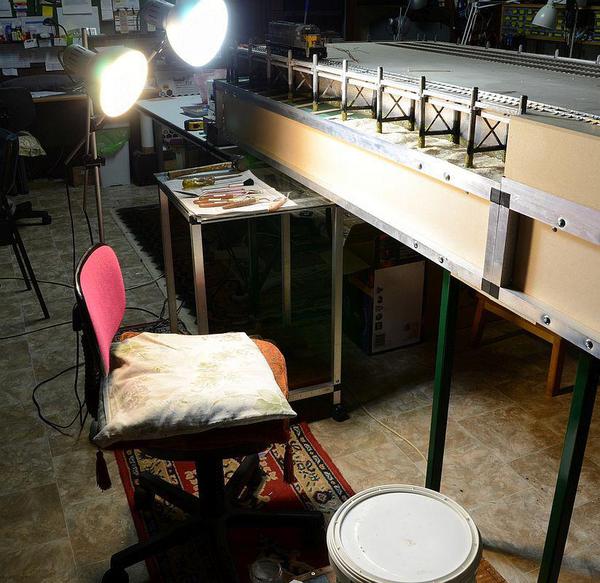
I reckon that the most important thing to get right for a big job like this is to be comfortable, with all of your resources within easy reach.


PE 69


Here's a closer view of the wave forms.


PE 70


It's only the first pass, but it's showing the way it's going to shape up.


The white dots aren't splashes.  They're small yellow dots which represent mussels.


In the next pass, I'll be able to smooth out the surface and sculpt in some extra swells if I need them.

Attachments

Images (2)
  • PE 69
  • PE 70

The gel as been on for four days and is nearly completely set.


PE 75

The Liquitex gel shrinks as it sets, as do all of the others I've tried.  That causes the wavelets to morph into flat areas, bordered by raised lines.
 

It shrinks so much that it pulled the paint off the top of the aluminium edging, and I had to repaint it.


I plan to detail some fresh wavelets with individual dobs of gel where they appear in my reference photos.


The gel has greyed off the green colour to a much better hue, and the gloss varnish will improve it further.


I'm not unhappy with it so far.

Attachments

Images (1)
  • PE 75
Last edited by MaxSouthOz

Add Reply

Post

OGR Publishing, Inc., 1310 Eastside Centre Ct, Suite 6, Mountain Home, AR 72653
800-980-OGRR (6477)
www.ogaugerr.com

×
×
×
×
Link copied to your clipboard.
×
×