I built a Station and a Switch Tower. I used Basswood Clapboard Siding and Basswood framing by Midwest Products that I purchased at my local Ben Franklin Craft Store / Hobby Shop. The windows and doors are from Grandt Line. The platform is 1/4" grooved Flooring and stained using Minwax wood stain.
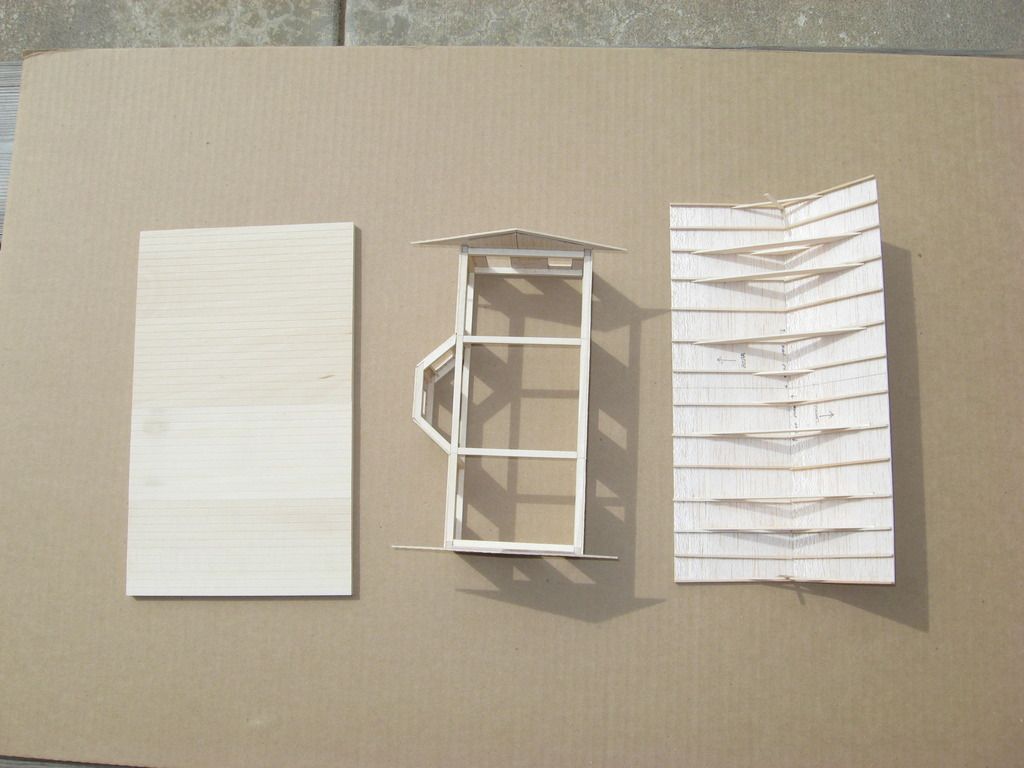
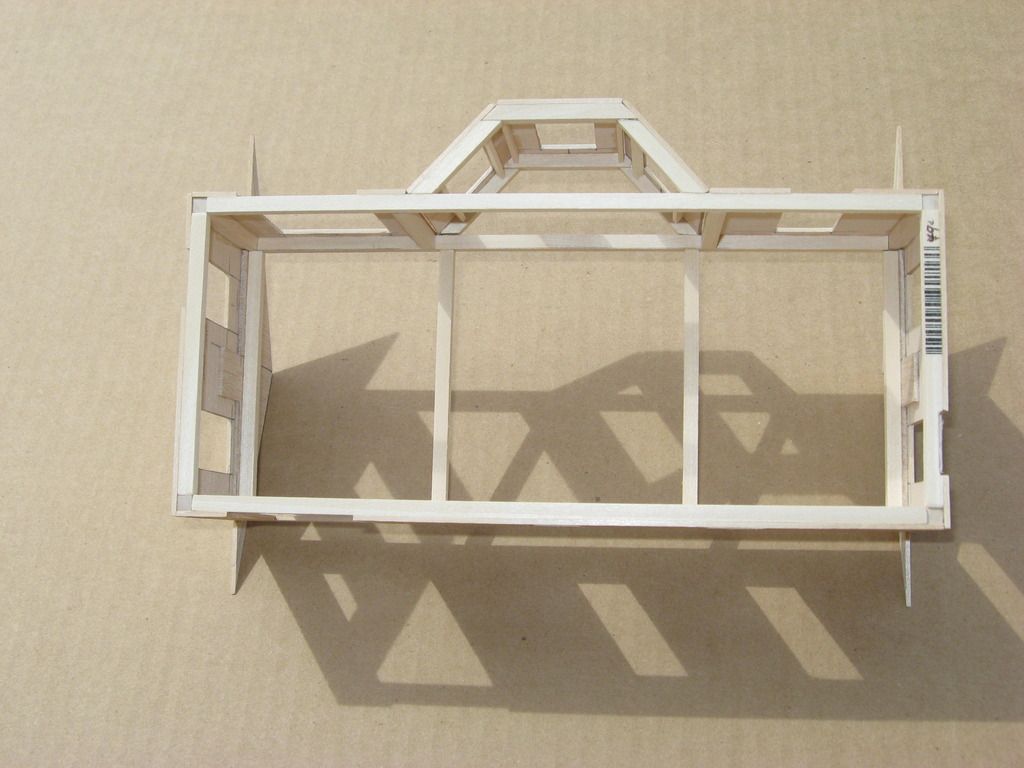
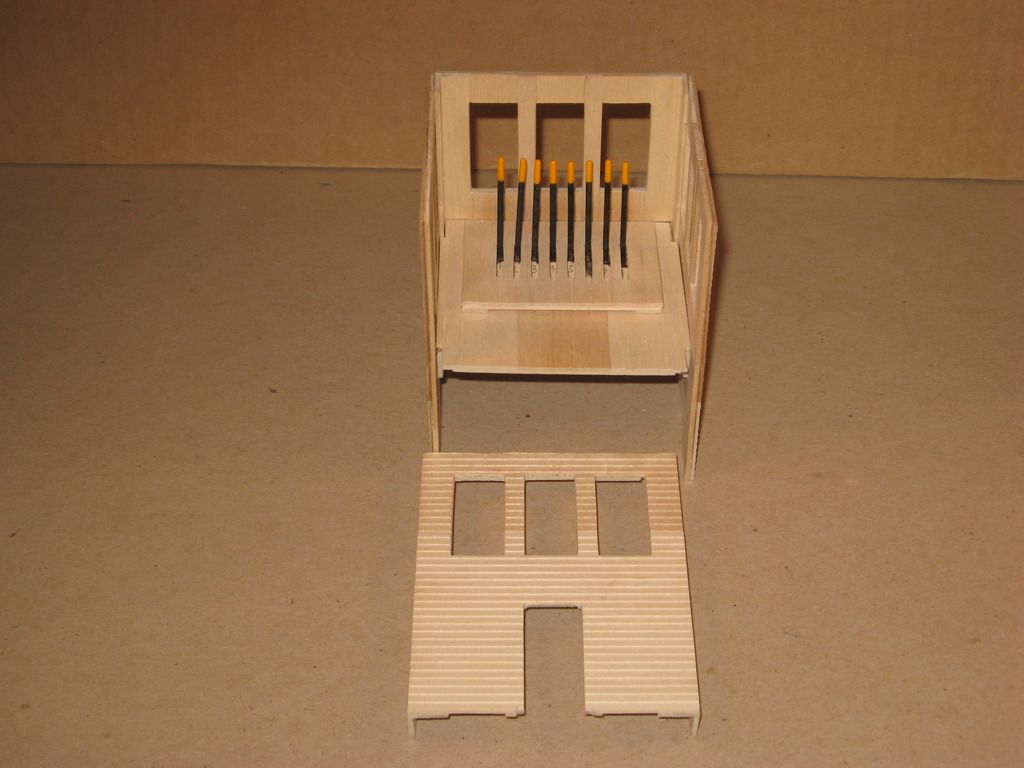
Here is the platform, Station framing, and the roof
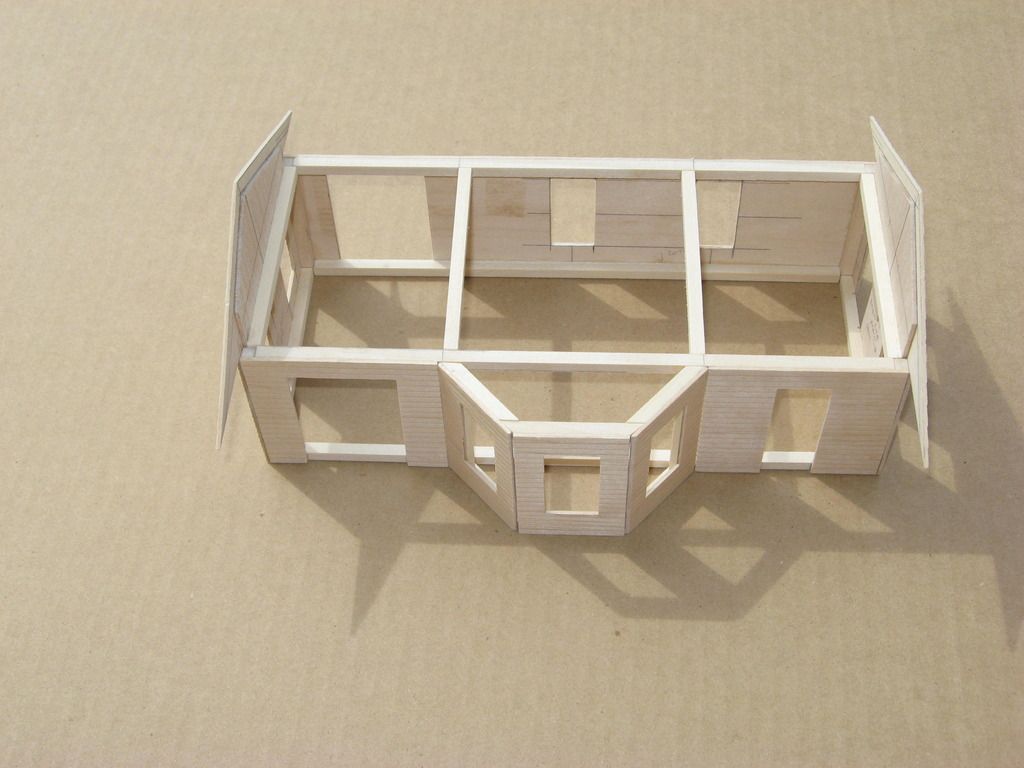
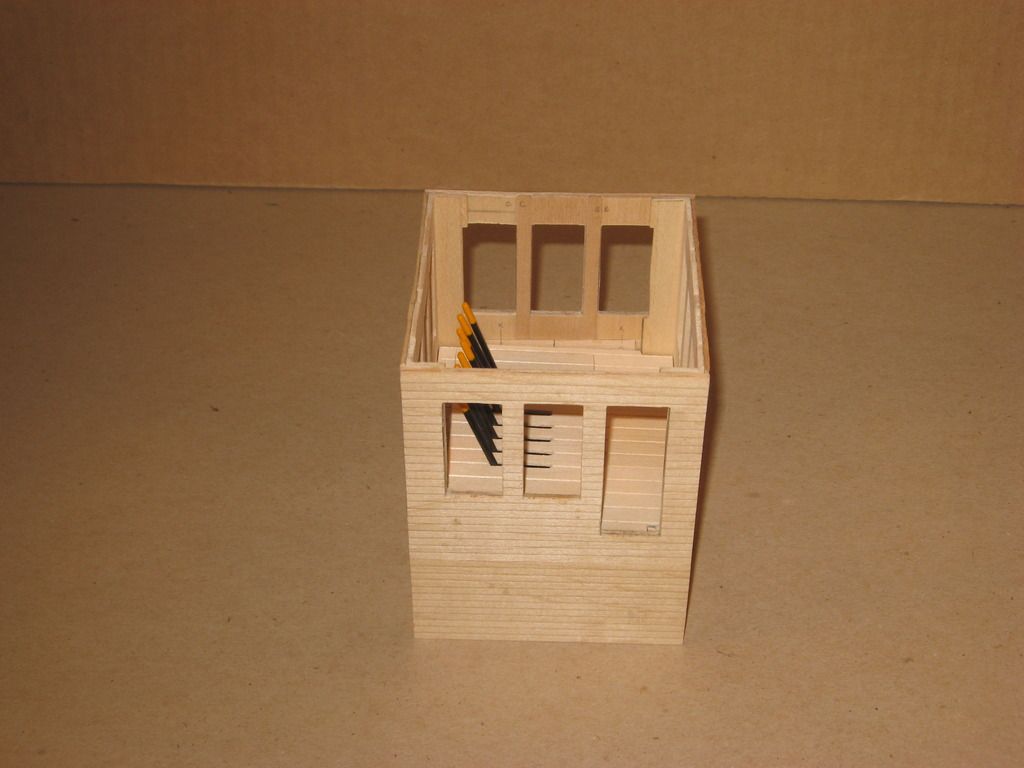
Here is the raw Station showing how I did the framing
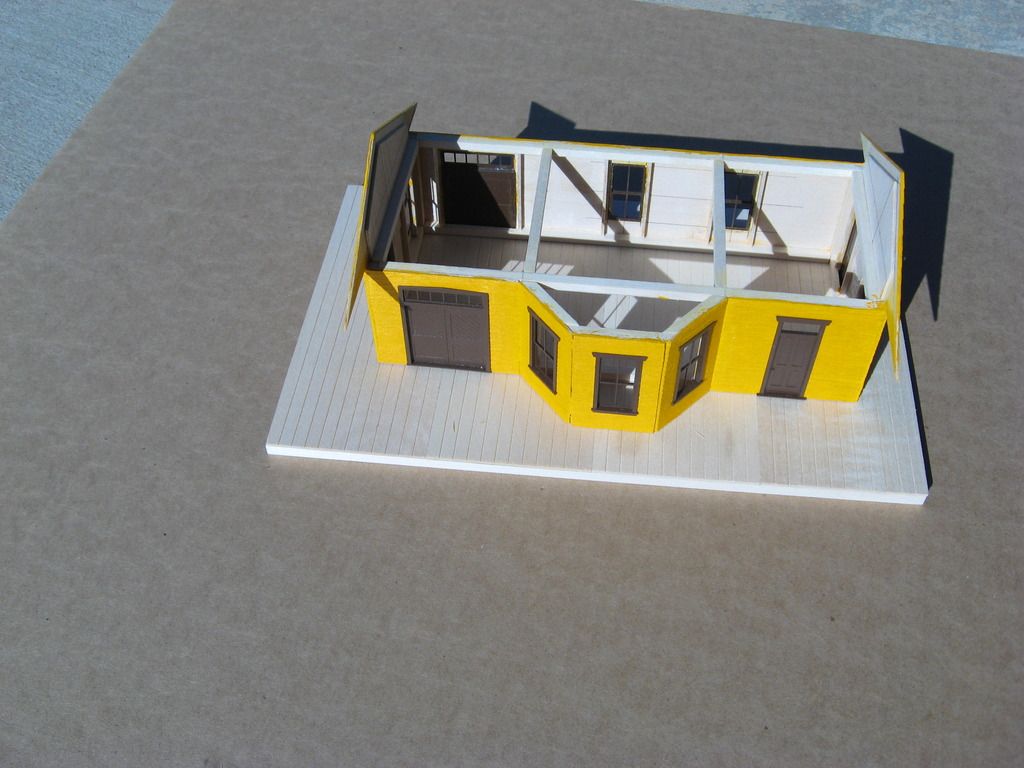
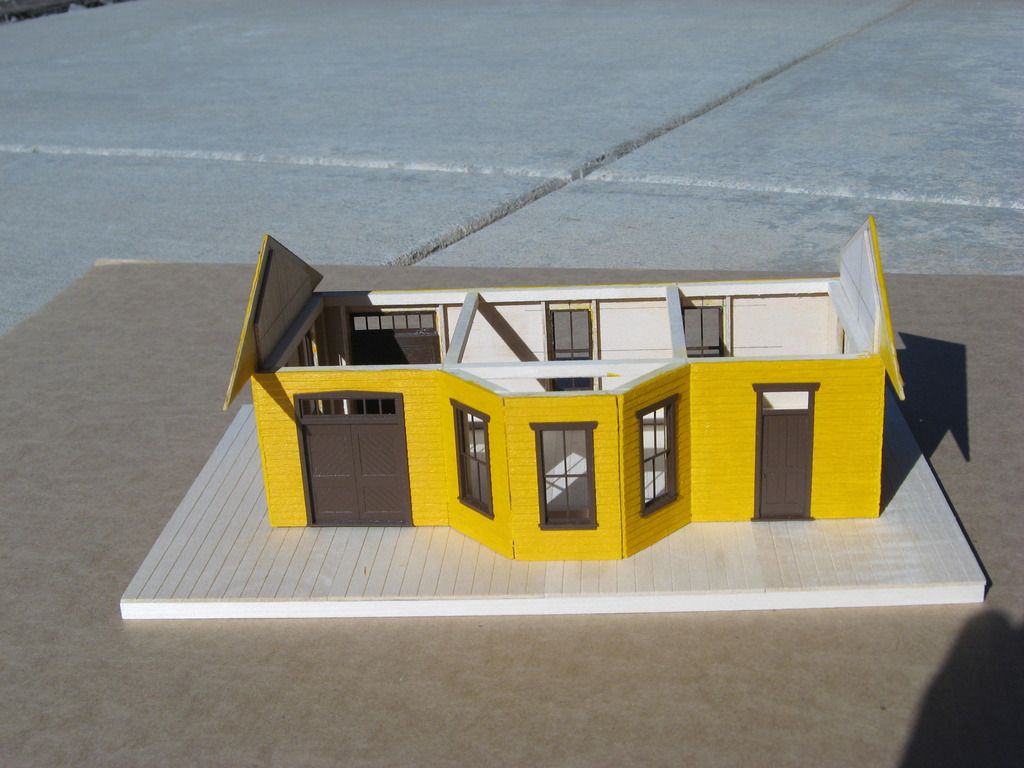
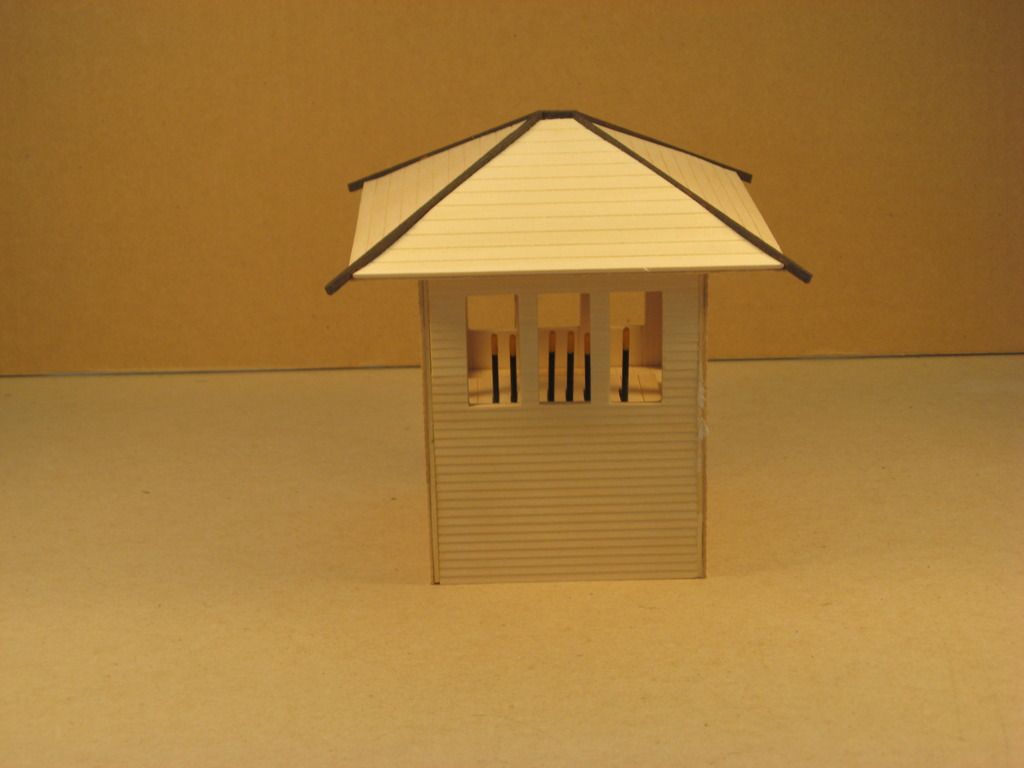
Painted the siding with Acrylic Paints. Cadmium Yellow Deep Hue mixed with a little Raw Sienna. Add the Doors, Windows. The paint looks much brighter outside in the sun.
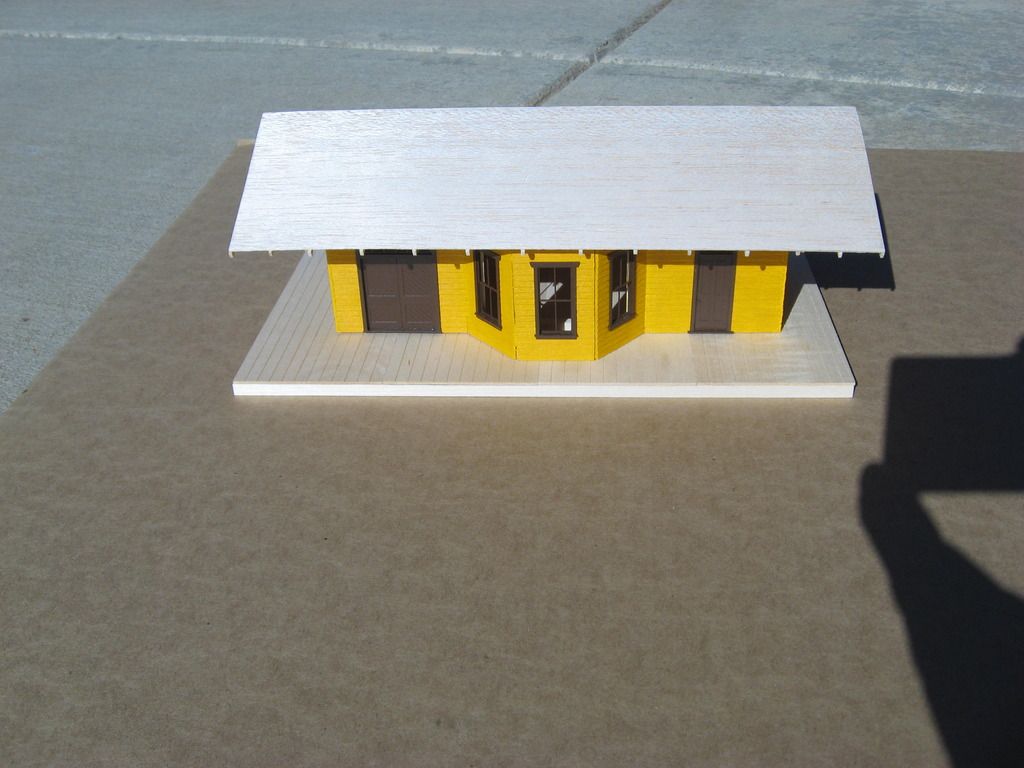
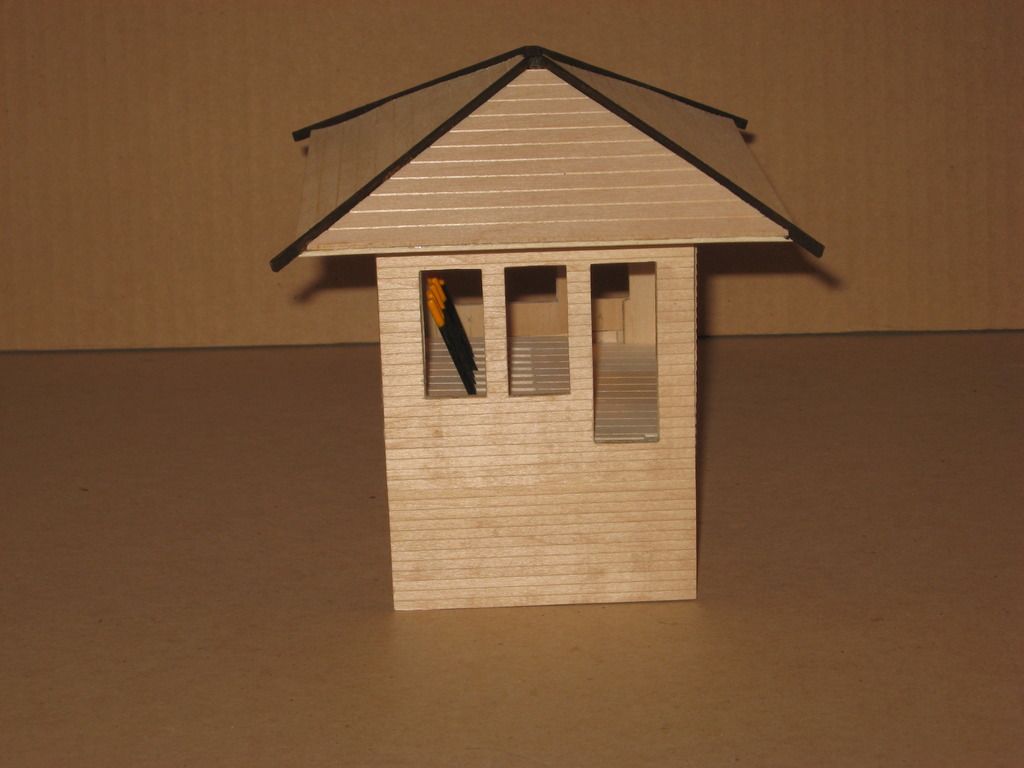
With the roof placed on top. Still have to add the shingles.
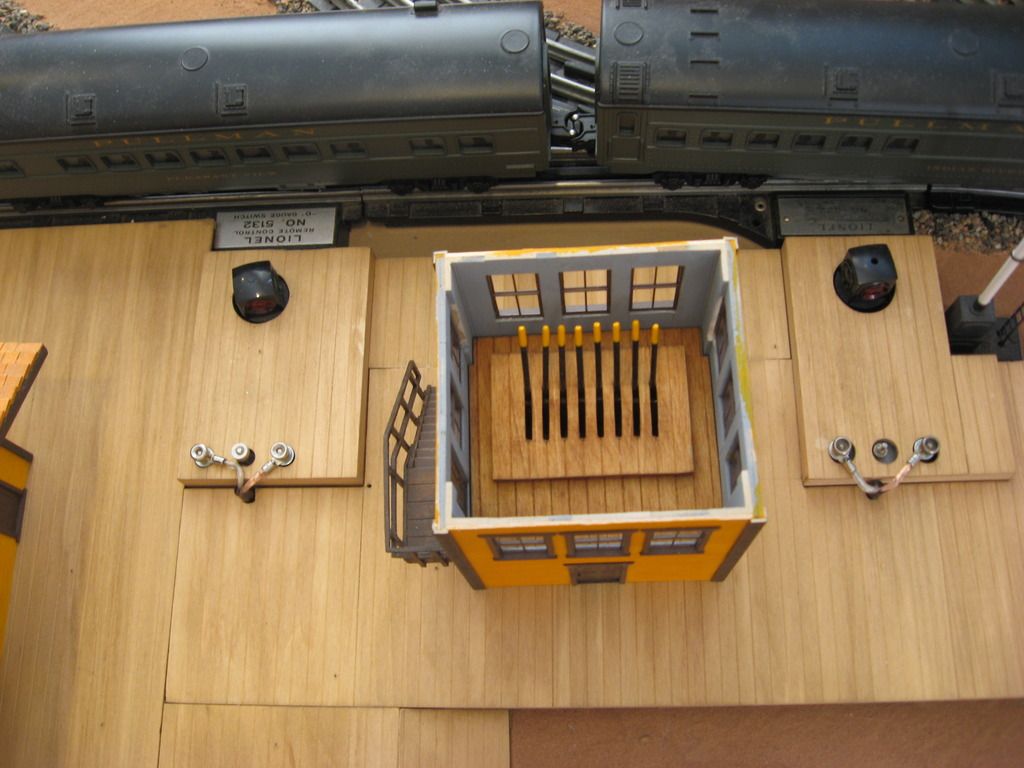
Switch Tower The Interlocking Levers are toothpicks, and yes they move.
Add the Roof
And as installed on my layout. Note the added trim. The roof shingles are hand cut out of the thinnest sheet of Basswood I could find. Painted with a thinned mix of Raw Sienna and Raw Umber. I sanded a bevel on each shingle to get them to lay flatter., and glued them on with Elmers Glue. This was a long tedious process. I would do a couple rows at a time. But I think it turned out well.
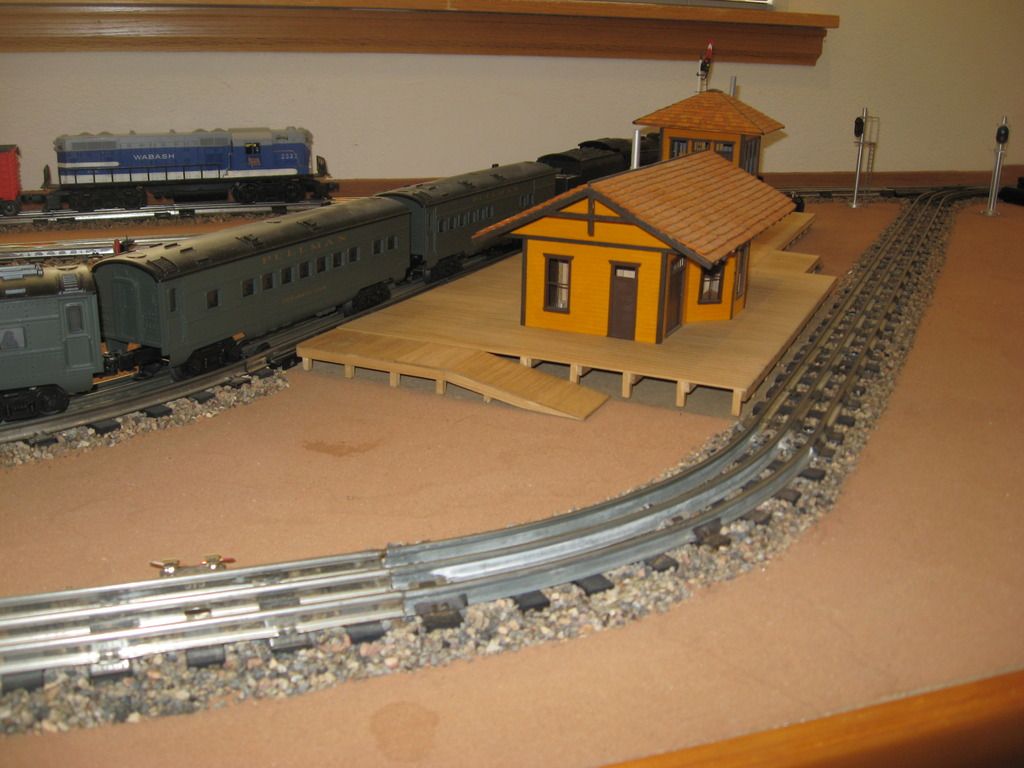
The stairs on the Switch Tower are from Plastruct. The hand rail on the stairs was made from thin basswood. The stovepipe is Evergreen Styrene 1/4 tube painted with a mix of grey primer and aluminum spray paint. Note the boxes I built around the O22 switch machines. I ran the wires up through black straws. ( coffee stir straws ) I think I got them at McDonalds.

Looking down at the inside of the switch tower.
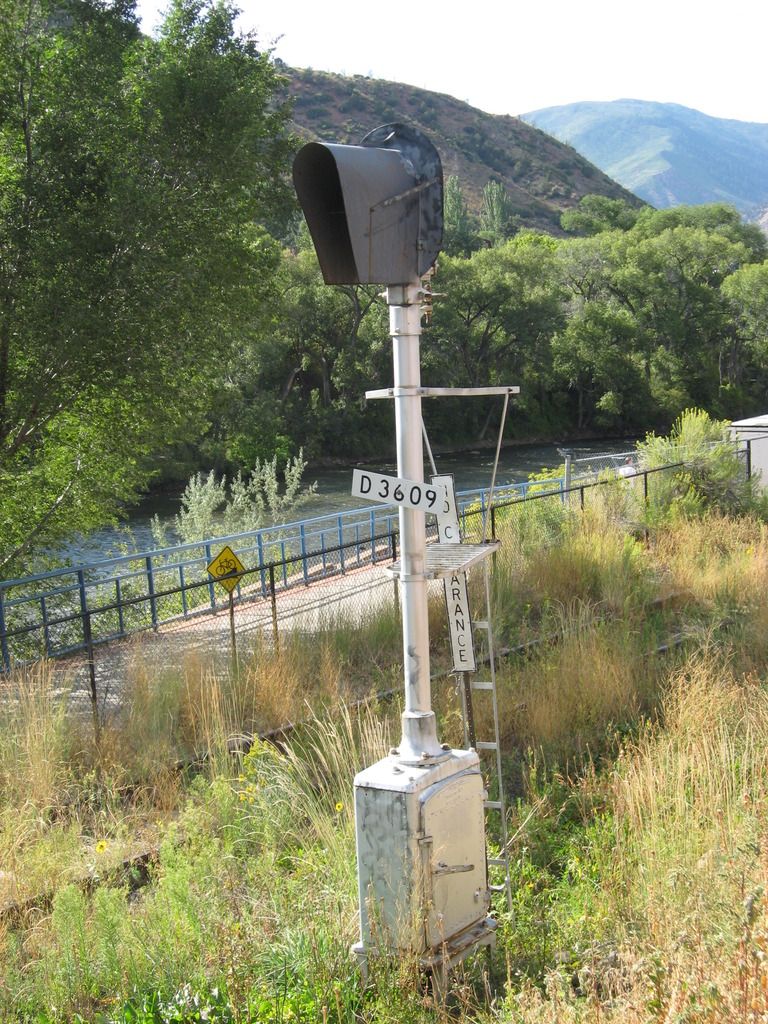
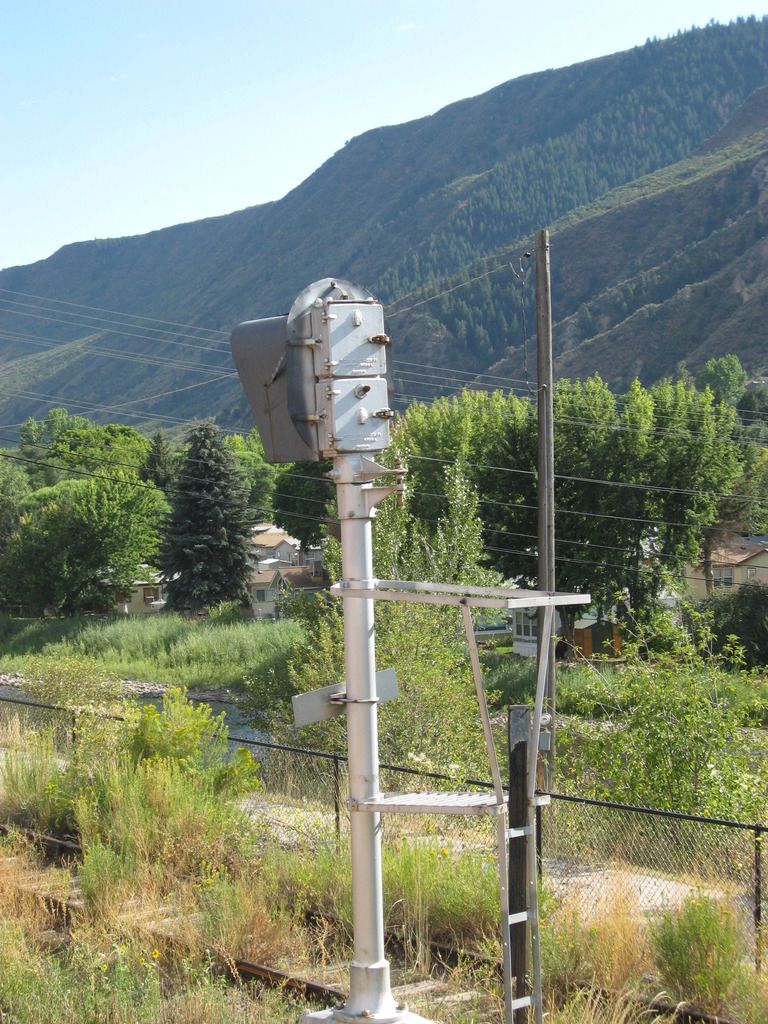
The semaphore is a NJ International that I bought many years ago ( 1980s ? ) at Caboose Hobbies in Denver, now sadly closed. The semaphore blade moves by a Tortoise Switch Machine mounted under the layout and activated by a Atlas Twin slide switch mounted on my control panel.
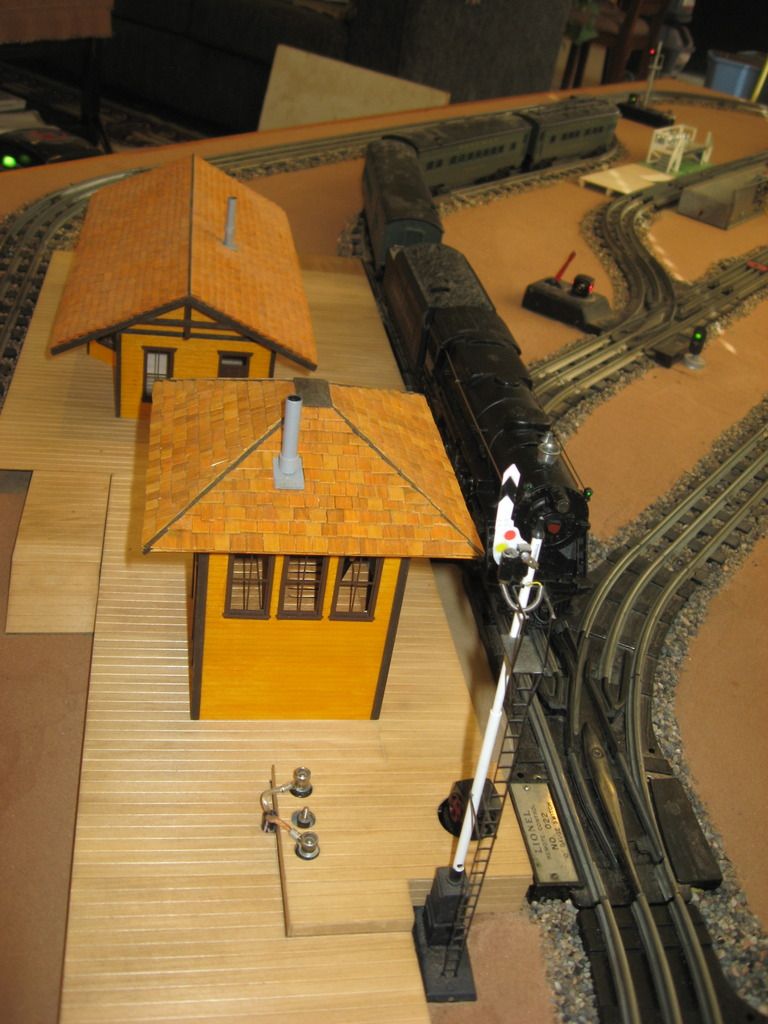
The Lionel 2025 Steam Engine is my latest addition to my Roster. Found her at Rocking Chair Antiques located in downtown Helper, Utah. $110 bucks ! She runs great. If you get a chance to follow the UP ( D&RG ) over Soldier Summit Helper is a must stop. They have a great Railroad and Mining Museum there. They have a outdoor display of mining and railroad equipment and the Museum is inside the old Hotel. Well worth the time.

Steve