
Replies sorted oldest to newest

This is a scow...perhaps a barge to land lovers. Workmen are using it to do some waterside repairs to the wharf. It's nothing fancy obviously, and it is a scratch build as is my usual preference. Using mostly scraps and general junk I have in abundance. The basic body is a piece of pink foam cut and sanded to shape. Great little project requiring mostly junk as mentioned previously. One photo cover it all.

Bob


IMG_2178

Attachments

Images (1)
  • IMG_2178
Last edited by flanger

I am currently working on one of the 3 switchman shanties I have from River Leaf Models. I have made some modifications to more closely represent the prototype I restored last year.  The ceiling on the prototype is vaulted, so I cut out the center of ceiling panel from the kit and glued it to the wall tops. I used the base to clamp the ring to allow even pressure. For the other two kits, I cut out some corrugated plastic to use as clamping jigs for the wall panels. I used wood filer around the inside perimeter to blend the ring to the wall sections, then with a mixture of paint and sand, painted the interior and the underside of the roof. I use a light wash of Lamp Black and water to darken the paint. I glued the roof to the ring, and used the same paint to do the roof exterior, but using a heavier wash to show years of weathering and wear. When I was giving Andre all the measurements, I forgot to give the dimensions for the recess in the blank wall, so I cut the solid outer panel to the dimensions from the prototype. I'll have more progress photos next Sunday.

Don

Switchman Shanty Assembly Part 1 Rhe Walls 004Switchman Shanty Subroof 001Switchman Shanty Subroof 002Switchman Shanty Subroof 005Switchman Shanty Assembly Part1 The Walls 001Switchman Shanty Assembly Part1 The Walls 002Switchman Shanty assembly Wood Filler 001Switchman Shanty Assembly Interior Paint 004004002Switchman Shanty Assembly Interior Wash 001Switchman Shanty Assembly Outer Wall Detail 001Switchman Shanty Assembly Outer Wall Detail 003

Attachments

Images (13)
  • Switchman Shanty Assembly Part 1 Rhe Walls 004
  • Switchman Shanty Subroof 001
  • Switchman Shanty Subroof 002
  • Switchman Shanty Subroof 005
  • Switchman Shanty Assembly Part1 The Walls 001
  • Switchman Shanty Assembly Part1 The Walls 002
  • Switchman Shanty assembly Wood Filler 001
  • Switchman Shanty Assembly Interior Paint 004
  • 004
  • 002
  • Switchman Shanty Assembly Interior Wash 001
  • Switchman Shanty Assembly Outer Wall Detail 001
  • Switchman Shanty Assembly Outer Wall Detail 003

I don't have much to share this week, I really haven,t spent that much time in the train room but with what little time I did spend I spent it working on the city flats.....

My wife is going to use her vinyl cutting machine to make some signage for the fronts and windows when I'm ready, I can't wait. 

Paul

SIRT posted:

Extremely nice stuff on here today! Might want to level up that Deco roof top water tank.

WM #1290 PS-5. Machine shop scrap filings over MDF and Styrofoam. Metal purchased by the pound on ebay!

1

2

3

4

5

Very nice SIRT. I check, the tank is level. Just my lazy photography angle....and the front chimney leans the slightest bit.  Good eye

Hi Alan

Yes, thanks.  I've looked at them, but none of them fit.  Then I thought I'd go back to my traditional photographs.  I've spent several weeks looking at various sites, but none of them will fit either.

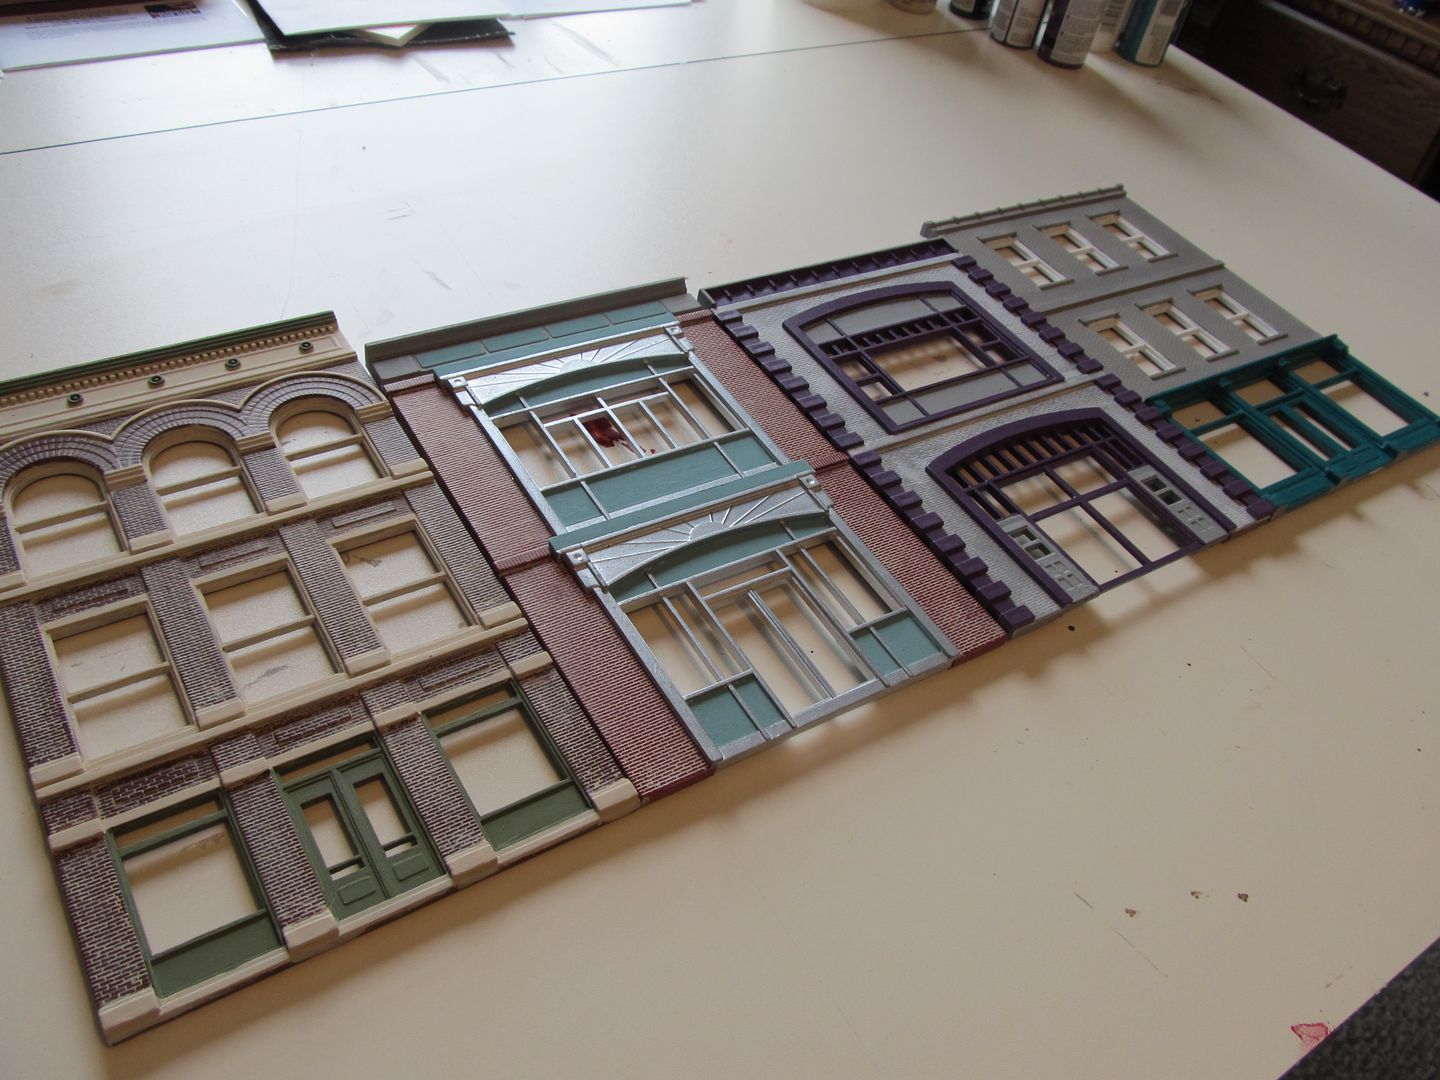
I can probably get the roof panels out of MRS, Clever Models or Scalescenes or any one of a dozen either sites, but the walls have other challenges.

I'll probably go for breeze blocks or something else that I can cut and paste into pages which hide the joins.

I reckon the Tankie Bar would have gone down well.  

Last edited by MaxSouthOz

Add Reply

Post

OGR Publishing, Inc., 1310 Eastside Centre Ct, Suite 6, Mountain Home, AR 72653
800-980-OGRR (6477)
www.ogaugerr.com

×
×
×
×
Link copied to your clipboard.
×
×