Ok, Trainnut is going to graciously host this Rivarossi party while I build.
I started a trial assembly, but decided to work on the tender first to get used to working with this plastic. It's a hard shiney black styrene similar in look to a brand new post war tender. There is little flash, even at the flow holes. I'm tempted to not paint it, but we'll see how it looks, and how I feel about things later. The fit is pretty good. Cornections for the pieces have a series of 2 small teats here and there at the corners that rest crossed together and once filled with glued should make for good strong anchor points. I'll use up some ancient Kmart brand tube of styrene glue from the 70s. I saved a few tubes for its quality, but this should fittingly finish off the last tube.
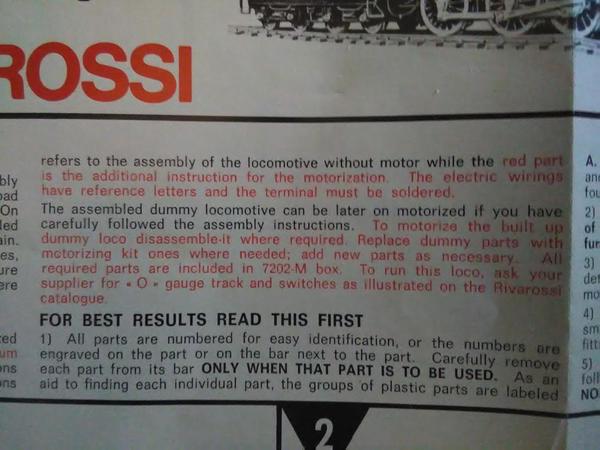
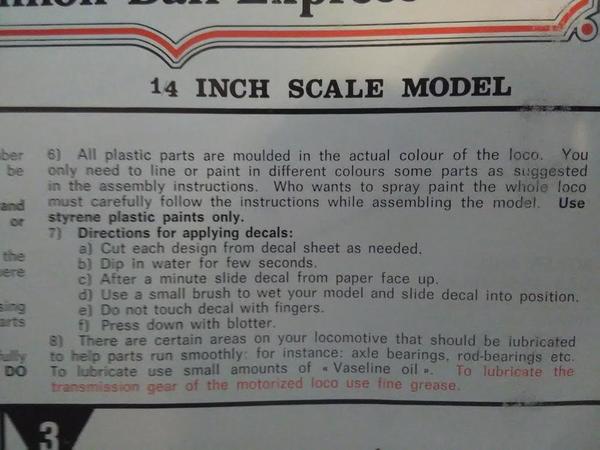
Here is the instructions header and parts list for the motor kit before I get rolling. Good advice is listed. These are pretty good instructions from what I see off fhand. Red in diagrams are from the electric kit, and black is the model kit. I'd label the bags with a sharpie and not mix things as placement in bags, and count on screws is a puzzle that should sort itself as you go. EG. #32 2 are nearly the same screw. But some are printed red and some black, and the correct screw number can be found in both bags, and each bag holds a different. Amount, so it's a counting juggle on totals, and totals let bag to id them. (I have extras and am going to cheat)) Had I realized this, I would have created a key list, but too late.
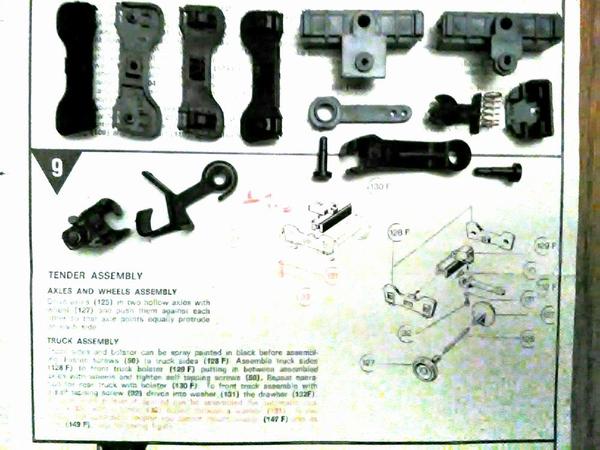
Step 9- the trucks
This is where I began, and right away ran into an issue, so I'm glad that I did start here, it gives me time to work on it before the loco is done.IIl post the text next post, this is a late addition to a long post.
Two of the tender axel's were lost in shipping; part of that envelope splitting open. It shouldn't be too hard to fab them if I cant find more
The tips step has a 1.13mm(.045") dia. shaft, and each step is about 3.85mm(.15")long. The thick portion 1.95mm(.075) dia. for 37.95mm(1.48) step to step, with a total length at 45.8mm(1.8") tip to tip. Any ideas let me know. I'll use the two I do have have, one on each truck for now.
One wheel set finger pressed together, but the other needed a vice to press one of the wheels,, but barely. The wheels have cooling fins and do look great imo.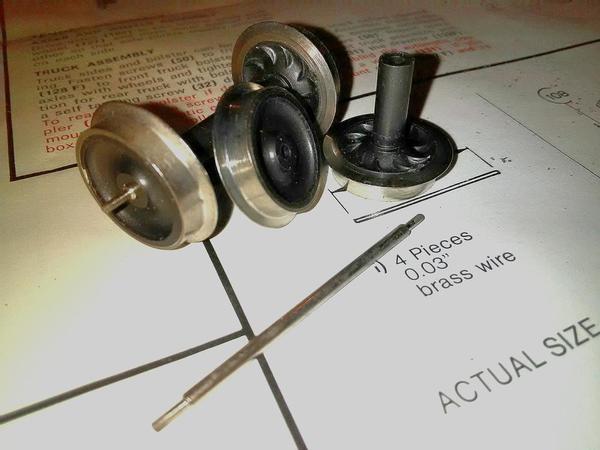
The parts. There is a lionel knuckle for comparison by that GIGANTIC copy of the old school HO type the kit includes, and a toy coupler I'll use till I locate a plastic dummy lobster claw or a Kd version that works with lobster claws. There is a scale coupler and gear box that body mounts by snapping in place that is included too. It looks easy to swap systems at a whim; nice
The pins are for ballast plates in the tender
That HO-ish coupler could be heated/bent/trimmed to work in a pinch, I bet.
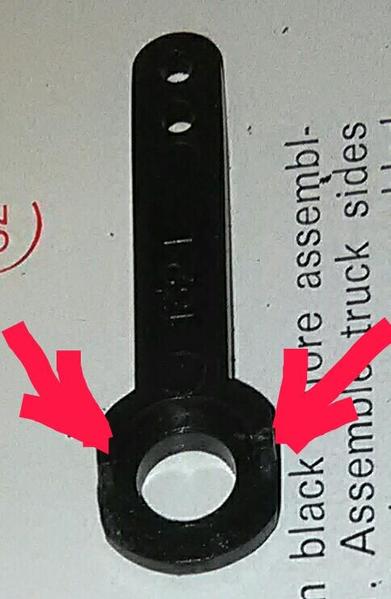
Not much side to side swing on the stock parts. There is a cast ridge that locks the hO ish one in place. File that off and it would center by spring action. The draw bar has notches that severely limit is swing. It looks like it swings enough for 031 curves, but I will take some of the limiting plastic off with a dremel just in case it rides tubular ok, it will be set for 0-27 too.
(Edit: no trimming needed for the tender to take an 0-27 turn behind a General, but this AHM 4-6-0 engine is 0-36 minimum )
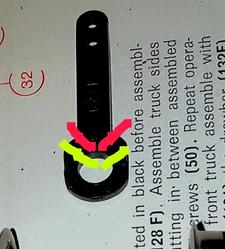
One truck had some flash at the arrow to remove from the pocket. But others were perfect. The trucks s screw together, no glue needed . Its side frame screws being correct is a bit of a puzzle having to do with screw counts supplied in each bag, from each kit. I'm ignoring that puzzle and using the longest with pointed ends because of a two thread advantage over the self tappers, which I ran in first for the cutting action, then swapped in the longer. If I feel the need for longer ones again later for the intended use, I have some longer ones I'm sure.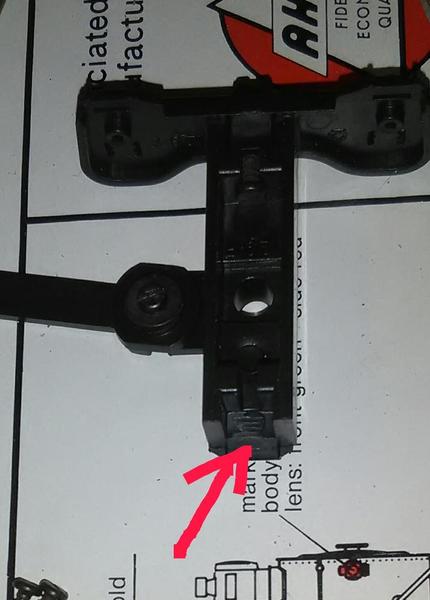
To be continued........


