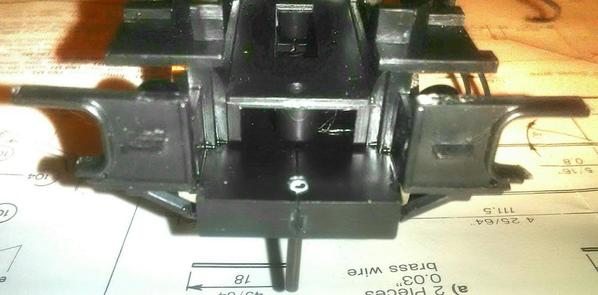
Glue had to be applied and the frame juggled together without losing the position of the motor plate, spacers, and draw bars pin.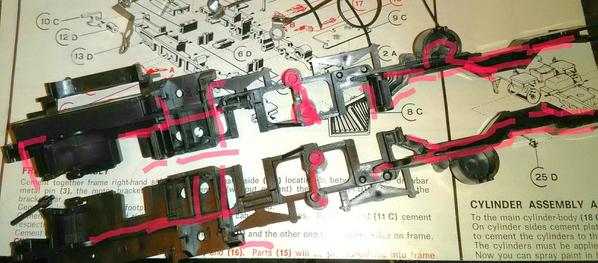
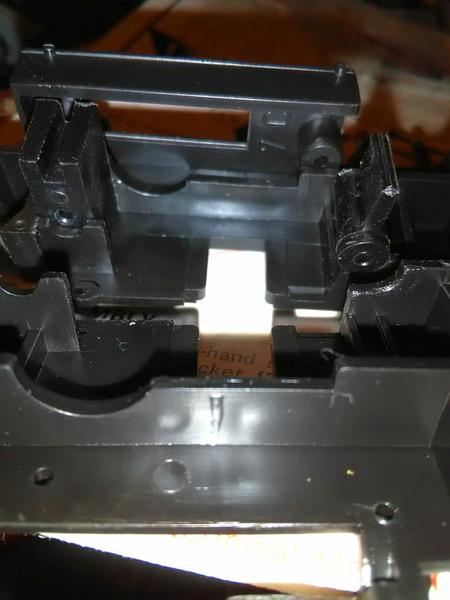
I also soldered the leads to. The pick up pin's terminals seen here and there.
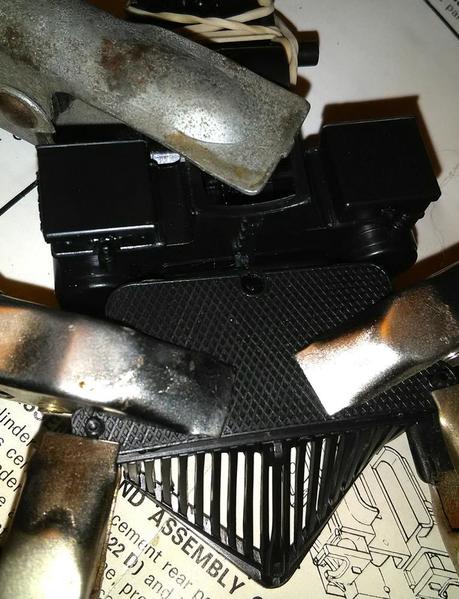
The cabs rear supports kept straight for attaching.
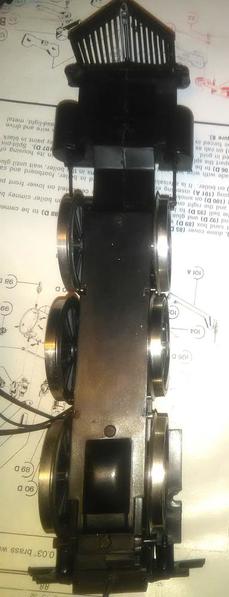
End result and a couple better shots of the motor plate and freshly greased gear. The wheels are a no brainer, gear to the rear and the others slip into the correct holes. The center drivers have a copper spring plate that just sits on a peg held down by that axle and the gear cover.
Also if you look closely at each wheel between the frame and wheel flanges you'll see a small silver pin, than is actually a small plunger that rides the flange for electrical pick up. They just press through each of the terminals I pre soldered, wedging into the frame holes.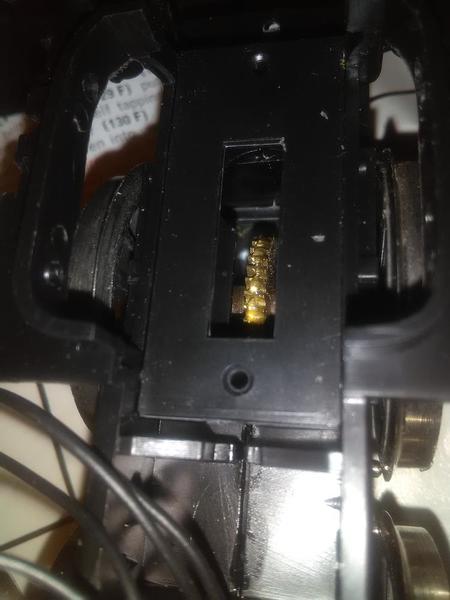
A cab support needs to be re-glued. Its weak and flexing there for some reason. Like that drop of glue won't cure. 24 hrs still flexes..??? (Newer glue there).
That's it for step "1" on the instructions. It looks harder than it is. The cab supports are the hardest thing so far. One step worse than the tender wall assembly.


