Update Feb 14th
I wasn't planning on doing a step-by-step how to article on the proper way to build a brass locomotive because I have never build one before. The hope is to share my first time experience of trying to build this brass kit so today’s forum members can learn. In the March 1972 issues of OSR editor Corey Jones said “The object of this magazine is to provide the basis for sharing ideas and methods of model railroading in O Gauge… and O Scale”.
To build the kit correctly was planning on carefully following the detailed steps shown in the original Locomotive Workshop instructions. 1st Problem. As @mwb mentioned above they don’t give step-by-step instructions! This kit only included a suggestion sheet. I needed more than just suggestions. So, I put away the kit and went back to reading more issues of OSR to learn from model builders during this time period.
I found insight on building a brass locomotive in the February 1978 issue of OSR magazine (issue #54). On page 14 of this magazine Dr. James F. Eudaly gave photos and covers general techniques on assembling a Locomotive Workshop's U-33c brass locomotive kit. To assemble the different parts of the kit he used solder, epoxy and CA glue. Armed with this new knowledge I open the Locomotive Workshop's instruction sheet again (scratch that, suggestion sheet) and started with number 1.
1. Cutouts:
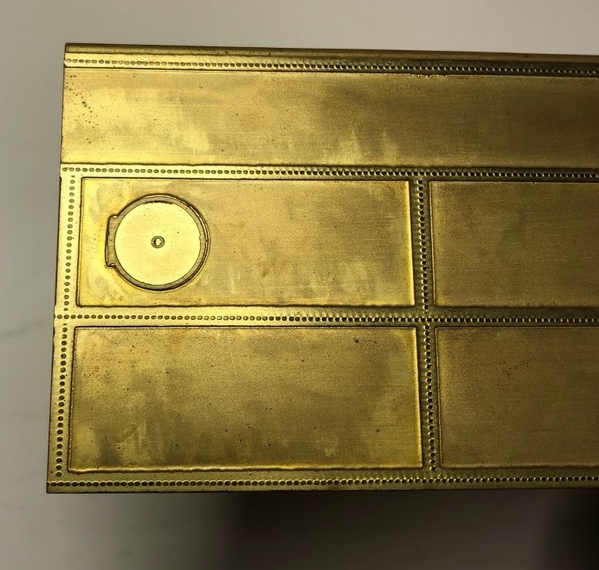
There are a number of cutout to be made in the body shell. The portholes and side door cuts may be made before soldering on the ends, but all roof cut should be held until the body in structurally complete.
That’s it… nothing more was said. Well, honestly I didn’t like suggestion number 1. The brass sides move under any kind of light pressure. I decided it would be better to wait until after the body is more structurally complete and use 1” thick wood supports inside the shell to reinforce while drilling portholes. Well, on to the next suggestion.
2. Nose: Cutout the windshield before soldering the nose to the body of the shell.
There’s lots of difficult work to complete in that short little sentence of suggestion #2. As you can see below only the fireman side of the brass nose casting has been cutout from the factory to resemble a windshield opening.
And the next part of section 2 it reads: On the E9, remove the number boards.
Ok then… it looks like only the fireman’s side of the nose casting comes from factory in a finished state. Locomotive Workshop must be giving examples for the person building this kit and expects me to make the other side of the cab match. At this point it's time to bring out the Dremel with cutting bit. Also, I need to drive over to Harbor Freight today to buy their 12 pack of fine jeweler's files for the finishing work around the window.
Stay tuned for the next update in this adventure!


