Update:
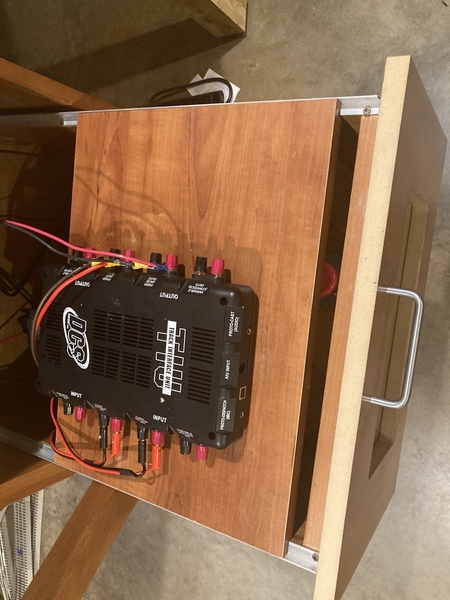
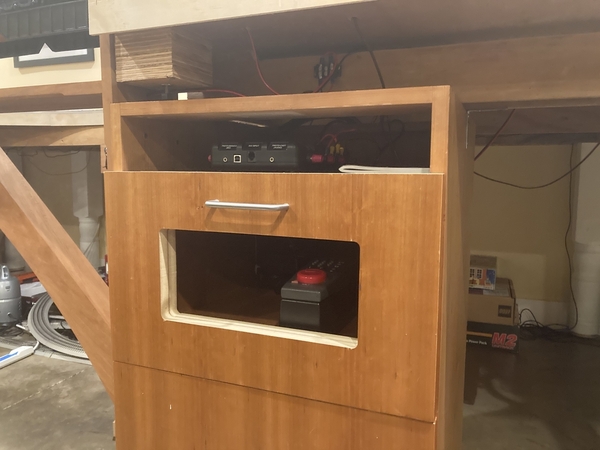
progess has been mainly on wiring and control systems. The lower level is divided into two loops with separate 180 Lionel bricks powering each. The control system is a combination of DCS and TMCC. The later of which will be upgraded to a Base 3 when available. Wiring is in the star pattern out of Berry’s DCS book. The mounting location is a recycled built in file cabinet. I cut the drawer front even with the drawer sides, and installed a board that fit into the hanger file rails. That allowed me to mount the DCS on the top and then install the TMCC and power bricks in the bottom of the drawer. I also cut a hole in the drawer front below for access, airflow, and signal strength. Cherry veneer edging will be added to the cuts and finished to match the rest of the cabinet.
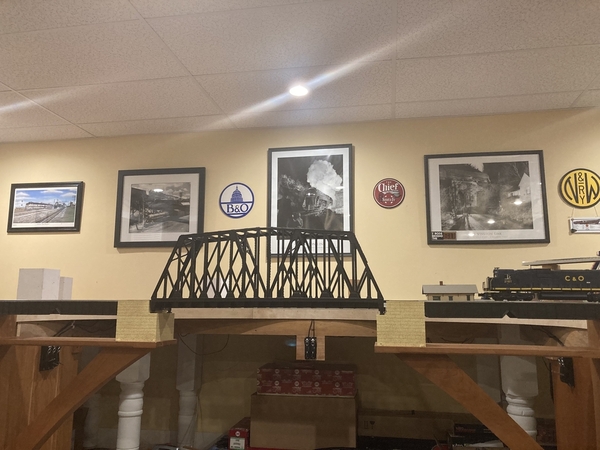
The removable bridge is made out of 4 Fastrack girder bridges and a Fastrack removable truss bridge. It is supported from both sides by cherry arches made out of some leftovers of another project.
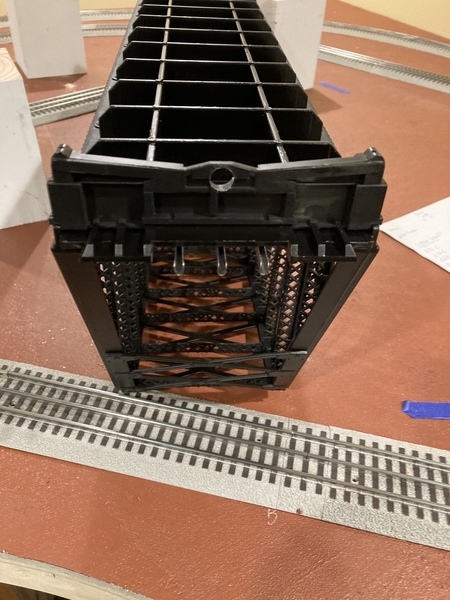
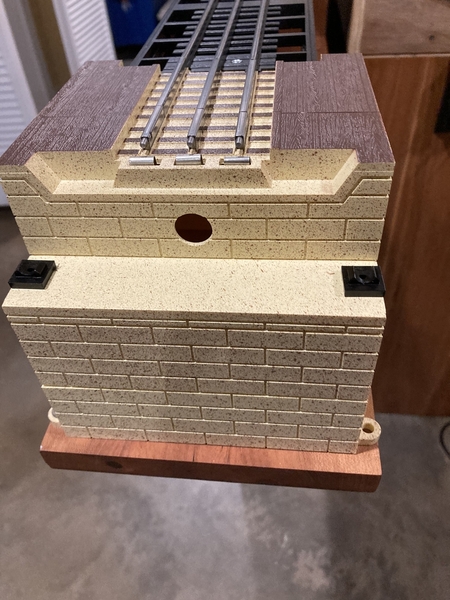
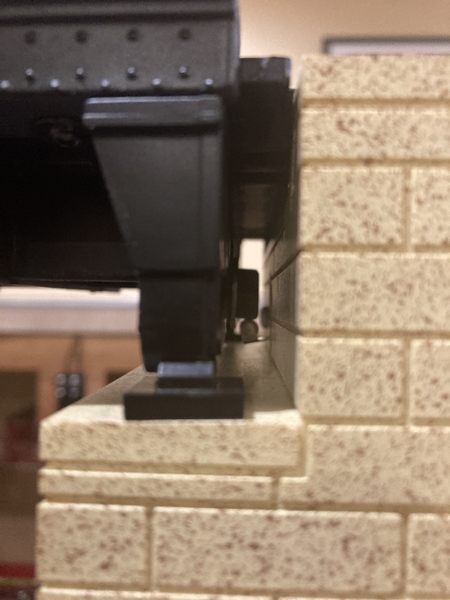
I wanted to add a disconnect to prevent accidents if the bridge is removed during operation. But, the truss bridge is not designed for that so I had to get creative. The bridge was designed with an option to be permanently wired by use of holes between the bridge and the pier. The holes align with a 3/8” gap between, and are out of view from above and below by the decking and pier overhang.
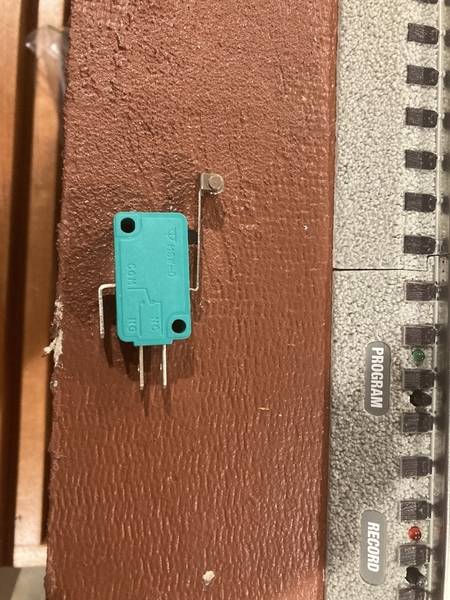
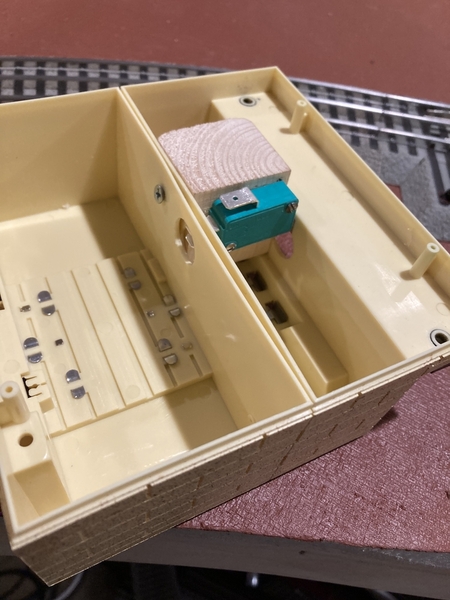
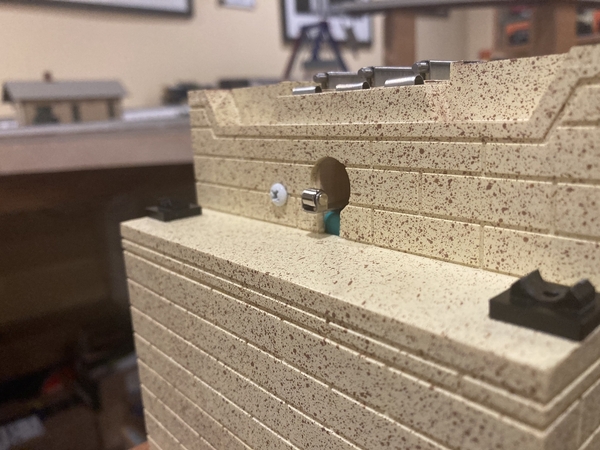
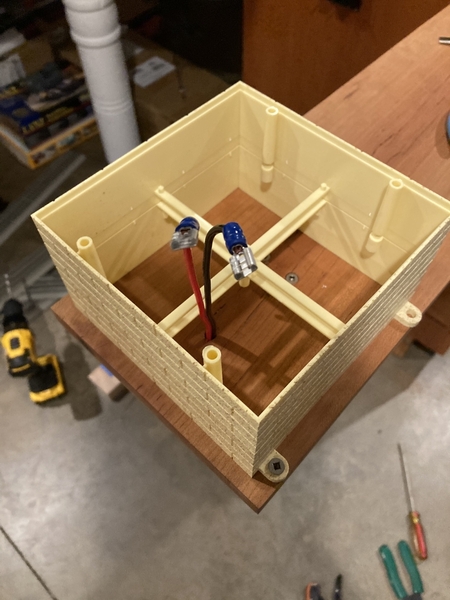
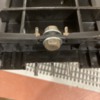
The switch is mounted to the inside of the pier with a bLock of wood secured with a couple of screws. The hole on the pier side was elongated into a keyhole to allow the switch arm to travel. To trigger the switch, a bolt was added to the bridge side through the hole intended for wiring. The switch is compressed by the bolt head when the bridge is placed onto the pier. The last pic below is an attempt to show how the bolt head compresses the switch when the bridge is in position.
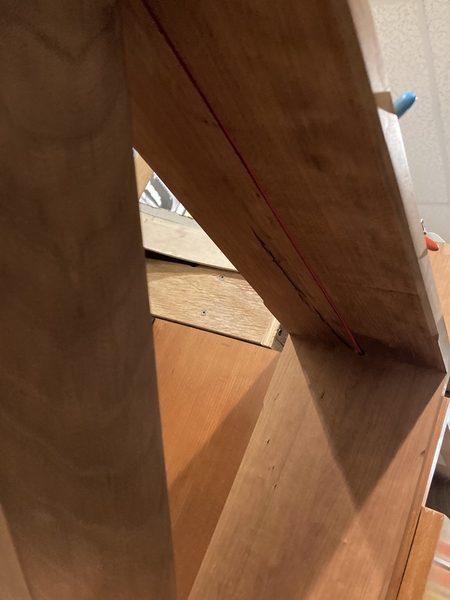
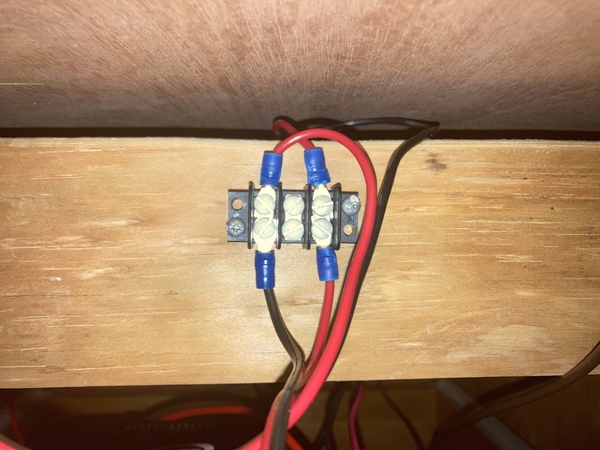
To wire the switch I isolated a block for the bridge leading up to both sides. The block is powered by a drop under the layout just before the bridge. The switch is wired to the center rail wire by the way of a speaker wire that takes the power out to the switch and returns it if activated. The wires are hidden by a groove cut into the underside of the support arm and up into the pier at the end.
Other improvements to the layout include the programming of the command switches and mounting the remote switch controls onto the side of the cabinets. One the last day of York I stumbled onto a deal on some sensor track pieces and the needed cables. Those have now been installed.
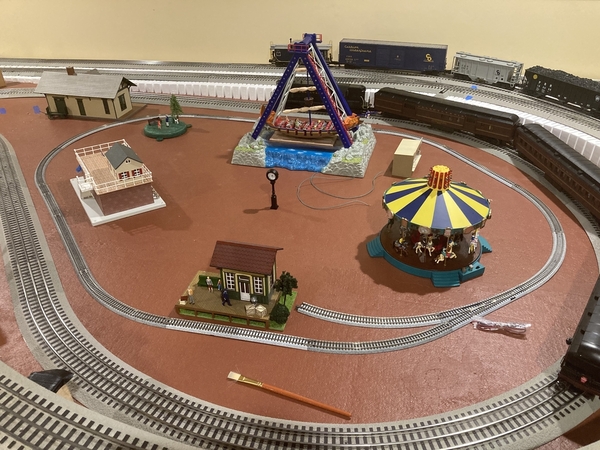
Finally, I started to layout the park area that will include an N scale loop for O scale children to ride. It will also include Lionel accessories of the carrousel, pirate ship ride, and balloon ride.
Next up is building the upper level.


