talk about time! My last post on my upper city was in December. So I have progressed!
I chopped up the city into rectangular pieces to laser cut on my Glowforge. It looked like this.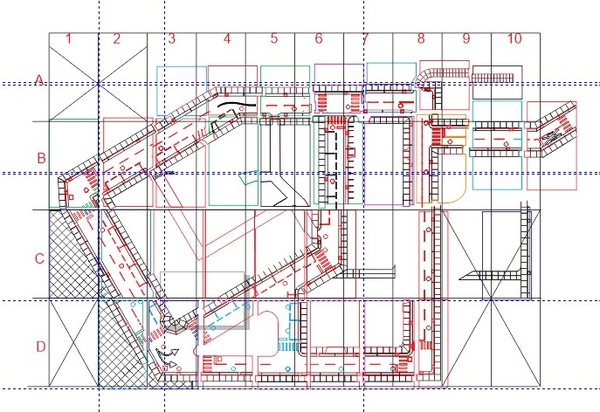
Each rectangular square is about 11"x18" the max cutting size of the Glowforge.
My first thought was to cut the sidewalk and curbing in 1/4" draft board (MDF like) and then recut the streets in 1/8" draft board, using a table router to make the rounded part of the curbs.
Instead, I cut all of it using 1/4"; and then will raise up the sidewalk and curbs about a 1/8" to match the top of the 1/4" streets. This allows me to run wiring under the raised part for the streetlights and traffic signals without further grooving.
The upper city assembly is like a complex large puzzle.
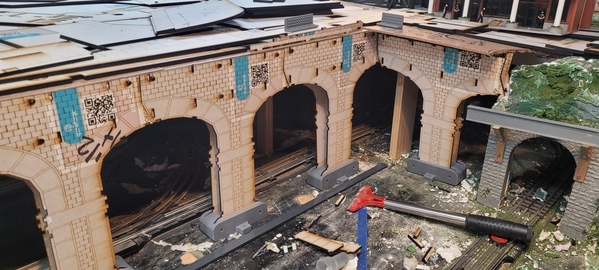
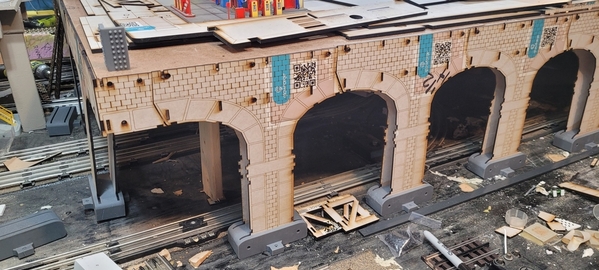
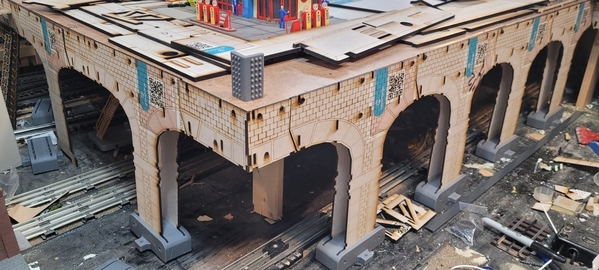
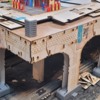
The upper city is sitting on Masonite that is attached to a framework of 1x3s, To hide the exterior 1/3s, I created, and laser cut a series of stone arch ways and several large bridges.
The 1x3s are hidden with a combination of brickwork on the arches, The arch bases are 3d printed.
The arches will appear solid after the end pieces are attached.
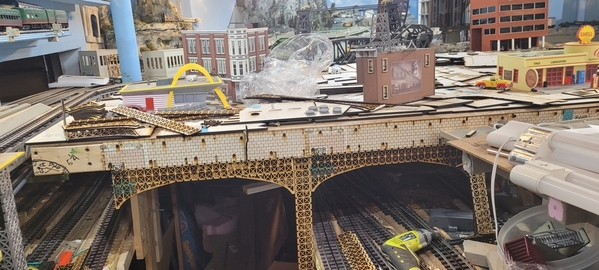
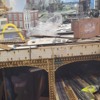
Below are the large bridges that span the inner river harbor (not shown) and track. These bridges are doubled outward to create thicker bridge effect (not shown). As shown, the arch brick work continues around to the bridges.
In this photo you can see the unassembled sidewalk, curb and street pieces waiting for assembly.


