Part 2 (now with more pictures!
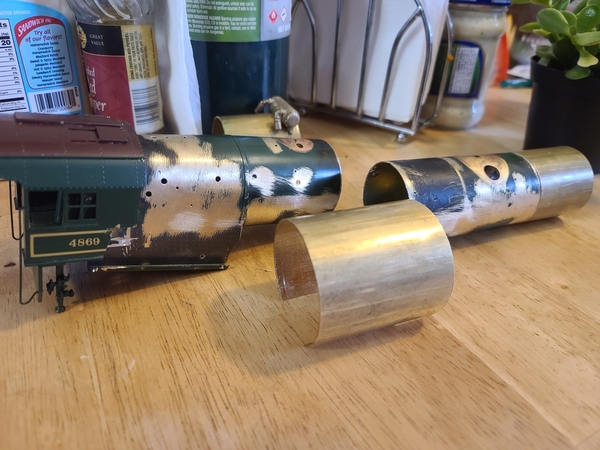
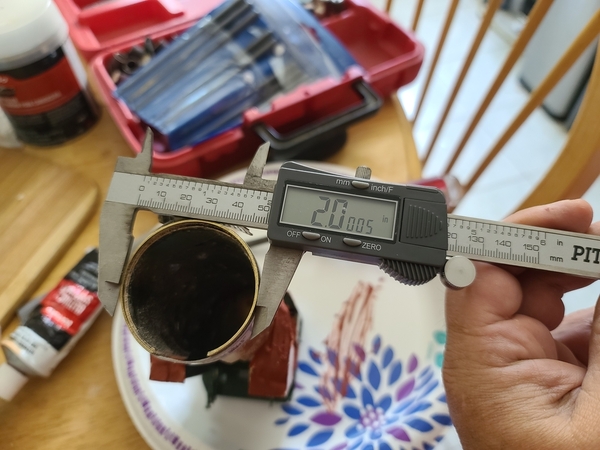
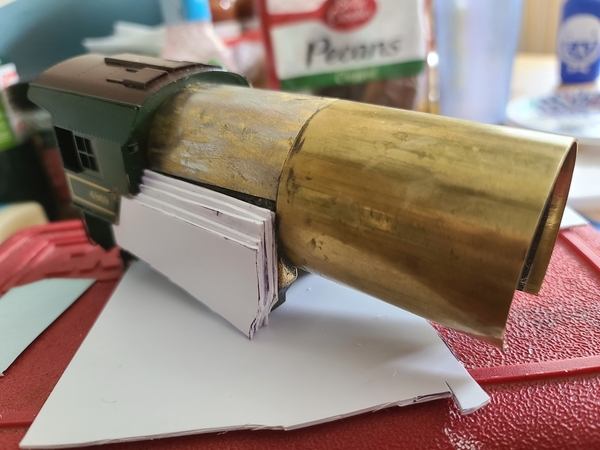
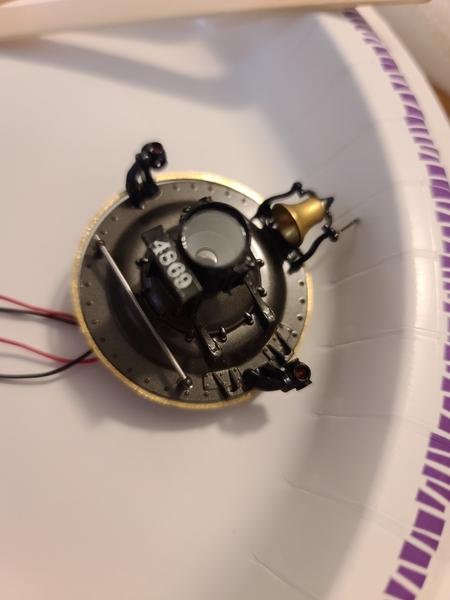
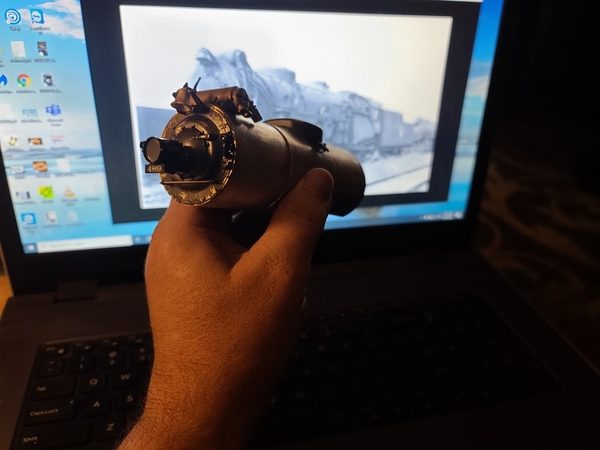
I had a plan (hair-brained as it might be). From diagrams and research, it seemed that the heavy Mike's boiler was 96" in diameter at its widest, and the smokebox was 86" in diameter. Scaling 96" down came to a wonderful 2", and the smokebox scaled to just over 1 3/4". Ordered some brass tubing, and figured I'd clad the original boiler using that and JB Kwik to hold it in place rather than attempt to solder everything, as I have no plans to ever take it apart again, and the faster curing time of the "Kwik" would allow me to get more work done, faster. Cutting the tubes for the straight parts was easy, cladding the tapered parts a bit more challenging, involving cutting tubes lengthwise, then fitting and trimming as needed to cover. I also cut a ring the thickness of the smokebox front which was applied to the original front to bring it out to the diameter of the new, larger smokebox.
I originally planned to meticulously map the items I'd removed from the original, so I could put them back on the finished product, but quickly scrapped that as I realized that it would be much easier to just figure out where things needed to be and drill new holes when that time came, since not everything would be in the same place, or used at all.
2 large aids were the folks at CNJ at Mauch Chunk (a wonderful bunch of guys who model the CNJ in the UK), who put together a guide for converting an HO BLI USRA Mikado to both CNJ M3s and M3as BLI USRA to CNJ Heavy Mike conversion, and Brasstrains.com's pictures of an HO OMI CNJ M3as 2-8-2. Armed with this info (and some detail parts from Precision Scale Co.), I was on my way.
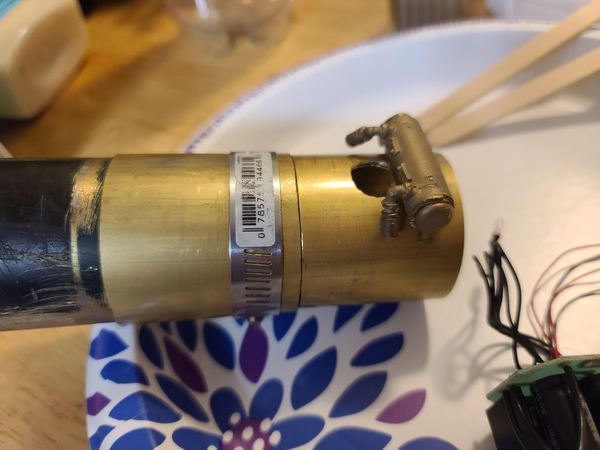
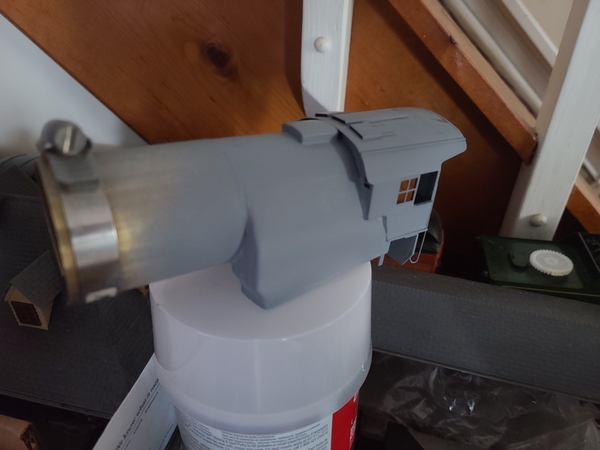
First order of business after enlarging the boiler was adding the Wooten firebox. Our good friend styrene came to my aid. I JB Kwik'd the first layer onto the original brass firebox, and built it out as needed, then filed and shaped it. Also used styrene for the cover in front of the cab. A hose clamp is holding everything to the correct diameter until the front of the boiler is attached again. Hit everything with a quick coat of primer to see what needed a bit more work, and drove on...
Put the smokestack back in, attached one of the domes, and added the Elesco feedwater heater. Only problem, the ends on "Precision" Scale Co.'s heater were reversed, so I had to cut them off, re-attach them and THEN I could mount it. It's starting to look like a train again, rather than a collection of brass tubes with various holes cut in them!
Stay tuned for Part 3!


