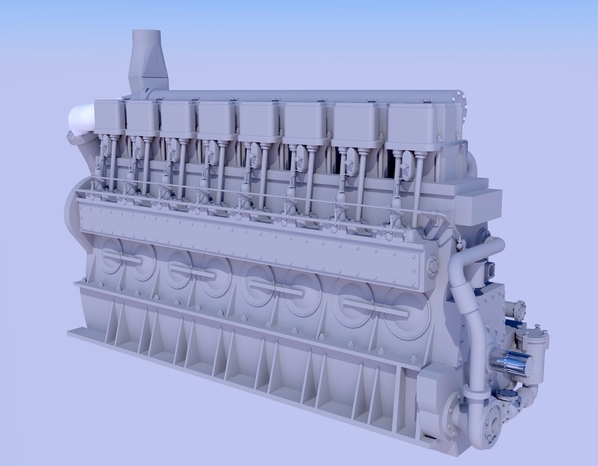
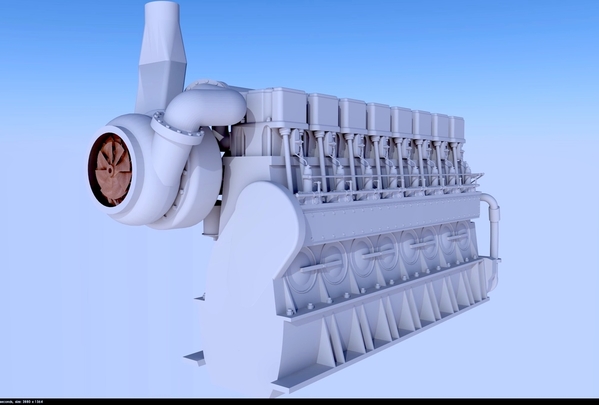
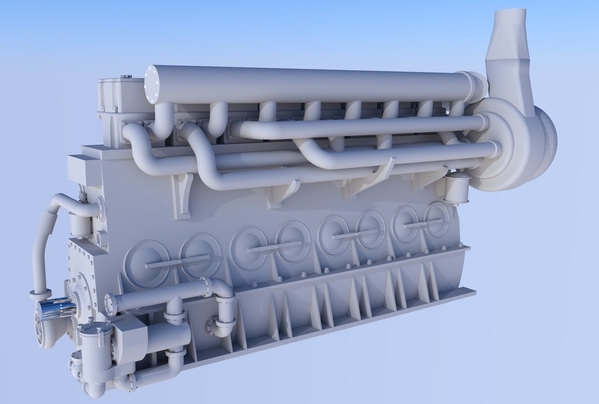
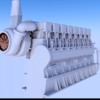
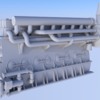
The engine part of the Baldwin project is done and ready to be deconstructed for 3D printing. I finished up the oil and water lines yesterday. I'm still deciding on how to divide it up for the most successful printing. I did some more formal rendering using the Podium plug-in on SketchUp.
There are splines on the power output shaft took about 1/2 to draw, but I wanted them there. The fuel line will be printed in two parts separated at the demarcation line at the front plate. I've included supports on both sides of this connection, but the line's really fine and might have a problem.
I added more support under the exhaust system to provide more support when printing and beyond. In use, these pipes were insulated to preserve the exhaust energy going into the turbo. I've gotten really good at drawing piping systems on SketchUp. The front plate with the pumps will be printed including those side pipes. One good thing: Whatever I actually draw in SketchUp will faithfully be reproduced in the print output.
I solved the lighting problem in the engine house. It seems that the LED driver chip is sensitive to how the line is loaded. When I cut the positive lead to the side door LED, immediately the lights went to full volume. Just for fun I then attached the bare + lead from the outside light without driver or current limiting resistor to the same spot I just removed the lead with an LED driver attached. Remember, there is an LED driver chip at the front end of this whole string. The outside LED lit normally, but all the other lights went out. When I removed it, the string lit. So there must be something about that light interacting with the front-end LED driver. I then lengthened the + lead and attached it with a 470 ohm current limiter before the first LED driver and everything lit correctly. The arrow shows the current limiter spliced into the + input on that circuit.
All the lights are now at full output including the outside light.
Next up for this will be bringing the landscaping up to the EH walls.
S-38:
Painted the landing gear, first with a mixture of Tamiya Gold, White and Clear Red, but it came out like a tan color and i didn't like it. Then I dug out some "Venetian Gold", which is a reddish gold and hand brushed that over top of the airbrushed previous coats (including some Tamiya white primer). I liked it better, and when dry, messed it up a bit with AK Interactive wash. When the wash was removed, it dulled down the "newness" and works reasonably well.
The tone is pretty close especially since the plane's real metal has some many varying shades.
The model is over seven feet in the air and will be viewed from a distance so the tonal variations won't be very noticeable. One of the team members suggested re-printing the gear in investment wax (405nm curing) and then get the gear investment cast in actual bronze. I'm going to research that possibility. If they like the gear as is, then it won't be necessary.


