Thanks guys!
To continue with the decor items, here's one of the lamps glued to the sofa table that's going in the living room. I used the same "vanilla" craft paint that's going on the exterior walls to paint the lamp shade.
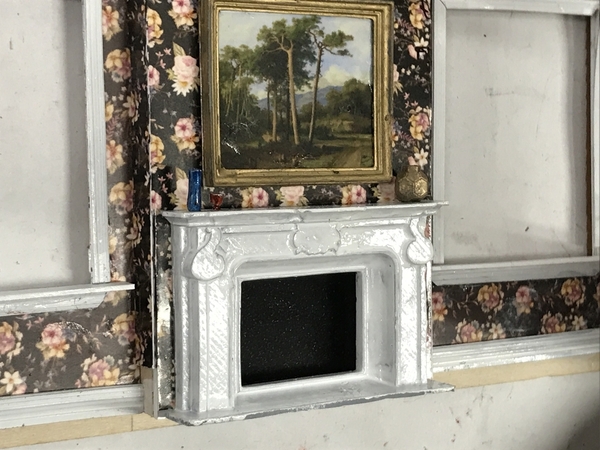
And here are the other vases on the mantles in both rooms. I felt that it didn't really matter to have different objects displayed. No one is ever going to see them.
I did alternate sides...
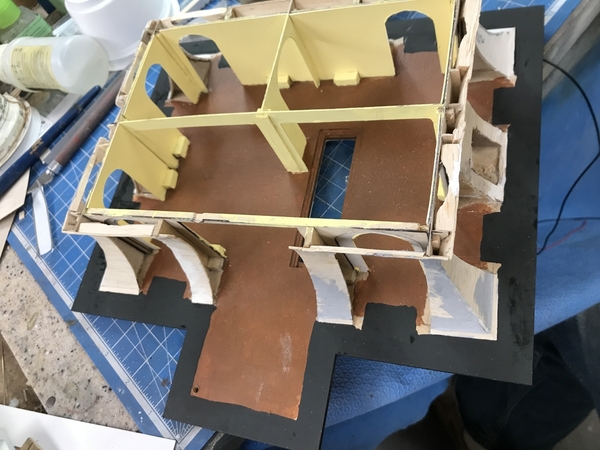
Today I also completely finished the turret structure. I glued the top roof in place with gel CA. I then installed the 6 sets of corbels. I was rewarded with these little pieces being exactly what I wanted them to do. I wanted to do this step before the windows so I wouldn't have any extraneous glue problems.
I then had to install the spiral stair. I needed to do this at this time because I needed access through the open cupola window spaces so I could manipulate the stair and get glue into the few places that would be holding it. I first tried to use Bondic, but it wasn't ideal so I resorted to the Gel CA. There aren't many contact points between the spiral stair and the openings. I got glue in as many spots as I could. The critical thing was keeping the bottom pad flat on my work surface so it was installed plumb.
Once this was in place, I was able to glue the turret windows in place. I thought about putting some trim around the laser cut window frames, and after doing the rear window decided that it wasn't really worth the effort. I used Testor's Transparent Parts cement to glue the windows in place since it's very forgiving while drying fairly strong.
With the windows install, the turret assembly was essentially finished except for a downspout which will go in when the building is assembled.
With the turret down it was back to the Mansard roof. I installed a window into each opening and traced the footprint. I did this so I could find the demarcation line for the NATO Black "roofing tar" that will simulate the rain gutter area. I then brush-painted the black to my lines.
I again, using the transparent part cement, glued in all the Mansard windows. As I noted the other day, these windows need to be installed to do the flashing and roof shingle installed. Here're a couple of images with this step completed. All my fussing over these window fits seems to have paid off. The windows fit nicely.
I've altered my exercise schedule a bit so it doesn't cut so much into the real stuff that I do. I was doing it every other day, but that made alternating weeks where I was exercising on M-W-F. I'm now doing it on T-TH-Sat and then taking off two days. I'm not obsessed by model building, but I am compelled to do it. Days when I'm not in the shop feel unfulfilled. So it's a compulsion, not an obsession. Is that any better... hmmmm...
Tomorrow I'll continu working on the Mansard and it will take a couple of days to complete. I toyed with the idea to start installing the furniture, but that's going to wait until I'm actually ready to glue in all the walls. I want them to be protected and having them in the rooms, but not in the building does not meet that standard.


