I'm sure you've seen that I've been writing this continuous thread for 8 years. I very rarely wax into politics. I do get philosophical occasionally. Tuesday made a big impression on me. I won't go political for another four years.
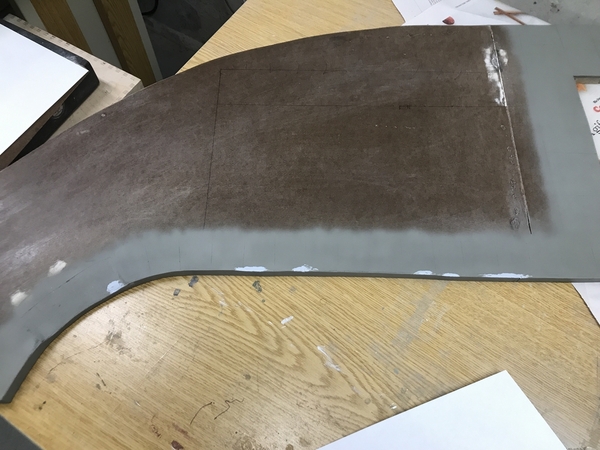
The Idaho Hotel parking lot is almost finished. Yesterday I painted the sidewalk, but thought the concrete color I mix was too dark. It also showed some minor gaps that needed filling. I filled this and let it dry overnight.
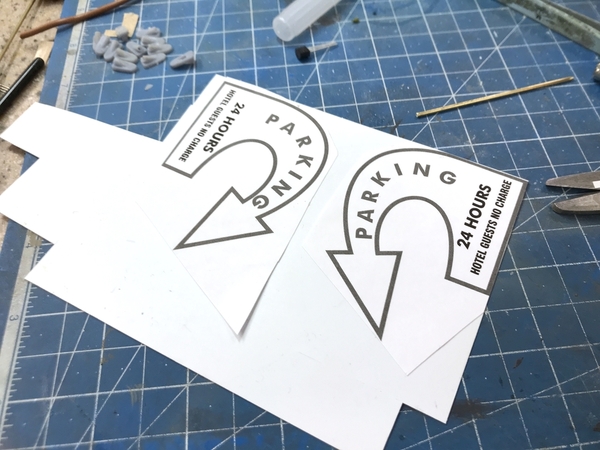
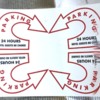
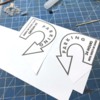
I also designed the graphic for the parking lot sign. I printed the graphic out on clear decal film since I will be applying it over a white substrate. I also printed out a B&W version on plain paper which would serve as a cutting template to make the sign. I always print out as many copies of the decals as the sheet can hold since you never know what's going to happen. In this case, the paper obviously started to move sideways in the printer and smeared the output on the back edge. Didn't matter since I had two good ones.
I pasted the template to the 0.015" sheet styrene using PSA, a light coat just around the perimeter. I only wanted to hold the template in place to cut it, not to permanently adhere. In retrospect, this could also have been print out on photo paper and I may still go that route.
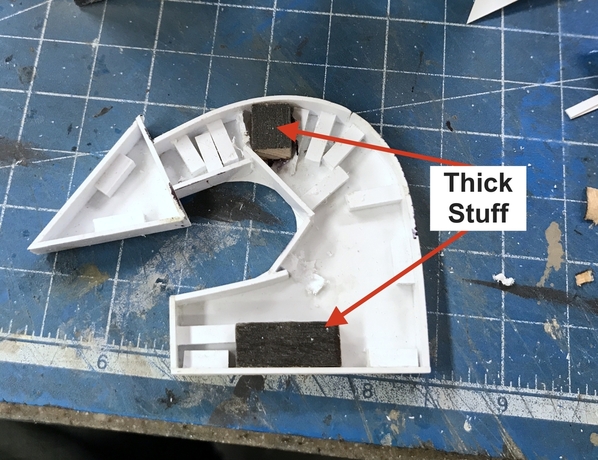
After cutting out the flat pieces, I needed to fabricate the sign to make it 3-dimensional. My plan was to have a pipe running through it and the light fixtures built into that pipe. That meant that there needed to be something more substantial inside to give the structure some good support.
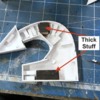
I used little 1/8" blocks to support the rim which was 0.040" X .125" styrene strip. As I was bending the styrene around the outer curve I mistakenly used thin CA to reinforce a stubborn part. The CA attacked the styrene and caused it to fracture in three places. I left the existing piece in place and spliced new styrene to it. This time I didn't use the CA. CA can be aggressive… to aggressive. I glued some thick Ross RR Tie wood to made the reinforcements. In this case I did use medium CA, but only on the underside.
My traced piece for the front side was undersized. I cut it too much on the inside of the line. I then traced this assembly on some fresh sheet stock and cut it out. I glued the pieces together. I then needed to drill a hole down the center of the piece from top to bottom. You can see all the different angles and masses that the drill would have to traverse to get through in the above image.
I drilled first with a 1/16" drill in the Dremel. This picture shows the 1/16" rod passing all the way through.
I then put the work piece in the drill press vice and opened up the hole to 3/16" to accept the brass pipe that will make up the stand and conduit for the wiring. This was a bit hairy and didn't quite come out in line. But it's enough in line that I can assemble it.
I painted the whole deal with gloss white in prep for the decals on Monday. The thin styrene came out a bit lumpy, and that's actually pretty cool since it looks like sheet metal which is what the real thing would be made out of.
Now that you've seen all this, it came to me after working a couple of house on this that I could have 3D printed the sign. Every once in a while I regress and do stuff "old school" where I could do it the "modern" way. I am going to draw and print a nice pedestal for the sign so it's just not sticking in a hole in the parking lot. I'll do that this weekend too.
I remixed a lighter color concrete, sanded yesterday's patches, and then resprayed the new color. I was working on the sign while this was drying. You can see the color change in this image.
After the concrete dried, I followed the same procedure as for the Gravely lot: paint the white for the lines (3 coats). When dry use narrow tape for the lines, mask the sidewalk and other concrete areas and then paint the paving with a dark gray mix of artist's tube acrylics.
After painting two coats of "asphalt" I put in on the layout to dry and pose for some more pictures. It's a bit shiny and I will Dullcoat it next week. I will also do my usual like weathering. The macadam still looks too black. It looks like it was just paved. That's okay… it's my town. If I say it was recently paved, it was recently paved!
I need to make parking barriers as before and then deal with the retaining wall/barrier/fence situation. I need to drill some new holes for Saulena's and Idaho's wiring to pass below. You can see the hole for the sign at the top right corner on the paving.
Parking lots take up a lot of real estate, and all of mine are about 50% too small. In fact, I seriously doubt a real car could put into one of those parking spots without hitting anything. It's the curse of O'scale. Things are just too darn big. The N-Gauge guys have it made in that regard. In the lower right foreground is the last unassigned bare green foam in the town. It's a bit small for a structure and might be a little park with some Scenic Express stuff.
Have a safe, healthy, socially distanced weekend.


