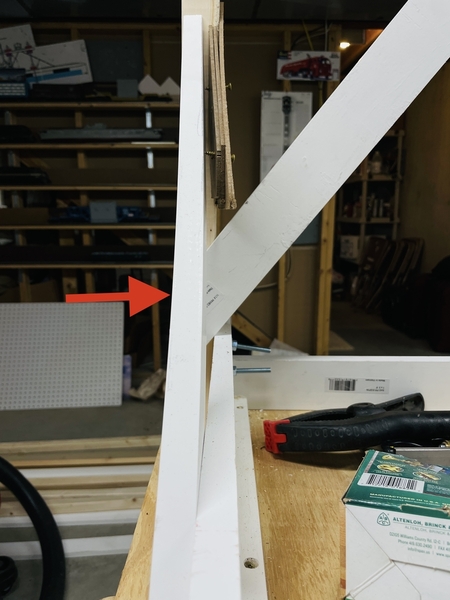
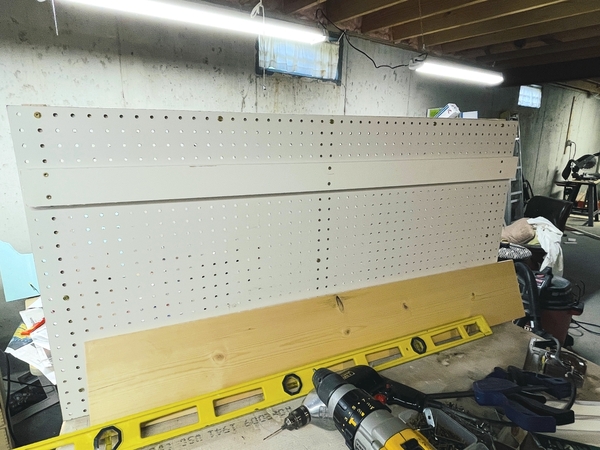
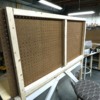
The first Table Mod project is done and it's working exactly as planned. I first had to finish it up. One of the 1 X 3s that I was using as a short, front diagonal brace had a significant warp in it. I could have pulled it straight with the gusset screws, but it was torquing the L-girder too much, so I packed out the gap with some more Masonite.
The arrow points to the curve. It should have aligned with the leg's inner edge. Instead it was pointing to the center.
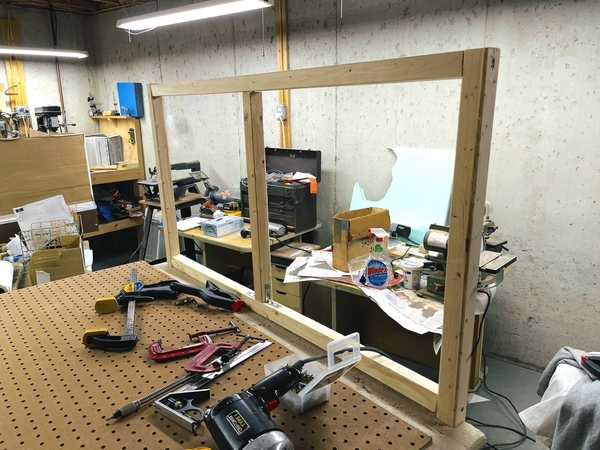
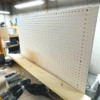
With the bracing in place, I carefully turned the table right-side up on its own legs. I then built the back framing that would support the pegboard and the shelf.
The 2 X 2 furring strips are really awful. The square stock I bought in Germany 21 years ago were much better lumber. All the German lumber seemed to be of higher quality than the usual US stuff. It was warped and twisted. For the silly little frame I was making I cut the pieces to minimize the curves and lived with the twist. The bottom member was just there to provide a fastening point for the middle vertical member, so the twist at the ends mattered nothing.
I used angle brackets to secure the center brace to the bottom member and just screw in from the top to secure it there. I also screwed into end grain for the two ends of the upper longitudinal. It's not a good way to hold wood together, but the usage is low load.
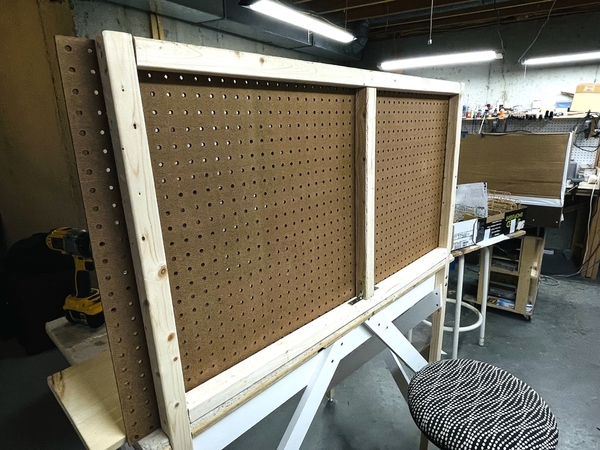
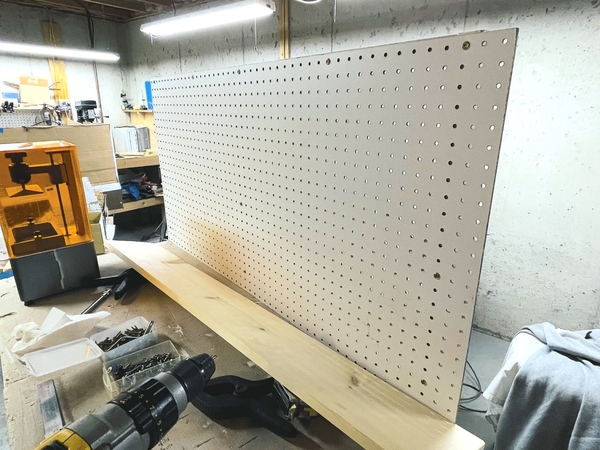
When the pegboard went on the whole deal stiffened up a bunch. I used Torx screws with dress washers to hold the pegboard in place.
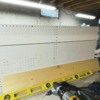
And the front:
I didn't have a any commercial shelf brackets, but didn't need them when I had a chop saw. First I screwed on a 1 X 3 ledge to support the back of the shelf.
The shelf was a 1 X 8 and I wanted to make a full-width 45° angle brace, so I multiplied the shelf with by 1. 414 (the sine of the angle) and got about 11". So I made three 1 X 3 braces with their ends cut at 45°. They were too long and overhung the shelf edge. What?!!! So I decided to ACTUALLY measure the shelf's width and it was 7-1/4". Oh… that's what happened! I trimmed the ends again at the bevel and made them right. Always easy to make something shorter.
I clamped the shelf to the ledge, used some other clamps to hold the pre-drilled diagonal braces and screwed them all in. I pushed the table back to the wall, raised any feet that weren't sitting on the floor and measured its level. It was pretty good. I paved the surface with polyfilm to protect it against the bath of UV resin that it's going to get, and moved the 3D printing stuff into place.
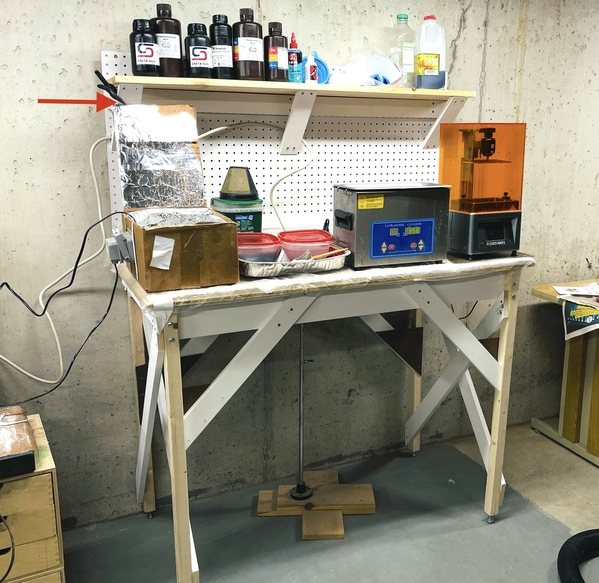
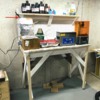
The acoustic tile surface is a bit soft. The printer's feet sank into it. I placed a piece of Masonite under it and made sure it was level and cross-level. The bench's full 4 foot width accommodated all the key apparatus and solved the first problem. In the previous setup, the UV curing chamber was behind the ultrasonic cleaner and was a pain to load. It's now right out in front. The lid opens towards the back. The arrow points out the spring clamp that I need to keep the lid from flopping closed so I can load it with both hands.
The next improvement was the shelf. All the supplies (Resin and cleaning) are now off the work surface. I may plastic coat the shelf too since resin is notoriously sloppy. Everything in this arrangement is cleaner and more efficient than the previous one. Took two days to do this project. Easy when you have the right tools. It doesn't wobble, but due to the shallow front bracing, there is some flexibility side-to-side. Again, the table's going to do light duty. It's definitely over-engineered. BTW: raising the legs off the floor with the carriage bolts is good especially if there's any water on the floor. Notice how easy it is to clean under it. The table in the train room is not a four foot width. It's less, so the construction will even be more spindles. I've already produced the L-girders so I committed to going that way.
I ran out of time, but will strip the plastic sheeting off the old table and put the sanding gear there.
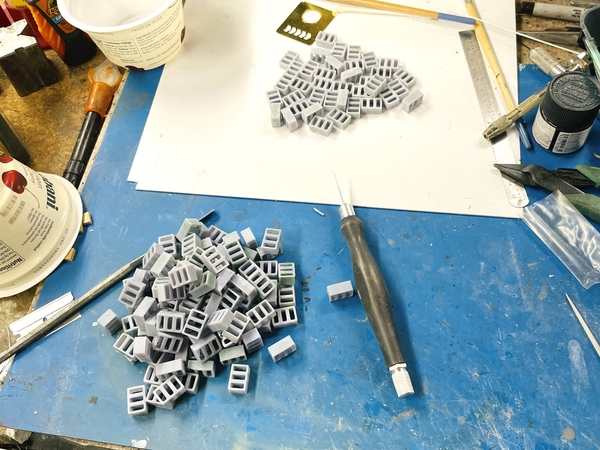
While this was going on, the printer was busy making 140 1:32 scale jumbo concrete blocks for a project that Al Graziano is doing and needed a hand. He needed 120. I was getting 21 per load. Each load took 45 minutes. I was conservative and predicted I would get some failures and crashes. As it worked out, I had to scrap 3 pieces. The printer was working GREAT! I just bought some special cleaning solution and lint/scratch-free wipes to polish the FEP during deep cleanings. Paper towels put fine scratches into the FEP. Fine scratches make the surface too sticky and cause failures. So far so good.
The back pile are fully sanded and are done. The front pile has been post-cured, but need some touchup sanding to make them perfect. Looks like a building supply truck lost its load. If I couldn't do this, Al would have scratch-built them out of styrene. I was able to get radiused corners in the holes. That would have been very difficult if building the blocks out of styrene. Printer is a game changer… again!


