Thanks as always, Mark.
Today, in one work session I upgraded the roll-around model building work bench. This is the one that I bought in Venlo, the Netherlands in 1999 on German Reunification Day. All the stores were closed in Germany, but the IKEA just across the Netherlands border was open and booming.
Last year I did a jerry-rig mod to help reduce the small parts flying off into the ether either straight ahead or to the right side. I couldn't wall in the left side since my airbrushes sit in a holder there. I used some 8" wide Masonite screwed to the work table's edge and duct taped two sheets of cardboard to that and each other in the corner. It worked! It did reduce part loss. In addition I installed the lap drape stapled to the table's underside front edge, which caught about 90% of the parts dropping straight down to the floor.
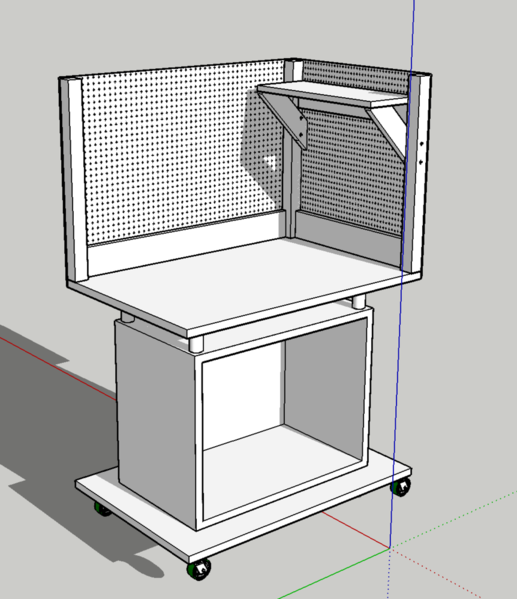
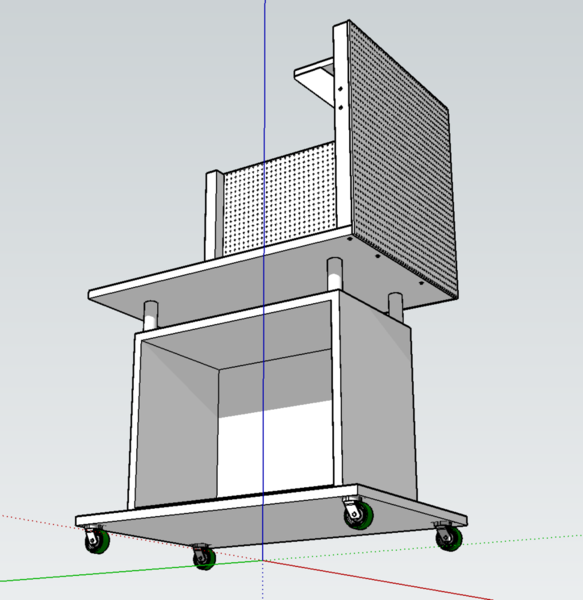
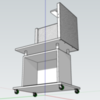
But that's all the cardboard did. It had no other function. With the completion of the 3D work table and its pegboard, I had just the right amount to pegboard to upgrade the model bench. I woke this morning thinking about the ways of framing the new pegboard walls. Here's a drawing I cobbled together to show the challenge and the solution.
Unlike the 3D bench, I was unable to run the corner braces all the way to the floor for added stiffness. And I didn't care if the framing was visible as long as it was functional. So this time I used two pieces of 1 X 4 edge-laid onto the table and screwed in from below. I didn't want to screw these pieces into the edge of the table since it would not be as secure. I was going to hang a shelf and some tool holders directly on these walls. I screwed the corner posts into the end-grain of the 1 X 4 and one screw directly from below. Not the best way, but they pretty secure. And the pegboard tied to the corners adds additional stiffness.
You can see that the table floats above the base so there wasn't any structure to hold the walls.
As in the 3D bench I added a ledge to hold the shelf back edge and then used 1 X 3 45° angle brackets. This time I screwed their bottoms into the sides of the uprights and then one screw under the shelf end. I screwed the shelf edge wise from behind through the pegboard. This was a slightly different approach than I took with the other bench, and frankly, more elegant.
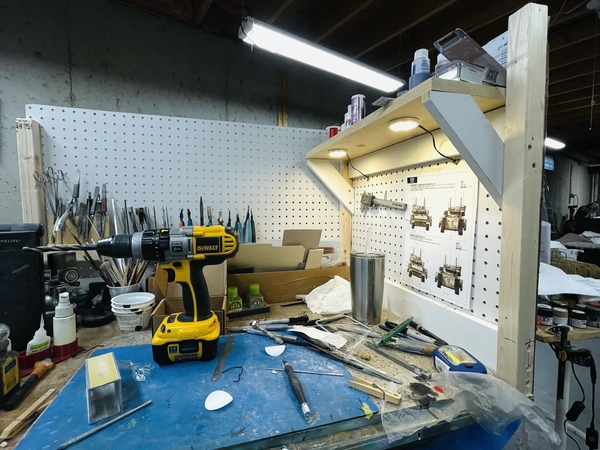
I had to replace an LED puck in an under-cabinet lighting system in the kitchen. The Amazon package contained 3 pucks. They were very inexpensive ($20) and have self-stick backs. They also have a dimmer unit. I decided that the shelf would be a great place to add some more lighting to this space.
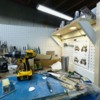
The above picture was (obviously) not staged. I rushed it as I quit work this afternoon. But it does show the cool new lighting, and you can now see that my tweezers, Needle Files and Pliers racks are now raised above the work surface enough so there's storage space beneath them. Right now I have my collection of machinist blocks that are used all the time in scratch-building. Other tools can be hung from the pegboard as I've just done with the digital. The shelf now contains all the bottled stuff that was clogging the back of the work space. I am pleased with how this improves the work flow in this space and am annoyed that I didn't do it years ago. All of the members butt against the tables edge very tightly so nothing can sneak down inside them.
I have just enough lumber left to add the new leg set to the other table top in the train room. I'll do that later this week.
As an interesting aside: I used the ultra-wide ability of the iPhone 12 to take the above pic. Notice how the wide angle distorts the perspective. That's a 2 X 2 in the corner, but it clearly looks like it 3" going into the picture while looking normal across the face. You all know that telephoto does the exact opposite by foreshortening everything going into the image. I was told that with a 35mm SLR camera, 50mm is a true representation of perspective that more or less conforms to how we see with our eyes.


