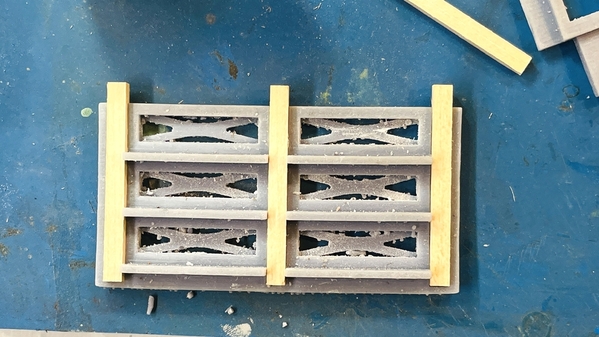
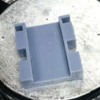
All the 3D printed jigs are done, but I'm rethinking how I'm going to use some of them. The most important is the individual rick assembly jig and that came out superbly. Here are the three posts in their slots. The posts are one scale foot too long. I will be chopping off that foot on the mini-chop saw.
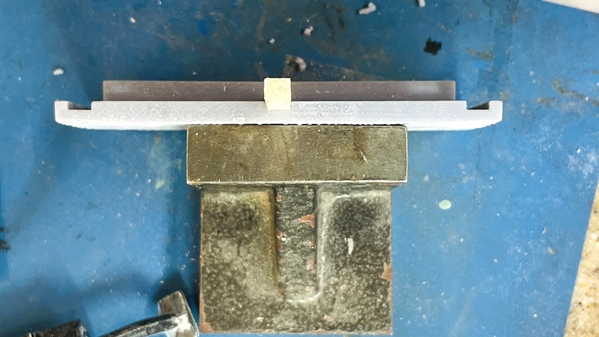
And here's how incredible the fit is between the post and the jib. I measured the posts with a digital caliper and drew the slots to match. The result is a tight slip fit. The barrel tracks will sit on top of the raised cross bars on the jig and get glue to the posts. The fact that the printer can reproduce accurate fits like this is remarkable. I keep saying it, "If I can draw it I can probably print it."
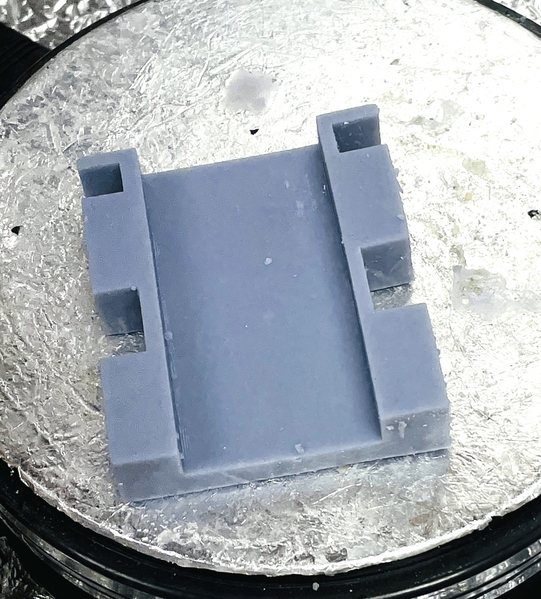
This last jig is the one that will space each completed bay to the next. It's this one and the one that spaces the ricks in each bay are the ones I'm rethinking. There will be no way to keep the bottom of the ricks stable when they're off the foundation. There is a header that runs the length of the warehouse on top of each post, but the bottom sole plate is attached to the foundation. So… I'm thinking that I will build the individual rick sides using the above jig, and then create a different spacing guide to assemble each rick directly on the foundation at the work bench. The spacers won't have to be so elaborate in this scheme.


