All my version 1 and 2 of the assembly jigs printed successfully. Then I woke up this morning realizing that the way I designed them, I could build two bays and then I couldn't remove the assembly jigs. Actually, the bay building jig would be stuck after building the first bay, and the bay spacing jig would be stuck once I used it to space the 2nd set after placing the first set. So it was back to SketchUp to create spacers that would both space the various assemblies correctly AND make so I could get them out to use hem again.
Here's the SketchUp drawing of the Ver. 3.0 jigs. What I did wrongly in the other versions was positioning part of the jig under the cross-bracing. Since the bay is being glued to the sole plates as it's being assembled, and not being built off the model, I needed to be able to lift the jigs up and out without interference. The new design was simpler.
The yellow/orange jig spaces the individual bay ricks and the purple jig spaces one bay to the next. Notice they're touching the cross-bracing, not the posts. My first designs were abutting the posts but this trapped them under the cross bracing. Because the cross-bracing lies in the narrow space between the bays, it has to be put on when the ricks are being constructed off the foundation.
I made extensions on both jigs so I could grab onto them to pull them out. They are complete and were successfully printed.
Right now, the columns are going to be butt glued to the sole plates that run lengthwise in the building (the ricks run cross-wise). If this joint proves unstable, it could be further reinforced by selective pinning. I may resort to that at periodic locations to ensure it all stays together.
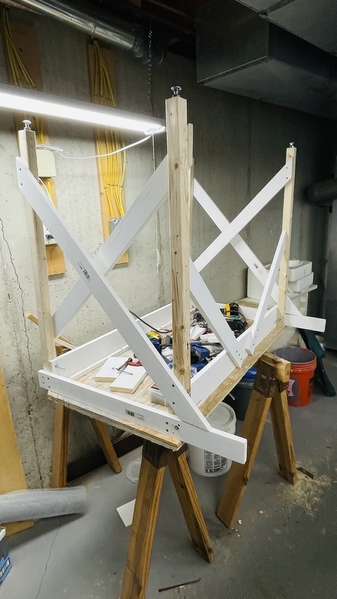
I took some more time today to start working on that other worktable mod project. Got a lot done with some cross-bracing to be added tomorrow. I've added some extensions on the back end supports to replace another role served by those old saw horses; a place to store long lumber. I don't have much lumber, but it still needs to go somewhere. Speaking of lumber, I bought literally the exact amount needed to do both tables. I did take a couple of pieces of 2 X 2 back to Lowes, but all the rest is being consumed down to the littlest piece of scrap. Since I have some scrap pieces of 2 X 3 left, I'm going to use them as doublers to tie the butted angle brackets to the leg instead of cutting Masonite gussets, only because I'm lazy and don't feel like messing with the saber saw.

Bradley Update: The metal tracks (Friulmodel) are now complete for the Bradley waiting for paint. I found out today that the Meng Customer Service folks in China forgot to mail my missing "Q" parts sprue. They were apologetic and are sending them again. I sent them a note yesterday to ask what happened since it was one month since they said it was posted. I'll keep you informed. I thought I could chemically brown the tracks using the JAX solution, but it's only for copper and its alloys and didn't do a thing on white metal. I'm going to see if they have a treatment for that. Otherwise, I'm going to have to paint. I cleaned the tracks in the Ultrasonic.


