Thanks Gents! Laser cutting would certainly streamline the production of the model and would make it mathematical perfection. It's been fun doing it old school, and it has much more character. While the AMIST is gone, the Manufactory First Build is still in operation. It's owned by GE Appliances and is open to the public in the same building that housed AMIST. They have some significant equipment there including large laser cutters and really large laser cutters for cutting metal. I've applied for a Craftsman Certificate which would give me full access to the whole deal. Really all I want is the laser cutter.
Didn't work on the Rick House today, but did FINALLY get success with the Chess Piece Project. And I have to tell you about the tiny M2 Cletrac High-speed Army tractor.
I redid the entire molding process of the chess piece. I used the Smooth-On Silicone. This product is so superior to the Chinese stuff that it's not even in the same league. It cures solid without any residue on the surface and it separates from itself. As I noted with the other product, even with mold release agent, glued itself to itself. I molded the entire figure, although I was not concerned with the accuracy or appearance of any part except the base and the trousers. I made a HUGE entry sprue and two large vents on the upper mold surface.
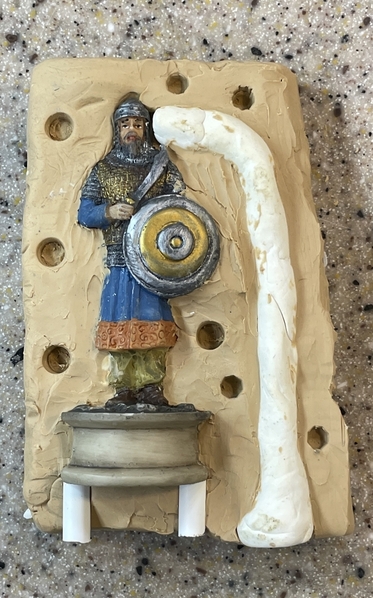
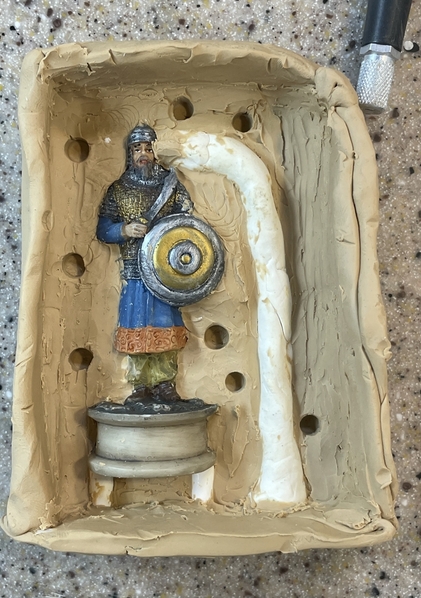
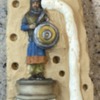
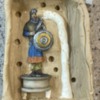
I didn't go the LEGO route this time. I did all the barrier work with the special clay used for silicone mold making. The large sprue started with piece of solid core 14 gauge ground wire. I then wrapped it with Sculpey and fired in my old Black & Decker Toaster Oven that I commandeered from the kitchen when we finally got a new one. I went this route because I wanted that nice smooth bend. The impressions are there to act as registration pegs to align the mold halves.
I built walls around this with more clay and carefully sealed all the surfaces. This took some time, but was effort well spent since it did not leak. My entry sprue would make a mess of the character's head, but as I said, I wasn't making the entire figure.
I mixed the silicone and poured it last night. I wanted it to have all night to cure.
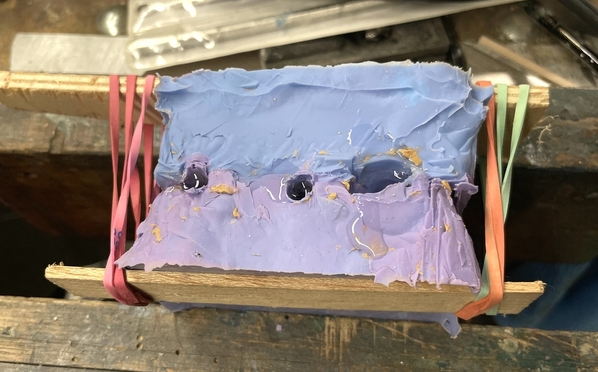
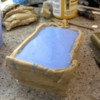
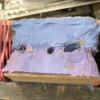
After breakfast, but before exercising, I pulled off the clay, turned the mold over and attempted to pour the 2nd half of the mold. When I mixed and poured the first half, I had to mix two batches and thought to make the batch bigger so I could do it in one pour. This created a problem. The plastic cup that I was mixing the batch was very full and I had a difficult time stirring to the bottom. The Smooth-On silicone consist of a bright blue and a hot pink component mixed 1:1. When mixed it should be a smooth periwinkle blue color like you see above. I poured the mix in and noted that a whole bunch of un-mixed blue component was on the bottom and the mixed was very purple. And I could see different colored swirls in the mix in the mold. THIS WAS NOT GOOD! And what made matters worse… much worse, was I forgot to apply mold releases to the bottom half.
That second blunder could be a job killer. It was very possible without mold release that the new part would adhere to the old part making the mold a solid block of silicone with the master figure inside.
I figured I had nothing to lose so I dumped out the new uncured material into a container that was big enough where I could fully mix it. I then attempted, clumsily, to remove all the fresh material I could so I could apply mold release. I don't think this second part did any good at all, but mixing it thoroughly was very important. I refilled the mold, and let it cure for about four hours. At the start of my separation attempt I thought that it was glued shut, but then I was able to separated the mold. I made a test pour using the quick setting Aluminite white resin.
The redesigned plumbing worked perfectly and I was rewarded by seeing the vents fill nicely. I used my powered mini-sander as a vibrator to help dislodged any entrained air. To keep the mold closed tightly I clamped the lower part in my wood vise and the top half with stiffeners and rubber bands.
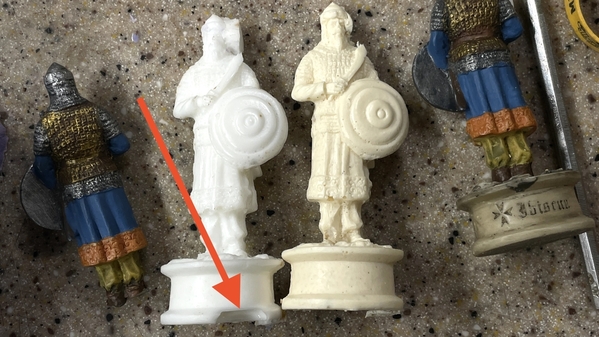
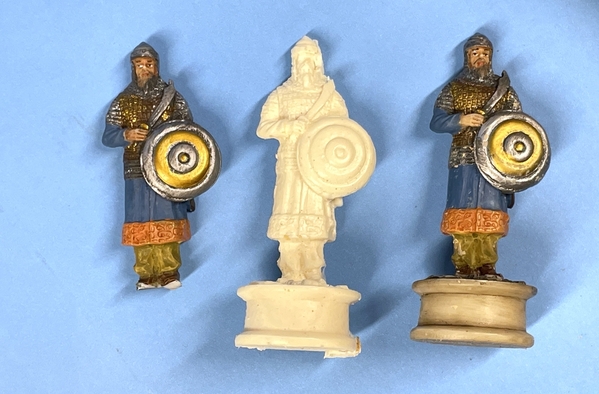
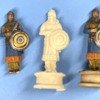
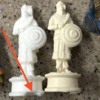
The mold was successful. I still was getting an entrained air bubble in the base which needed fixing. I opened a hole in the mold right where this bubble was forming and put in a small piece of hollow ABS tubing. I then recast the mold using the Smooth-On off-white resin that has a slower cure time. This time was perfect! No entrained air, full resolution, very little mold lines. As predicted, the figure's head was marred by the huge sprue connection.
I trying to decide where the best place to splice the new base to the baseless figure. At first I was thinking to cut it at the top of the shoes, but I'm now thinking that at the bottom of the tunic would be better. It might be a better place to conceal any joint characteristics. Any thoughts? The base will require very little cleanup. I was actually surprised that I was able to create the entire figure so well. It could have been an option, but I wasn't looking forward to trying to replicate that paint job. It will be much easier for me to duplicate the base and maybe the pants.
Once again, persistence saved the day. Test pilot management! Try A, try B, try C, etc., until you pull up or crash and burn.
Re: the tractor. For some reason, I drew my original drawing to the wrong scale so my shrunk 1/72 version actually comes out something much, much smaller. It's almost 3X too small. Mine are a little over 1" long and they should scale to 2.3". This will require fixing the drawings since with a bigger model and a bigger print means more details. And to make matters worse, my favorite hobby shop owner commissioned me to make a couple in 1:48. Jeez! That's our scale. And that means even more detail. I did finally find a side/front view drawing of the M2 showing the overall dimensions. If I would have had this first, the error would not have occurred. I've stared making the changes already.
So literally, back to the drawing board. I'll rise to challenge.


