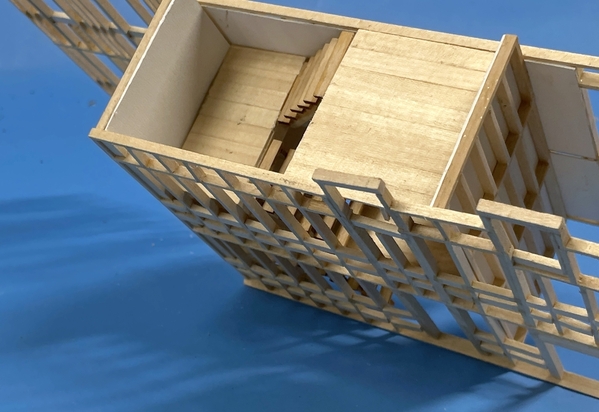
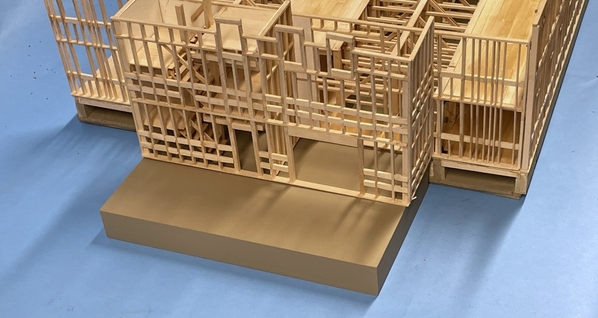
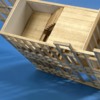
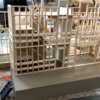
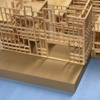
I did do work since the last post, but didn't post yesterday. The stairway and loading dock are complete. The loading dock needs some more detail work with the access stair and the bumper strip on its face. I will also weather it a little, although it's new concrete. I got all the stair handrails in except for one inside rail that I just couldn't reach. Can't reach and can't really see.
I got all the stairs and landings fit and put some ledges under the big landings after marking where the joist fell on the walls and framing.
After getting the first to second floor stairs and landing glued in place I put in the outside railings on both flights. I made some standoffs for these railings which was an overkill detail.
I finish sanded the loading dock and took it outside to put the concrete color on (Rust O-leum Camouflage Tan).
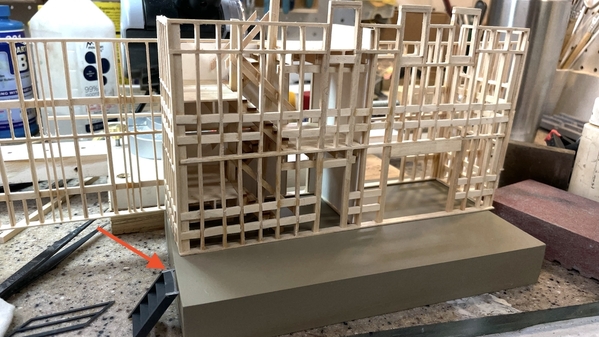
I then glued in the second to third floor stairs and landings. When they were set I installed the 8 X 8 vertical columns that support the center of the stairs and providing a place for the inside railings. These did not get standoffs. In this picture you can also see the piece of Plastruct stair that's going to be the access stair to the loading dock. The Plastruct railing is too long so I'm going to scratch-build railings out of Evergreen styrene angle stock.
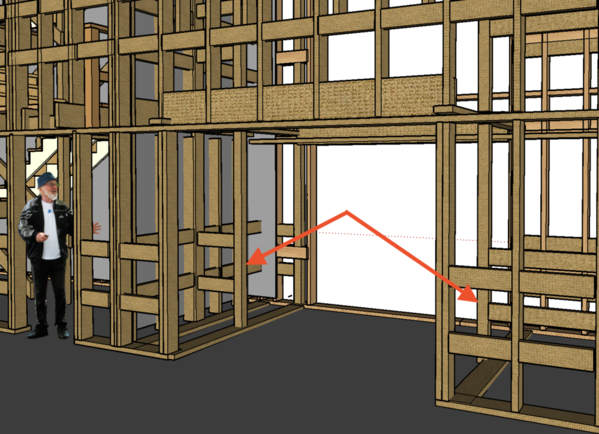
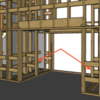
Next up is some more internal framing inside the elevator shaft. There is some cribbing that lines the shaft and ties back to the building structure. There are sole plates that tie these columns to the bottom so I can build this without gluing the front onto the loading dock. It would give me easier access. Arrows point out this framing.


