Been a while, but some small things have been done.
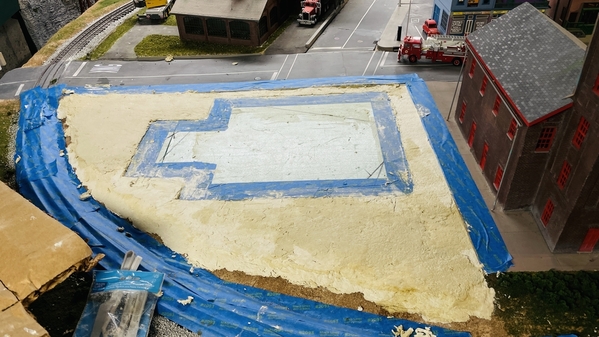
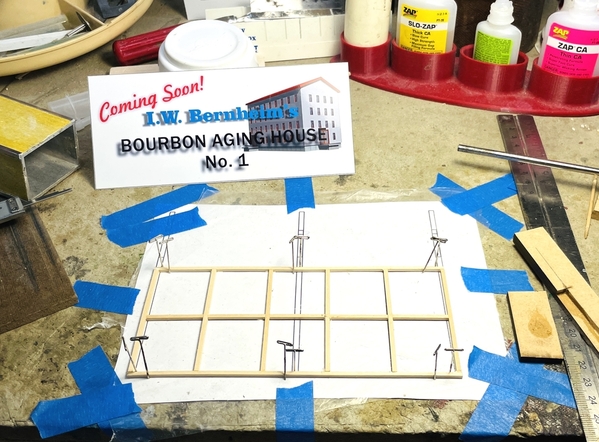
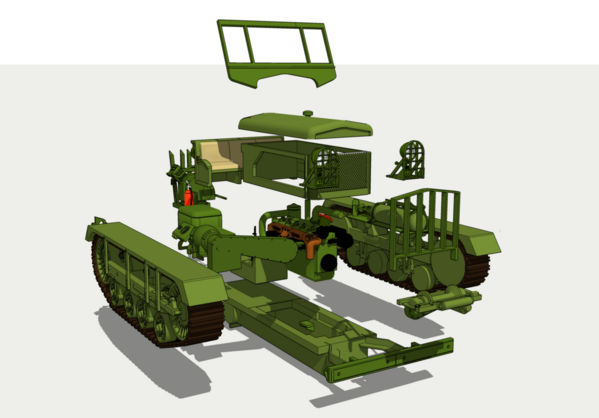
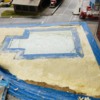
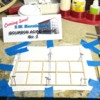
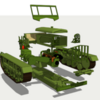
I got the rest of the base plastering done on the Rick House site and starting crafting the billboard frames. Finished the detailed drawings of the Cletrac M2 High Speed Tractor, and am working on restoring a propeller and building a base for a large metal model (commission job).
The plaster is one and now I'll have to craft the rock outcroppings on the rail facing edge.
I'm building the billboard frame in the same way as I did the rick house: on a plan covered with thin poly sheeting. I cut the poly from one of the disposable drop cloths I bought several years ago when we had the "Great Dishwasher Leaking Disaster" that could have taken out the entire village of Woodbourne, a la Hurricane Ida. Measuring the gaps with the digital caliper and transferring the measure to the stock makes for very accurate fits. I just bought a new one at Harbor Freight. They're $20 bucks and are basically disposable. When the edges get dull I buy a new one. A Starrett precision digital caliper cost many times more, but the metallurgy on a Starrett is incomparable compared to this Chinese stuff. Chinese heat treating or alloys (or both) are terrible. I wonder how they can build jet engines? If I was a professional machinist, I'd have nothing but Starrett.
The M2 is complete including a pretty detailed engine. It took me hours to draw all this. I'm now playing around getting the subassemblies ready for printing. I'm not happy with the number of supports that are ending up on very detailed areas. I may have to rethink my scheme and separate them out more so I can keep the details facing up. Currently the model has 18 subassemblies. For such a small machine it's sure complicated.
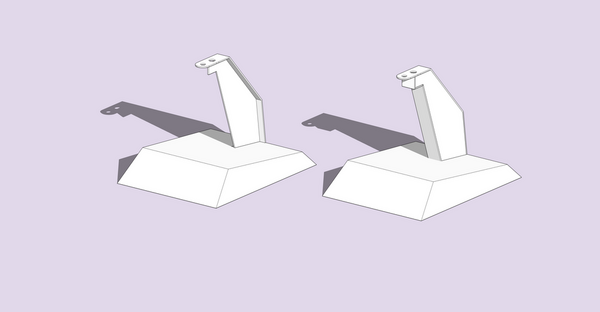
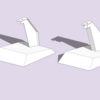
For the airplane project, I drew a stand and am working at a local sheet metal shop owned by a friend. The stand is 18 gauge stainless steel. It's a real bear to work and is tough as nails. I'm still not sure about the structural integrity of the design. On the left is what I've had cut so far, but the right is the mod I'm going to make to ensure it's solid. The model is large and very heavy. I'm afraid that the first iteration is going to be very weak in torque and there's not enough support on the tongue that's going to attach to the model. The first hole in the tongue is for a 1/4-20 screw. The second is for a 5/16" pin.
Fully boxed made out of TIG welded stainless, the re-designed pedestal will be very strong. I did the layout, the foreman did the major cutting on a very large power shear and the folding of the base. I did the cutting and bending of the pedestal. I'll be back in the shop on Tuesday to finish it up.
I'll keep y'all up to date on all my various activities. I also bought a new kind of build plate overlay for the printer. You first glue on a 3M adhesive magnetic sheet and then you simply snap on a flexible build surface. The surface is removable and you bend it to simply pop off all the printed piece, instead of using a razor scraper to get under them for removal. If it works it will streamline that sort-of-sloppy job. It changes the build plate thickness a bit so I downloaded a small 3D printable part that's a Z-axis extender shim to recalibrate the machine for the thicker plate. The Fulament company offered specifically designed extender shims for each of the printers on the market.
Have a great weekend!


