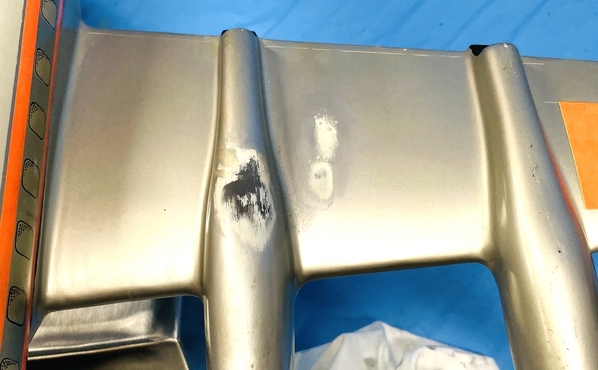
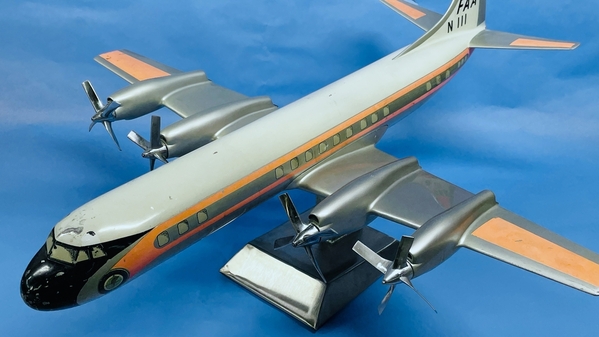
Thought I'd post some more non-railroad status pics. The L-188 restoration is done and I'm delivering it on Wednesday. I ended up 3D printing the missing propeller and finding a way to really replicate metal. I first sprayed Tamiya rattle-can Silver, then rubbed on a coating of A-K interactive "real metal" wax-based metallic silver (like Rub-n-Buff), but it wasn't reflective enough. At my LHS they suggested buying one of the broader tip Molotow Chrome Pens and decanting its contents to air brush it. That worked perfectly. What happened next was almost a catastrophe. There was some cream-colored blemishes on the left wing mid-section and inner nacelle. I attempted to polish it off, but it didn't budge. I then tried IPA, no response. Then I used the nuclear option… I wiped it with MEK. I then found out the truth. The blemish was on not ON TOP of the paint. IT WAS PRIMER SHOWING THROUGH. The blemish now became bigger… much bigger. I needed to refinish at least that part of the wing.
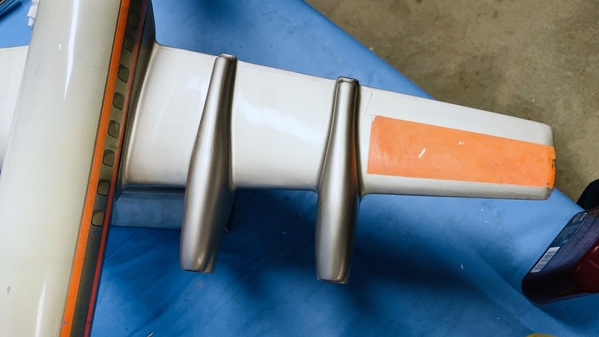
The plane's metallic paint had a definite yellow cast. Don't know if it's the actual paint color or the yellowing of the top clear coat. I used a mix of Alclad gloss aluminum and Alclad light burnt iron. I could have even made it more yellow. Looking straight at the paint its color is very close, but when viewed obliquely, the paint I used looks darker. Again, it's a huge improvement over the mess that I made. I used Alclad aqua-based clear gloss, and then after letting it cure for 24 hours, rubbed it out with my abrasive polishing set (from 3200 grit to 12,000 wet-sanding pads) and then with polishing compound. The gloss is the same. From this angle the color is really close.
If you can't tell, the 3D prop is on the far right. The chrome props have a different cast (more blue) than the made prop, but it's close enough and the client is pleased. From this angle, my wing panel is a bit darker. You can see how reflective the panel is.
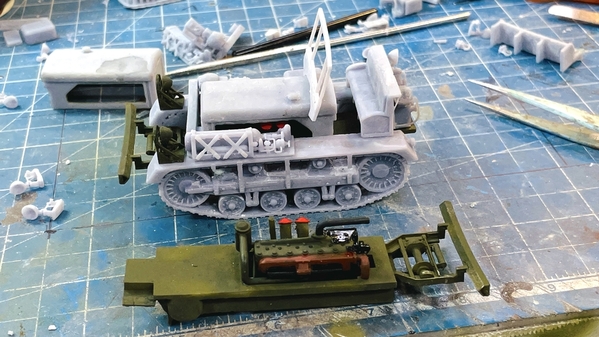
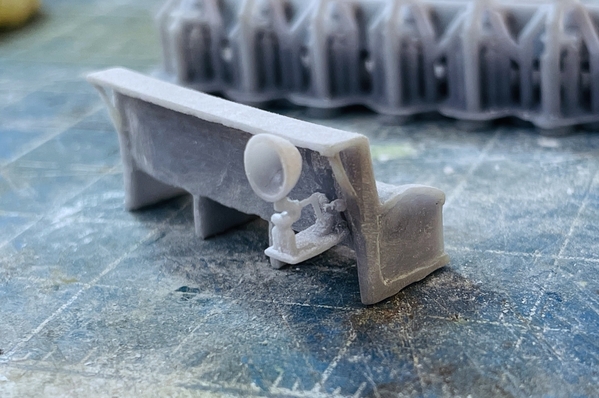
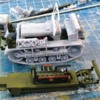
Now onto the M2 Service Tractor. I'm almost done this major project. I've got two more parts to print. I've reprinted several items to get better results. For example: I found that making the frame 3 pieces (frame, winch and bumper) created a warped and weak structure. I was able to successfully print it in one piece.
I also implemented a new process. I ordered and installed the Fulament flexible build plate on the my Elegoo Mars. This was a FaceBook ad, believe it or not. It's a two-part affair with a 3M adhesive magnetic layer that adhered to your existing build plate and a thin, stainless steel build surface that made of spring steel. The build surface is held magnetically to the 3M magnet sheet. If you've had a successful print, you no longer need to unclamp the entire build plate to remove the printed parts. You simply remove the magnetic surface.
The surface is spring steel so you can massively bend it to break the part's bond on the surface. Big parts just pop off…. no more scraping. But in my case, since I'm printing so many small parts, bending the build surface doesn't pop them off. If I work it a bit the edges my release making it much easier to scrape the parts off. Either way, not having to remove the entire build plate assembly says a lot of time and clear up. And best of all. The plate has great part adhesion and my failure rate has dropped to almost zero.
Something else has improved production rate. I now put on supports in the following steps.
1. Use auto-supports set to "Heavy" and do "Platform" only. This applies supports all over the part as long as they can be reached directly from the base.
2. Remove all heavy supports above those that are holding just the bottom edges of the main part.
3. I redesigned my "Medium" supports to give them fat base posts (almost the same as heavy), but with much thinner attachment points. I found with the medium and light support original settings, the supports themselves were failing causing the upper parts of the job to fail.
4. Use the upside down view in the ChiTuBox slicer and apply by hand, medium and light supports to areas that are showing red and bright red color indicating unstable areas or areas that will create islands. ChiTuBox is very good at showing where island-prone areas are.
Between the new build plate and the changes I've made in support stratagem, my failures are almost gone. There's still the occasional failure due to a lousy design, for which I take full responsibility.
I'm only building the 1:48 version. The fellow who wanted the 1:72 bowed out when I raised the price due to even more drawing time would be consumed to modify the 1:48 detail level to work at 1:72. For example: that air handling modules would not print that way in 1:72. I'm going to paint the models before delivering them as a result of the engine being in a place that would defy painting after assembly. The tractor is not glued in this image. Just posing.
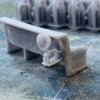
I made a lot of those lights to get ones that I didn't break.
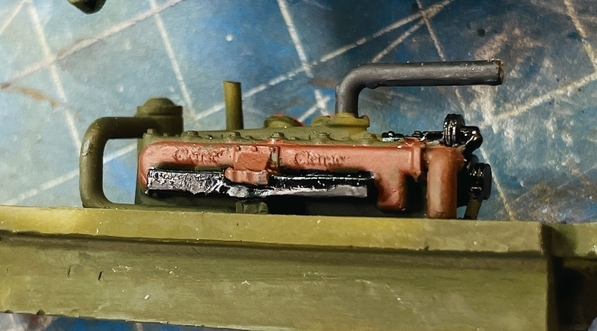
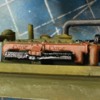
I was even able to print the "Cletrac" logo on the exhaust manifold a la prototype. You won't see much of the engine since it's quite buried in the cowling.
Model should be done sometime next week. Meanwhile, I'll get back to finishing the rick house.


