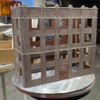
Old credit cards is a terrific idea. I'll try that on the Hardware Store when I start doing it. I have to make the reservation at the U of L's Bakery to use their laser cutter.
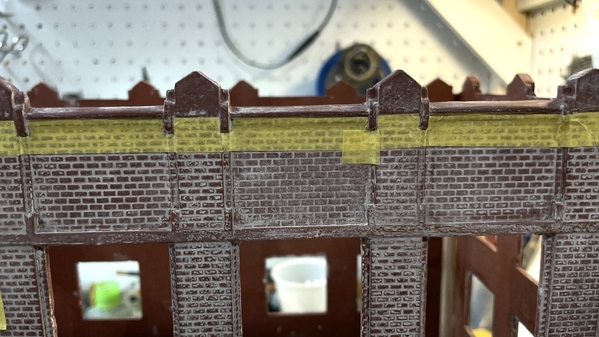
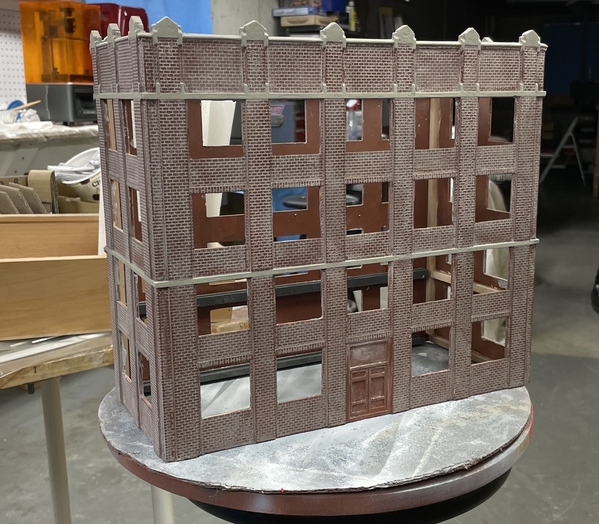
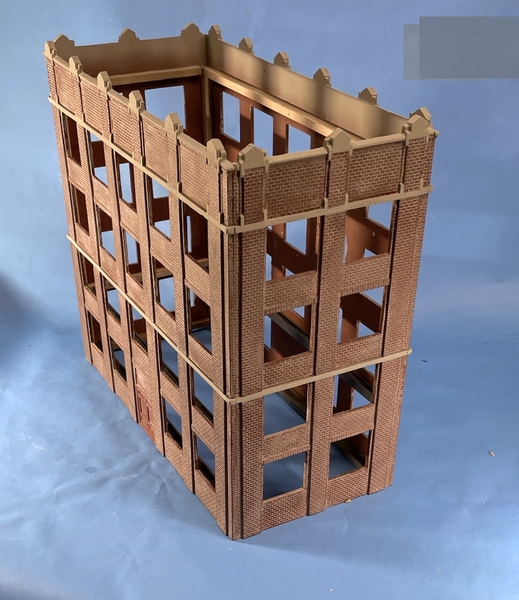
I spent three days masking the concrete trim work (sandstone?) on the P&PRR HQ. It was finicky working around the various indentations and details. The lower band was simple being straight across, but the upper band was a completely different story.
While it took days to mask, it only took about 10 minutes to airbrush my concrete mix (Tamiya Deck Tan plus a little black).
I sprayed the insides of the parapet with the same color. I will then mask it part way up and spray with Tamiya Rubber Black to simulate the tar weather-proofing that will protect the area. The roof itself with be tar and gravel.
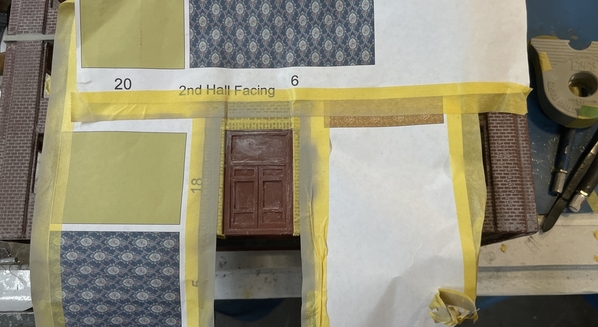
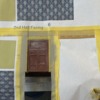
With the trim done, it was time to mask and paint the front door (on both sides). I got one masked before the workday ended. I will paint this the same Armor Yellow that I used for the windows. And then I'll then mount the signs over the doors.
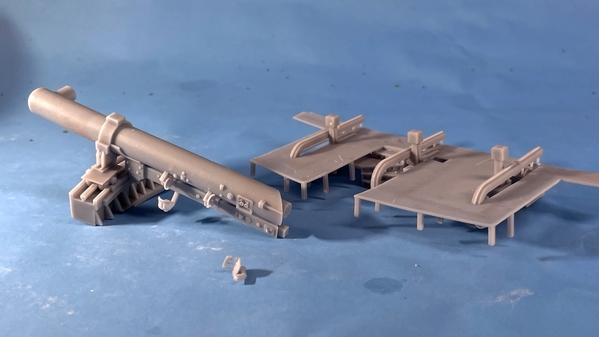
While this is going on I was working on the Missouri Turret Project (multi-tasking) with the new printer. The printer is terrific and I lover the 4X speed. The larger capacity is letting me print large pieces in one part including apparatus already attached. This is going to save a lot of fussing during assembly. Here are some examples:
This shows the entire officer's compartment floor with the steps, legs and all three rammers installed. The other object is one half of the complex long-base rangefinder that runs across the entire turret out out the ears protruding from the sides. Note the little seat that broke off when I was removing the supports. This new found ability will mean that I may be able to print the entire electric deck with the myriad of machines on it as a single part. You can't see it in this image, but there's a perfectly formed gear rack inside that curved surface.
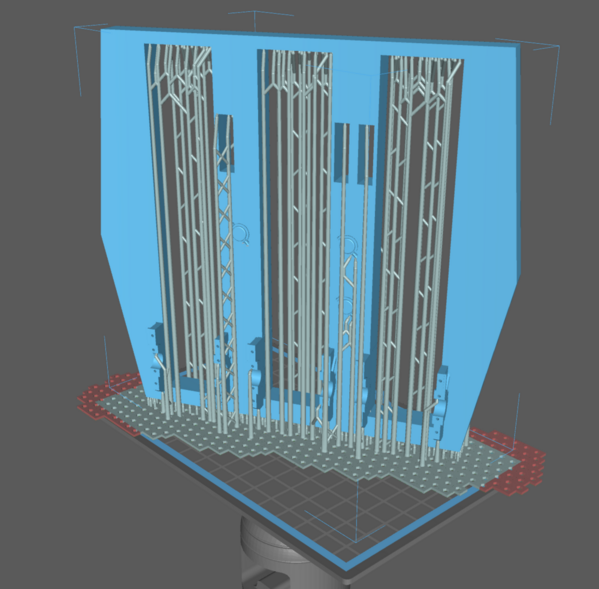
Here's how I'm going to print the massive gun-girder assembly. At first I was going to print it with the manual sighting station equipment attached, but changed the scheme based on some good input. I'm now printing it with the bottom half of the guns lugs in place. I will be able to drop the guns into the lugs and attach the top caps. This part was too tall and wide to print on my Mars Classic. The part of the base extending out of range probably won't matter. If it doesn't print well, I'll split the part into two halves and do it again.
Like my first printer arriving just in time to make a huge difference in the Engine House project, this one too arrived at the perfect time to make this new and complex project possible.


