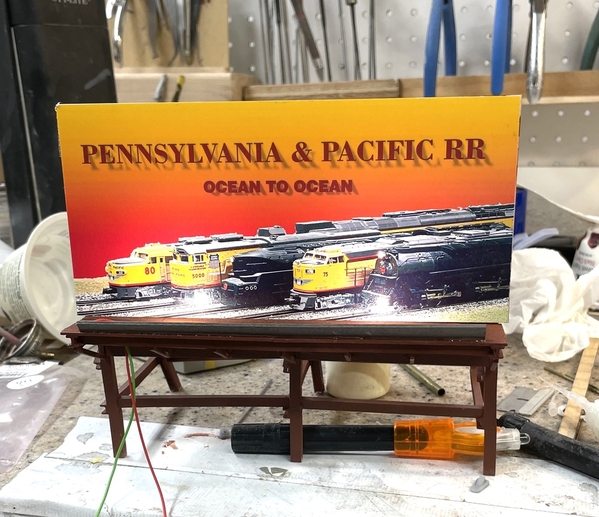
I had written a great answer to Scouting Dad's question, and just lost it all because I didn't post it last night. First of all, the Valejo paint required two full days to fully cure. I had mixed it with Model Master Universal Acrylic Thinner and some Liquitex Acrylic Extender. Yesterday after 24 hours it was basically still wet… like get paint on your fingers wet. I got the sign attached to the backing yesterday using the 3M Adhesive Transfer Tape. Today I built a light bar to illuminate it. At first I tried to solder the tiny surface mount LEDs with the magnet wire to build some light fixtures supported by a 1/16" aluminum tube, but couldn't solder the LEDs without overheating and killing them. I did that to three of them. I then went back to my more consistent method which is soldering them to adhesive copper tape like I do for my building interiors. This is a much more predictable method since I don't actually put the soldering iron onto the LED. I hold it next to it and let the molten solder creep up to the LED.
I CA'd the bar to the front edge of the catwalk and put some power on it to see if it worked. It does. I will install a CL2N3 driver chip on the + end and will let it drop down the conduit tube so it will be out of sight. The gloss finish shows a hot spot from the lights, but I can't get around that. The bar will be painted with the same red oxide as the rest of the project. I'll be mounting the sign and finishing the roof tomorrow.
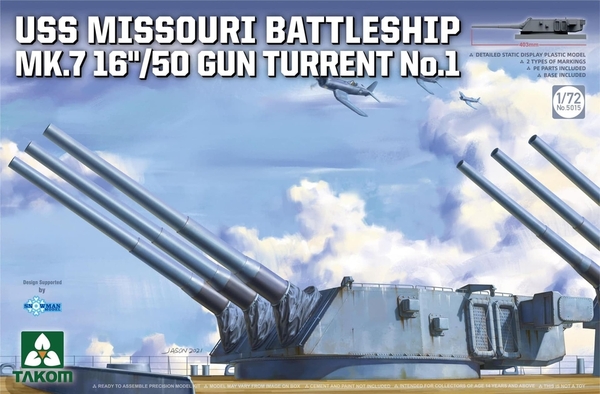
Now to Scouting Dad's question. Yes! I'm building a fully detailed USS Iowa Class turret #1 in WW2 configuration with the entire interior down five decks to the magazine level. The bare kit is the Takom Missouri Turret in 1/72 scale, but is just an empty shell of the gun house with plastic guns. The aluminum guns are a Chinese aftermarket product made for the kit, but I had to turn down the back end to better work with the 3D printed gun slide and yoke assembly that I designed and printed. About 70% of the interior will be 3D printing and I'm already into several months of drawing (and re-drawing) components. I've been getting help (as usual) from folks who read my ubiquitous build threads that accompany all my projects on various forums depending on the nature of the project. The kit looks like this.
The reason it's in WW2 configuration is the presence of the long-base rangefinder ears sticking out of the sides. That was removed from the #1 turrets on all the Iowa class ships during the 1980s refit. That rangefinder had a habit of ingesting sea water in heavy seas so it was a problem.
Instead of me going any further with this and hijacking my own thread, perhaps you can follow along in a detailed accounting on another forum found here:
https://forums.kitmaker.net/t/...t-to-finish/16832/44
I've been wanting to do this project for years, but the technology wasn't available nor was the kit that provided the starting point.
Re: 3D Printing: Resin 3D printing is demanding and difficult to just dabble in. If you're just going to print figurines or trinkets, you can get by by downloading existing STL files on the Internet and make stuff. If you, like me, want to create unique parts for models that are not on the market, you must not only master the printer, but you need to master 3D drawing programs as well. I've been a SketchUp user since ver. 1.0 and am very proficient, but there are others. I find that 80% of my printing failures are due to errors in my drawings, not the printer. That said, I remain available for anyone out there who wants to join the lunacy.


