I appreciate comments like that. I'd probably write this day-by-day history even if no one was reading it, but when people tell me it's making a difference for them, that really works for me!
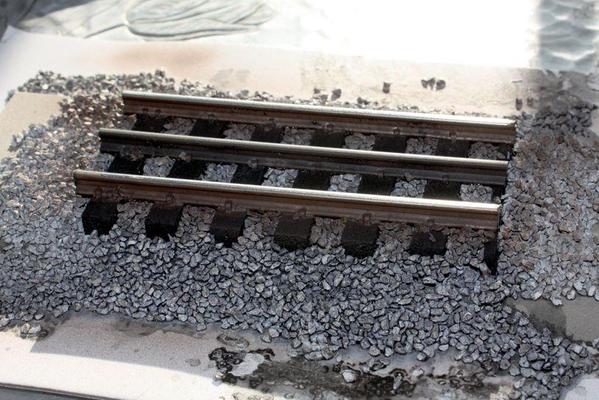
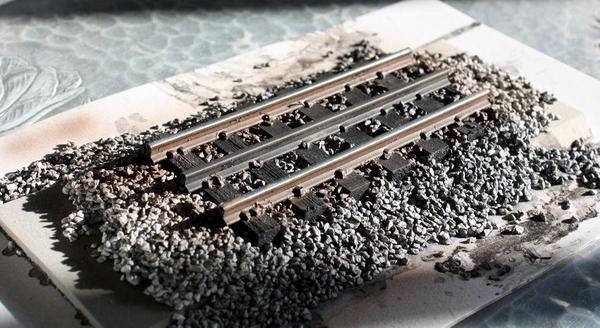
Today I started rail painting. I have buildings to build, but nothing can happen until ballasting is done, and that can't happen until the rails are painted. I have a chunk of track where I experimented with the ballast, so I used it to test the painting. I'm using rail brown from Joe's Model Trains. I bought the paint and one of his rollers at York a number of years ago. The roller was too skinny to handle O'gauge rails. Now I see on his website that he has a much wider roller to paint O'gauge. I first tried brush painting, but it was not successful. I then tried the air brush and the results were passable. I wiped the rails off when the paint was wet. Here's what it looked like. Pretty realistic looking rail...
One of the things I like about Ross rail is that it ends at the ties. Gargraves on the other hand, extends below the tie level and you can often see shiny tin plate showing. With Ross, that doesn't happen.
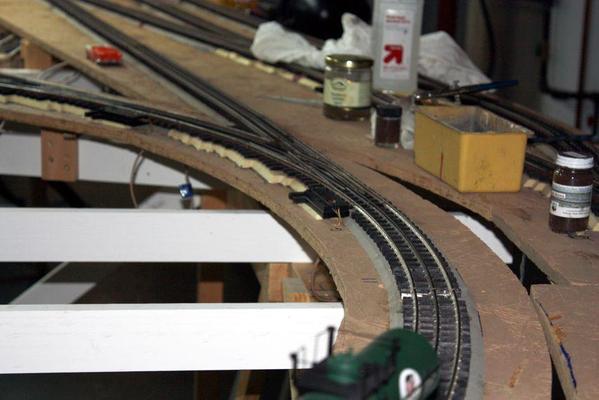
So with this good result, I went at the railroad, realizing that once I started, I would have to paint the WHOLE THING. Some of the track work will be in tunnels so I will mark off those areas and not waste the paint. As it is, I emptied a 2 oz. bottle after painting about 1/8 of the railroad (or less). With the exclusion of the tunnel tracks. I just ordered another 5 bottles of paint on line so rail painting will be stopped until the new paint arrives.
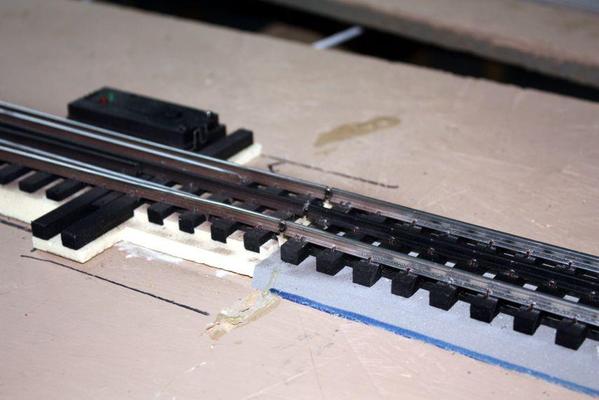
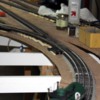
This is one of switches I painted and shows the place I stopped. I think the switches look terrific with the brown rails.
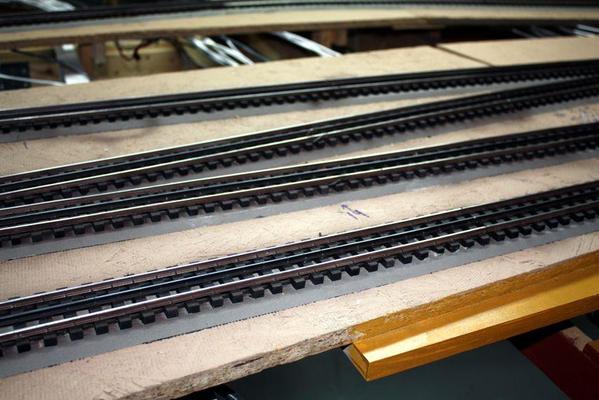
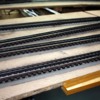
Here's a bunch of track painted. To me, it immediately looks like RR track with the polished running surface and the dark rails.
Here's the other end of the painted/unpainted line. That unpainted track will be in tunnel under the city so I'm glad I didn't start painting in that direction.
The airbrush worked well unless it didn't. It was plugging a lot and I spent a lot of time cleaning and recleaning it. I cut the paint with isopropyl alcohol at 2:1, paint to thinner. I don't know if that's the best thinner to use. I also have some Vallejo acrylic diluting agent that I could use. When it worked, it went very fast. When it didn't... well... it didn't. In most cases, it took two or more passes to properly cover the steel. When I first started, I was wiping the rails down with alcohol. After a while I realized this didn't make much of difference and just painted the rails.
Just wait until the ballast goes down...
For the yard tracks, I'm gong to fill in the areas between the tracks with inverted roadbed beveled on both sides. Yard tracks don't have nicely shaped ballast fields. Their tracks are buried in the dirt to the ties or higher. It also reduces the amount of ballast I'll need for that track and there's a lot of it.
It goes without saying I'm not building a Proto:48 railroad, but I am trying to make it as realistic as possible given that I'm using 3-rail track with a fairly high profile with ties that are not really scale-sized and are spiked with staples not spikes and without spike plates. It's a shame that Ross can't paint the track before they ship it. Even if it were an extra cost, it would be worth it since this is a pretty big job. As I'm constantly being reminded, over 300 feet of track makes every task a BIG JOB.


