Thanks Mark!
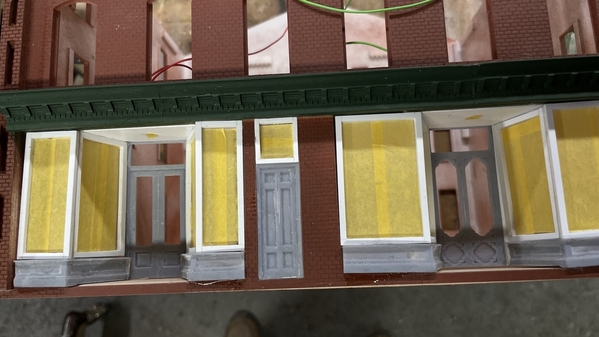
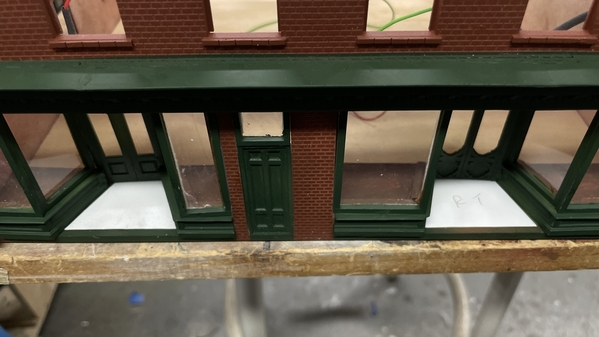
Even with exercising today I got the center door and transom installed and some serious painting. The sticky pieces I put in last week didn't hold well enough to put out the door's warp, so I replaced it with styrene strips glued to the building acrylic walls with acrylic cement. I then glued the door and transom in with Testor's tube cement.
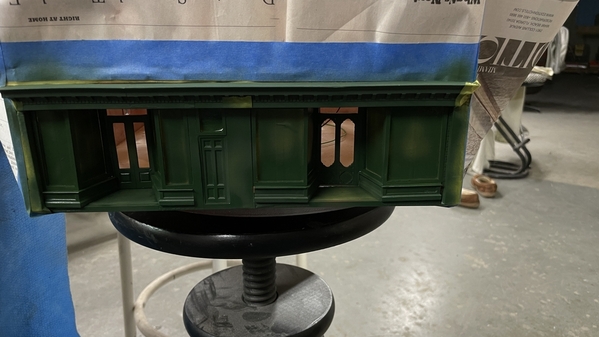
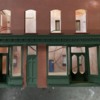
I then masked all the brick areas and airbrushed the front assembly. I use a lazy susan to paint larger things so I can rotate the work and keep the airbrush in the same relative orientation. The masking went smoothly and got the store fronts painted.
When the paint was set up a bit I carefully de-masked without damaging any of the clear parts. There were a couple of spots that didn't get enough green and I went back and hand touched-up those areas. BTW: this is Tamiya Dark Green, not Japan Green as I noted in an earlier post.
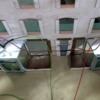
The inside wide window sills were still white styrene. I had to hand paint these leaning over the walls of the building. It was a bit nerve wracking since I had to carefully paint the inner bracing without painting the inside of the windows.
From the outside...
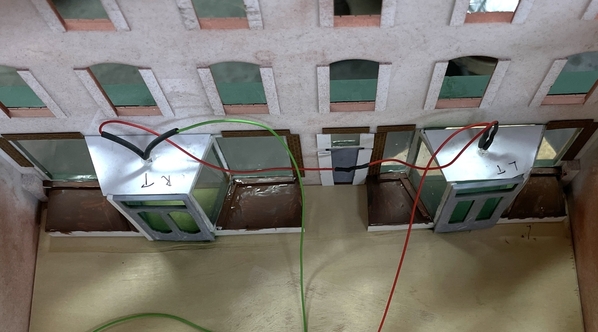
With the main doors painted I can now install glazing on their backs using MicroMark PSA. Shouldn't be too difficult (famous last words).
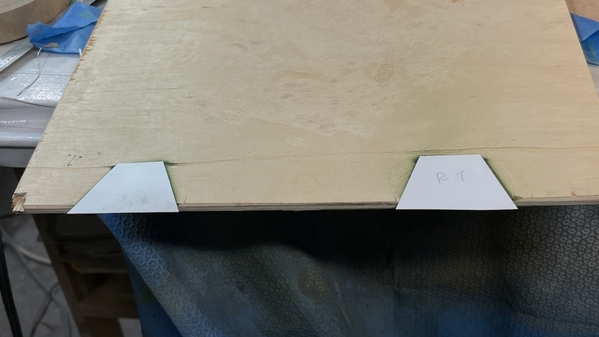
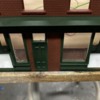
The entry area is going to be concrete and I wanted a non-wood substrate surface for better finished. Where you see painted green is not the building. It's the ply floor plate. The green airbrushed paint now served as a nice pattern to cut some thin, 0.015", styrene sheet and glue it to the floor plate with the transfer tape. The floor will be removable for various reasons. In fact, I'm going to epoxy some screw blocks to the acrylic wall lower edges and actually screw the floor in. I did the same thing on the Woodbourne Gallery and the turret outer shell in that project. It gives security without permanence.
It needed a bit more trimming to just nest into the space without buckling.
And with the building in place for a test fit. These appliques and the lower portion that IS part of the wall structure will be painted concrete color. I still have to make door knobs for all the doors.
It's time to get the mortar lines filled. I've been procrastinating a bit since this is a sloppy and difficult task (for me). I'm going to try and use a different technique this time. I'm going to use a mortar colored Bragdon Enterprises weathering powder that can be use on flat paint. It might be a little less abusive to the base brick color. My previous method of using joint compound was messy, and being a bit abrasive, would remove the base color when I was trying to remove the excess. I'm going to experiment on some scrap engraved parts, then the chimneys and corner thingys, and finally the main walls. The excess powder can be removed with a wet paper towel. Wish me luck.
Tomorrow we're having lunch with our daughter celebrating my wife's birthday (yesterday) and then I have my refraction appointment for the cataract surgery, so I may not have time in the shop. If that's the case, this will be the last post until the week of the 24th since we're leaving on Friday. We're taking our Spring sojourne back East.


