Thanks Mark!
The CA trick I learned from the model RC Plane guys. They use it to harden the threads that hold the wing bolts. These nylon bolts are normally threaded into wood blocks that are glued to the airframe. Since they are tightened and removed many times, the CA creates a much stronger thread base than the wood alone.
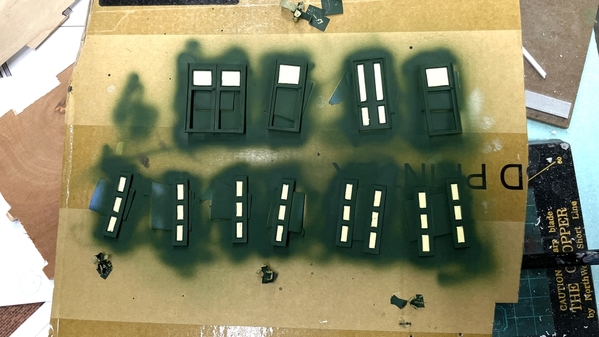
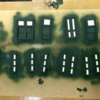
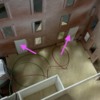
I masked and painted the dark green for the back doors and shutters, painted them and de-masked. Results are pleasing.
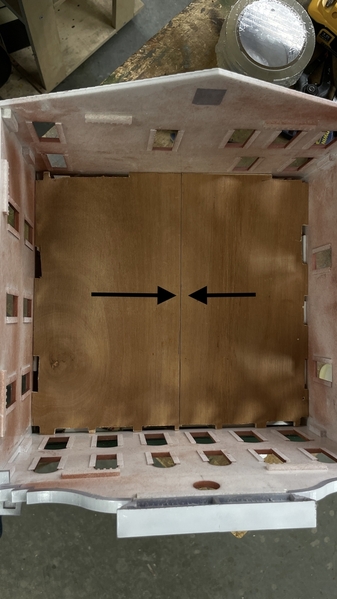
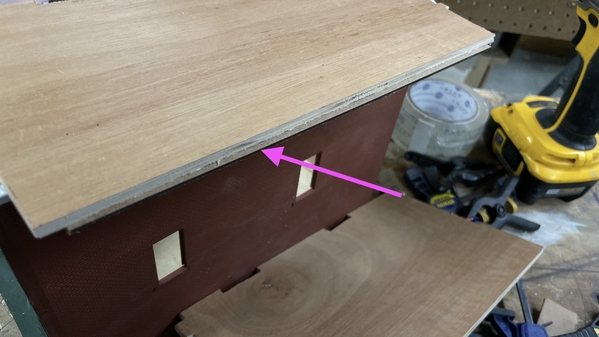
I solved the floor problems. I first, as planned, split the floor arbitrarily down the middle. With the floors split, I could now insert the floor.
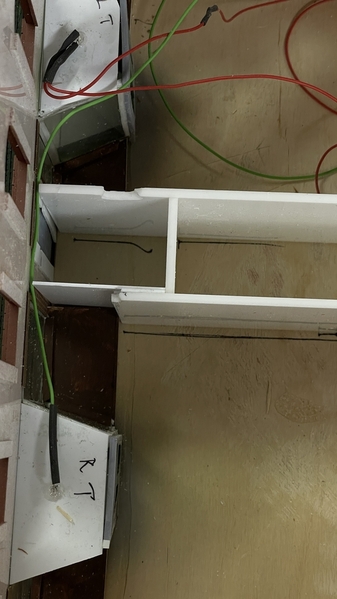
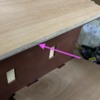
Since part of the floor would NOT be supported properly by the 1st floor partition assembly, I added a lip to one of the pieces to support the other one.
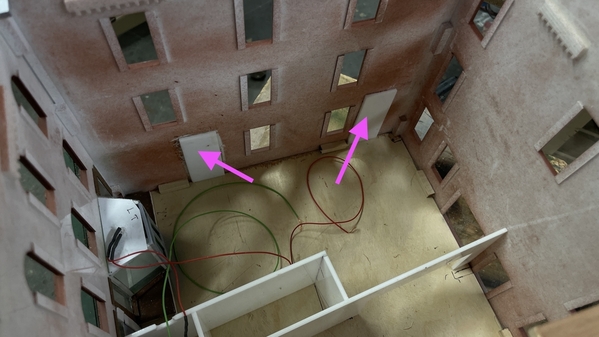
I also added some more ledges to support the now-split floor plate. These were left over acrylic pieces that were already the correct height. They are glued to the building with acrylic adhesive.
I airbrushed the center partition wall color (a lightened wood tan) since painting this on the floor would be harder to do. To solve the removal problem. I removed the stock that was the offending part and remade this part of the wall moved over beyond the sill structure. I can now remove the base plate with the partition attached without snagging the sill. It's not pretty, but will be invisible and solves the problem.
I opened a large hole that will fall in the partition stairwell to pass wiring through below. I used a circuit board method to add all the lighting circuits for the turret so each three LEDs would have their own CL2N3 driver chips. It was an elegant solution and I'm going to do the same here. I will either put the circuit board below the layout or in this stairwell space. I will have to ventilate the space a bit since there is some minimal heat generated. Opened this with a Dremel and router bit.
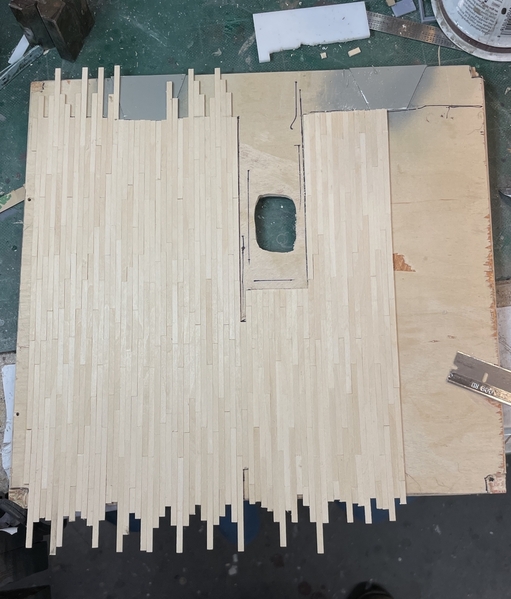
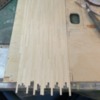
Lastly I decided to be a bit silly. I have a lot of scale 2" X 6" (O'scale) Northeastern stripwood that I purchased to create a wood deck for the turret that I didn't use. I found the deck didn't fit my design scheme. Having this, I decided to lay a real planked wood floor. It's silly because I don't believe I'm going to build a full 3D interior, and may use photos. If I do that, the beautiful floor won't be seen.
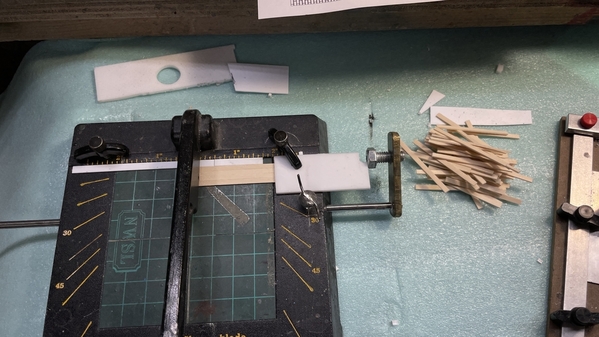
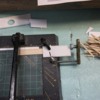
I used my Chopper II with my custom depth stop to quickly chop off a pile of scale 8' long planks. I gaing cut them four-at-a-time, and almost finished the whole floor in what was left of the afternoon. My depth stop is for longer pieces that would extend out beyond the Chopper's perimeter. For shorter pieces I use whatever's handy and use the depth stop screw to give added security since the razor blade excerts side thrust that can move the depth stop held by the Chopper's screw.
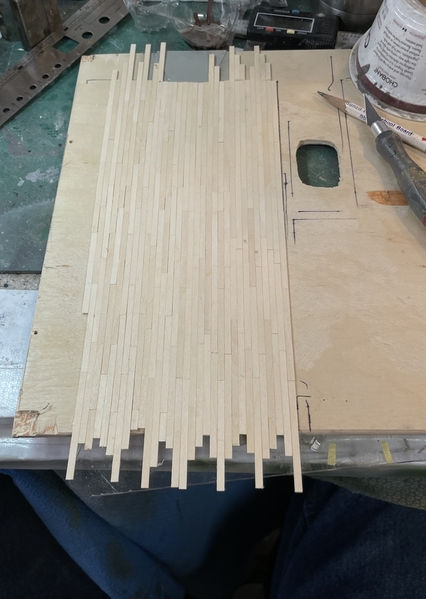
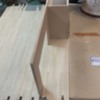
I marked the partition's location and planked around it so the partitiions sits on the subfloor. That's necessary since floor height is already established by the partition being flat on the subfloor. I also marked the locations of the doors and sills.
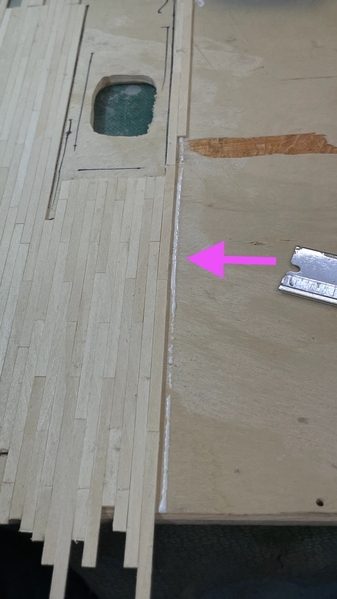
I laid flooring in the opening between the two stores. The planks are a little bit wider than the acrylic sheet so the partition slips nicely in the gaps.
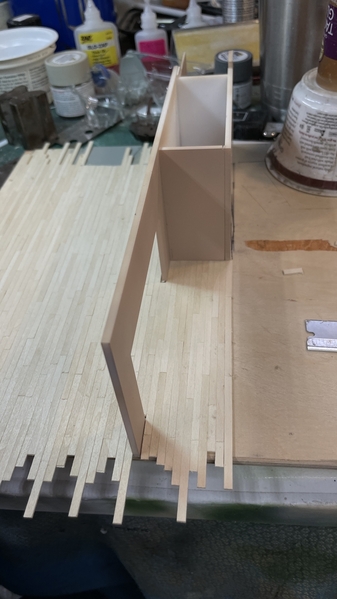
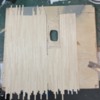
Up this point I was applying Aleen's Tacky Glue to the individual planks before attaching them. I changed that method and greatly sped up the process by adding a small bead of glue onto the subfloor for the entire run. It was much faster and much less sloppy.
Here's how far I got today. I'll finish tomorrow. The floor will be stained dark oak. I used a straight razor blade to scrape the surface before sanding, removing any excess glue in the process. I did my best to stagger all the plank joints. This amount of work finished off the new stripwood that I bought for the turret. I had another package of same that will be enough to complete the job. I may have to buy more to build the outside stair. I have a stair jig and laser cut set so I may not have to buy anything.


