Happy May Day!
It was one of those best of times, worst of times shop days. I repaired that errant circuit and did the other floor plate as well. That was the good stuff. The bad stuff was that I didn't realize that the floor plates were pressing upon the 1.8mm LEDs that were glued into the porch roof over the front doors. As a results, the constant installing and removing of the floors smashed the LEDs' leads and broke off one on each LED rendering them useless.
First the circuits.
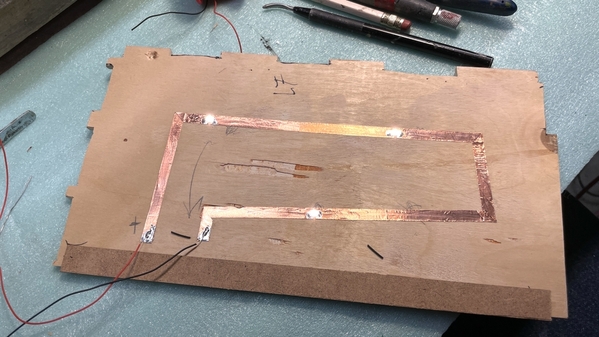
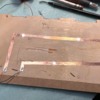
I wanted to show you how much solder is applied at each junction point on the copper foil. No other solder is added to solder on the surface mount LEDs. I put gentle pressure on the chip using a tweezers, heat the solder next to it and let the LED nestle down into the molten solder. As soon as I'm satisfied that wetting has happened on the LED's contact point I pull off the heat. This is just a few seconds. Too long and you will cook the LED destroying it. Also, too much downward pressure can crush the LED so gentle means just that.
This image shows the solder at the LED gaps. The gaps are about 1mm.
And here's the solder pads for the power leads. I add a bit more solder at the power lead contacts than the LED contacts.
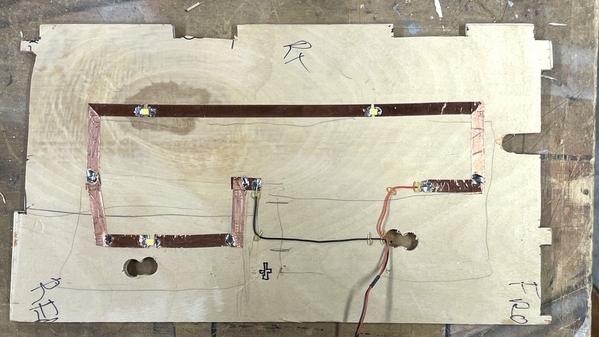
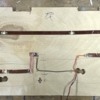
Here's the number 2 plate with a very neat circuit. I've noted before that the corners are those that were used in the old school lead foil application to windows in burglar alarms. There is no need to solder the corners since the copper is continuous.
To repair the modified plate I cut the foil with a sharp #11, carefully peeled the strip with the LED still attached and re-stuck it to the correct location. In this case, I did add solder at the new overlapped joints.
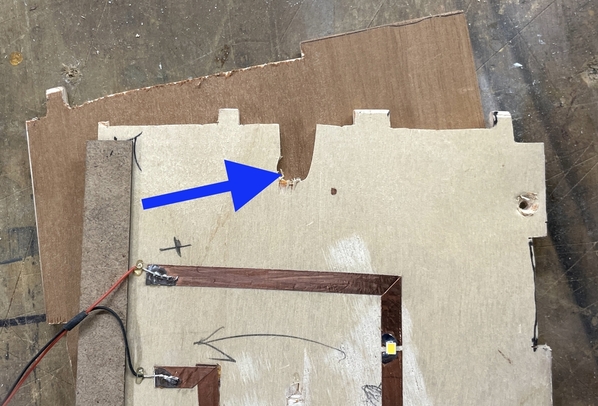
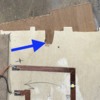
I went to try out the wiring into the building. I discovered a loose wire not connected to anything. Oh my! Where did that come from? It turns out that one of the leads from the door porch LED on the right. It broke off right at the light element and rendered it useless. And then I found that a lead on the other LED broke off too rendering it as useless as the other one. Reason? The floor panel sits right on top of the door assembly and crushes the LED leads. I needed to add more relief cuts in the floor panels to clear the LEDs. Arrow...
I only had two 1.8mm warm white LEDs remaining. I wired them up removed from the model and attempted to test them. And then the second calamity happened. I accidentally connected the unprotected 12VDC lead to the positive side of the LED series circuit. They went green and in another instant, went "PFFFFFTTTT." Gone! Done! Met their maker!
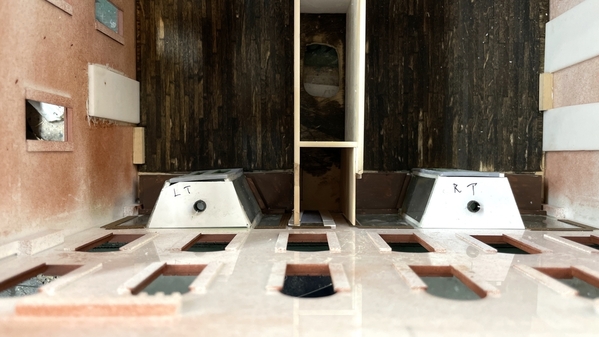
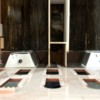
I now had to use more traditional 5mm LEDs to light the porches. This required opening up the tiny holes for the larger LEDs. For these I like to use the sockets that snap into a 6mm hole. To prevent making this mistake from happening again, I tied up all the excess wire on the unprotected test lead so I can't accidentally grab it. Sort of locking the barn door… The sockets are in place in this image.
I wired these up and correctly tested them. Initially, one of them was a warm white and the other cool white. I replaced the cool white one with a warm white that they matched. I'll install these tomorrow. I will then add some lighting to the third floor plate to light the 2nd floor and will do the same for the roof plate to add a couple of lights to the 3rd floor.
On another front:
I got a request from the owner of the Newtown Hardware House asking me if I could build a small operating HO- or N-gauge layout to place in their store window. It's a specific challenge since I'm in Louisville, KY and the store is in Newtown Borough, PA. I happen to have an N-gauge layout that could work. This is the layout I built with the grandkids when we first moved here. It was about 13 years ago and before the "real" trains were built. Alex was about 8 and Jack a little older than six, but they did a lot of work on it. It introduced them to railroad building which then led to helping me build the BIG ONE, and ultimately to both of them majoring in engineering in college.
My son in law says it hasn't been touched in years and asked if I wanted it. It will work, but needs some refurbishment and a way to get it there. It's only problem is some very sharp curves brought about by fitting it onto a piece of ply that I had lying around. This limits the type of engines that can be used. F-series diesels do work.
The store is willing to pay for this, but within limits. I may have to rent a larger car (SUV) to get it there and that would have to be built into the cost. I'm even thinking about 3D printing a 1:160 scale Newtown Hardware House for it.
My question is: What is a fair price for a little pike like this? Any ideas? The legs are detachable and it's really not very big.


