Thank you all for reading this (for over 10 years, I might add). It's amazing how much work you can get done when you have an entire afternoon. I got a lot done today. But first, a word about what makes my working in the shop even more fun. My 15 year-old iPod finally gave up the ghost. I had it sitting on a JBL sound ring that gave decent frequency response. Of course when I was in other parts of the shop, I couldn't hear it very well.
With the iPod dead, I was going to buy a blue-tooth speaker so I could play tunes out of my iPhone. My wife suggested using my AirPod Pros that I have. I had thought she wouldn't want me to be isolated with sound-cancelling pods in my ears if she wanted to call me. But, she could always message or phone me. She said, we have them, you should use them.
Well… the sound is terrific. Since my phone is always with me, I get music throughout the entire shop and layout room which is quite large. I'm telling you all this because a four hour work session runs the AirPods our of battery. That's how long the session was. You can get more time on them by putting them in the charging case for some minutes. The case can charge the AirPods for up to 24 hours.
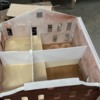
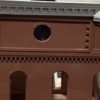
I got the 3rd Floor supports done, the 2nd floor lighting done. The 3rd floor lighting done, the attic floor supports done. I got the roof done and roofing material installed. And I got the building's mortar applied
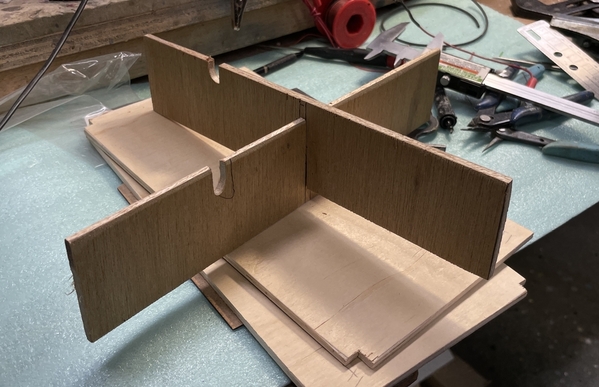
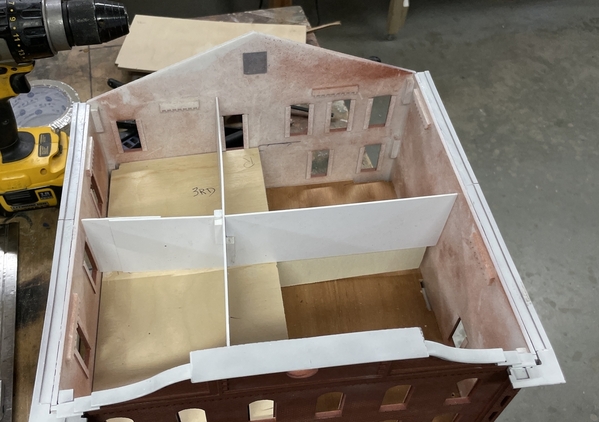
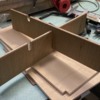
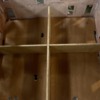
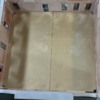
I wanted the floor supports to do double duty as visual breaks so you wouldn't look straight through the building. I'm not detailing any upper floor interiors. You can't see them and they take a lot of time and effort. But I am going to selectively light some areas to make it look "lived in". I chose some scrap plywood for the 3rd floor plates support since it will be structural and I didn't have any floor ledges on the perimeter like I did with the 2nd floor plates. I made a cross lap joint that positioned the bearing wall so it cleared all the side windows. The notches are wire clearance spaces so they don't get pinched.
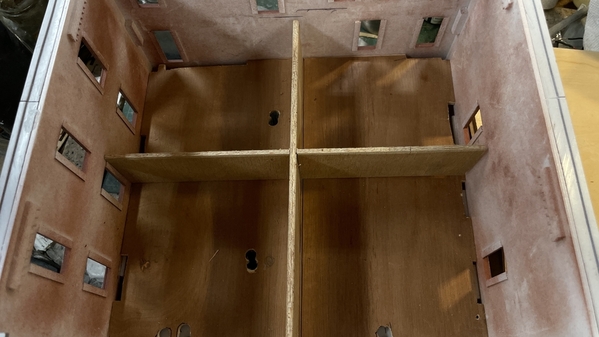
The cross-lap fit was so tight I didn't need any glue. Here it is in place on the 2nd floor plates. Nothing glued. I measured these wall heights with the 3rd floor plate in position, marked the wall, and transfered that measurement to the plywood. I scribed the ply with a digital calipers set to that height. I cut them on the scroll saw and trued up the edges on the wide belt sander.
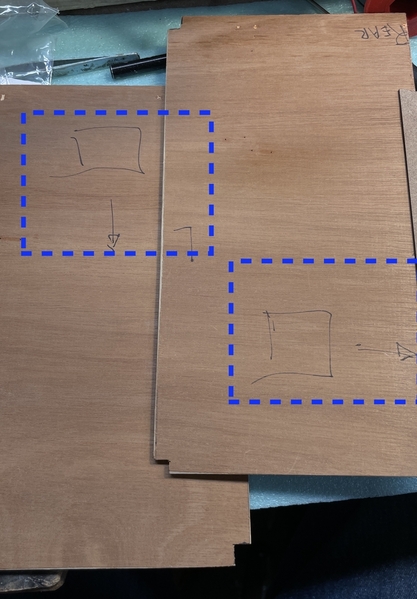
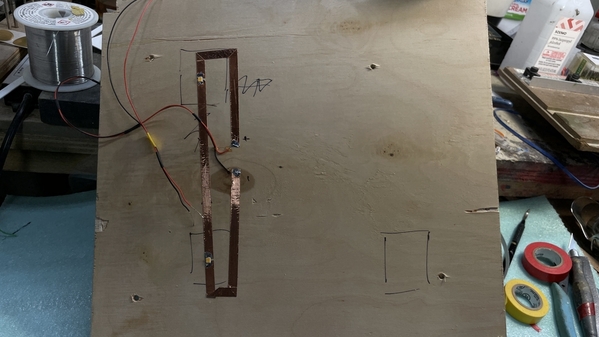
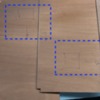
I chose to light one room in the back right side and one in the front left side. I marked these locations on the underside and noted by arrows which direction the leads had to head to get to the proper place to go downstairs. (inside the blue highlights).
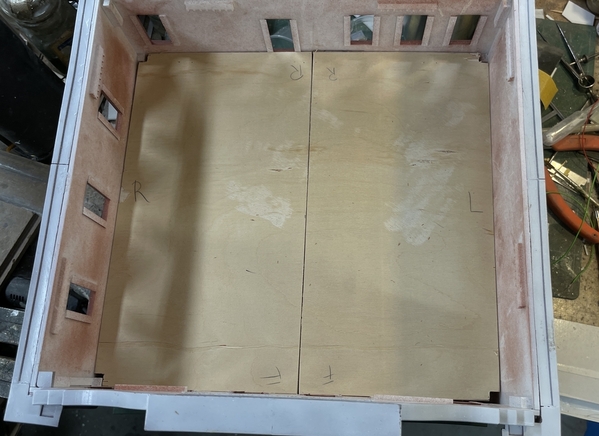
These circuits went in nicely. The 3rd floor plates fit in nicely and are level. With the new "Split floor method" there was no need to cut all those relief cuts to clear the window trimming.
The 3rd floor partitions ARE NOT load bearing since the roof has floor ledges surrounding the perimeter. I was able to use styrene sheet to do this that serve just as light blocks. I used the styrene left over from the laser-cut floors that I'm not using. Again, it's a cross lap, but in this case, I use score-and-snap methods to cut all the pieces and the cross-lap. Since the cross-section was so thin, I added 1/4" sq. stock to aid in glue up and add stability.
The 3rd floor lighting followed the same method as the other with a different room spacing to add interest.
Notice the yellow electrical tape on the power leads above. I'm identifying each LED circuit with color-coded electrical tape. I can only have three LEDs per circuit with my 12 VDC power supplies and each set needs its own CL2N3 LED driver chip. When all the circuits come down below, I'll need to be able to differentiate them. The colored tape did the trick.
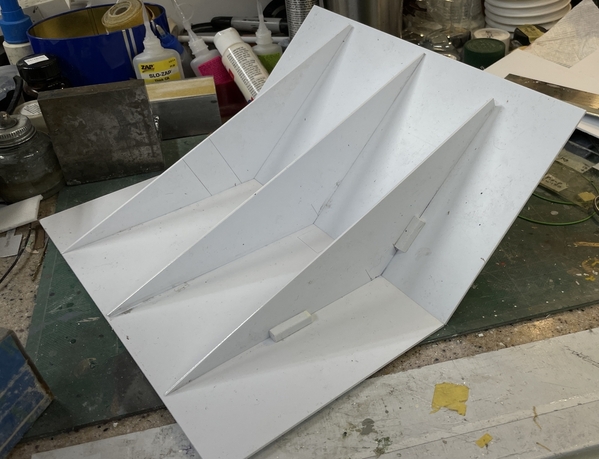
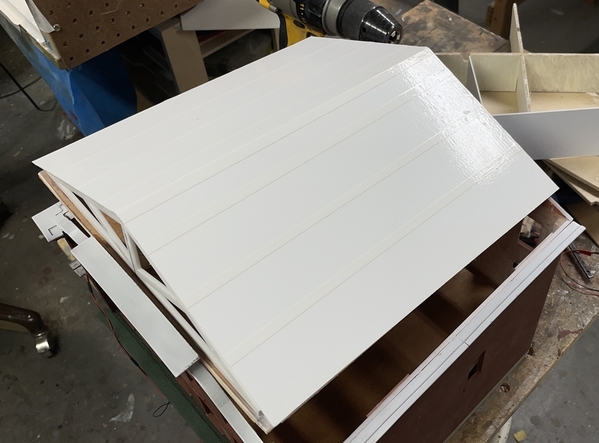
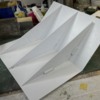
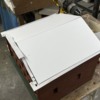
The roof plates are also made from that left over styrene. I measured their width and length directly from the model with the attic plate in place. I then made roof "trusses" to hold its shape separate from the laser-cut trusses I previously epoxied in place. I did this because I'm not sure how I'm going to fasten the roof proper to the truss system. When the plates are on, the trusses are buried and I'm not sure how the adhesive will work. This way, the roof is a separate assembly that may be able to not be glued at all. I sanded the peak edges so they mated better, added 1/4" sq. reinforcements and ultimately (not shown) added thin sytrene sheet stock to reinforce that peak joint.
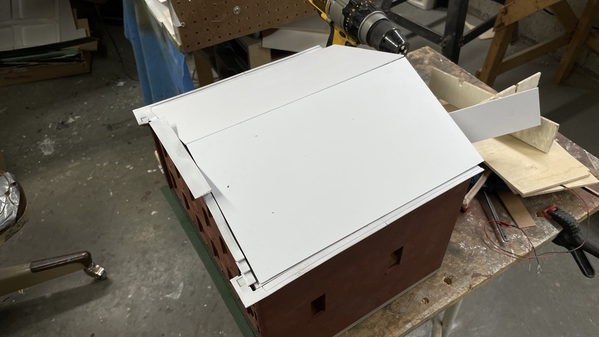
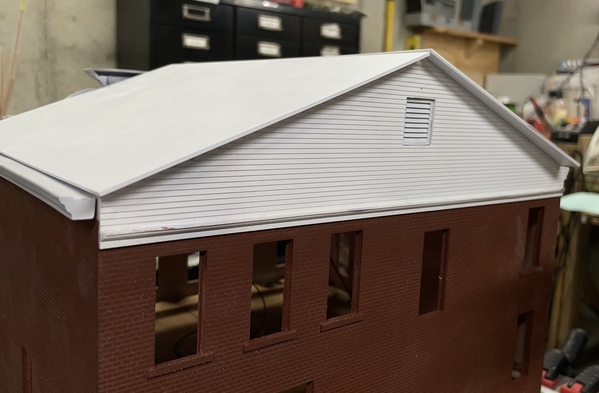
Here's the roof fitted in place.
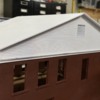
Here's the eaves overhang at the rear.
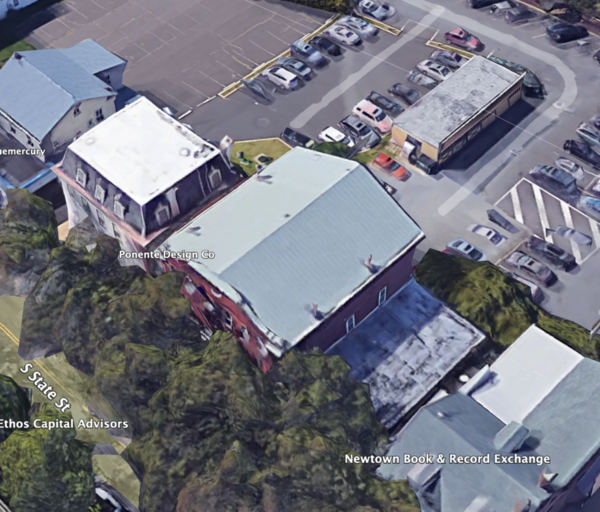
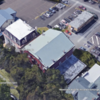
For roof covering, I went contemporary using vinyl sheet roofing as I did with the engine house. This is not far fetched. Google Earth photos of the building show a white roof and it very well could be a Duralast vinyl membrane. And believe it or not, I just noticed that this building has four chimneys, not two. It's hard to see them on the right side due to the proximity to that lovely 2nd Empire structure next door.
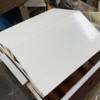
I used white duct tape to do the roofing. It's already 2" wide so it's a good size to just use straight off the role. I have to cut the holes for the chimney. I can print two more chimneys. Not a problem.
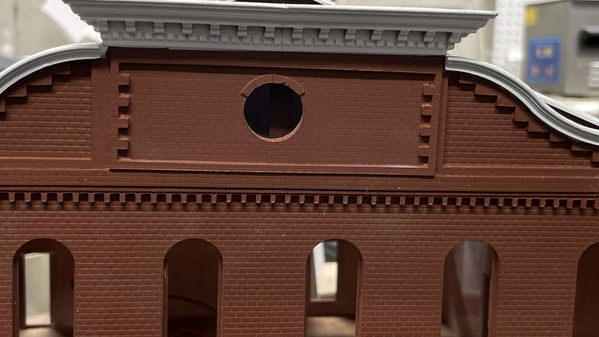
The white interior trusses show up through the roudel window in the pediment. I airbrushed all the front facing surfaces of these trusses a flat brown. This is now what you see when looking inside. Again, with the window in place, you won't see much. The attic will not be illuminated.
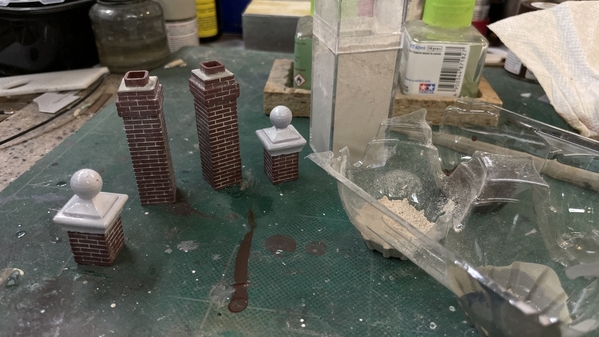
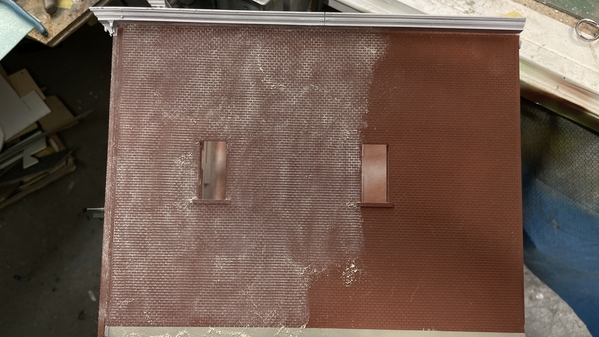
It was finally time to attack the mortar lines. Unlike my past brick buildings, instead of using joint compound and scraping off with a single-edges razor blade, I chose to try something new. I'm using Bragdon Enterprises mortar-colored weathering power. This is basically very finely ground chalk. I tried it first on the chimneys and corner thingys, and was very pleased with the results. You liberally apply it with a brush and then I wiped off the excess with a cosmetic sponge.
I had no excuses left to proscrastinate any longer so I just dove right in. I did the front face first (probably should have done it last when I had more experience), and found that after brushing it on, rubbing it in with a nitrile-gloved finger set the powder into the more lines better. I did find that the acrylic laser-engraving was deeper and more defined than the styrene laser-engraved parts in the upper front. The styrene did not hold the powder well at all, and frankly, wouldn't have held joint compound either. Not sure what I can or should do with this area.
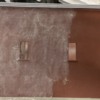
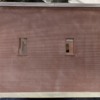
This is mortaring in process.
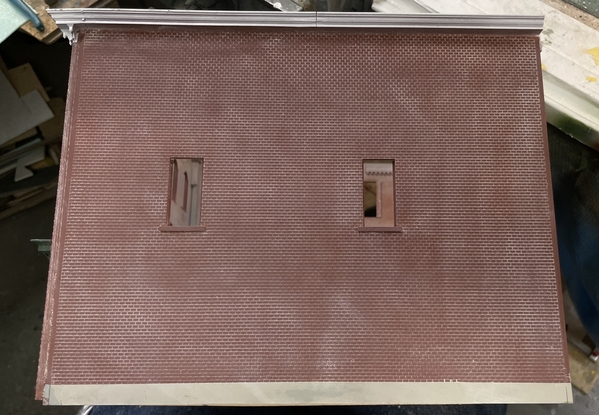
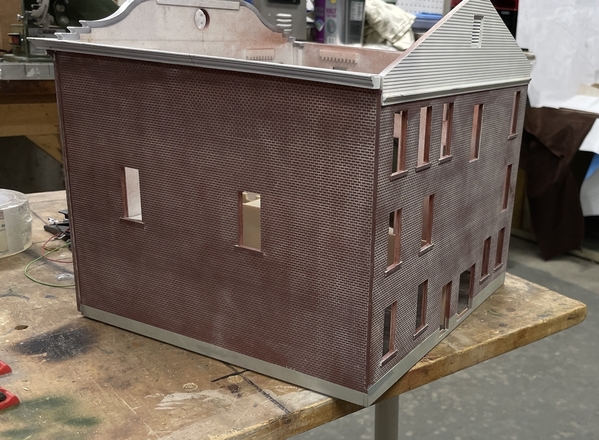
And here's the wall wiped and finished. Looks pretty good in my estimation. In areas that had a lot of powder I used my airbrush without paint to remove it.
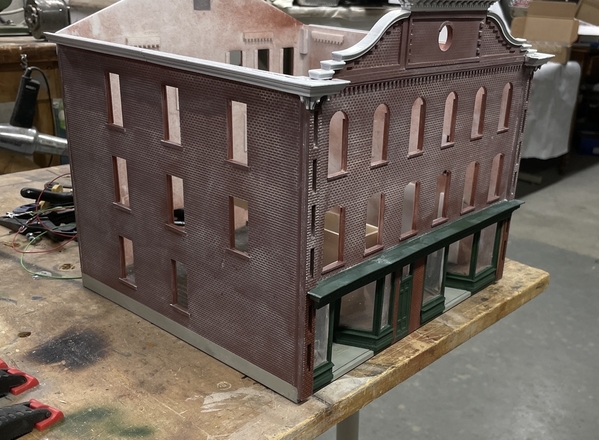
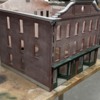
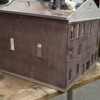
And here are two shots showing all four sides.
The corner seams will be partially obscured by the downspouts.
I don't know what I should do at this point. While it may benefit from a flat fixative spray, that may actually destroy the effect. I really can stay the way it is. Any thoughts?
So there you have it. Four hours of progress...


