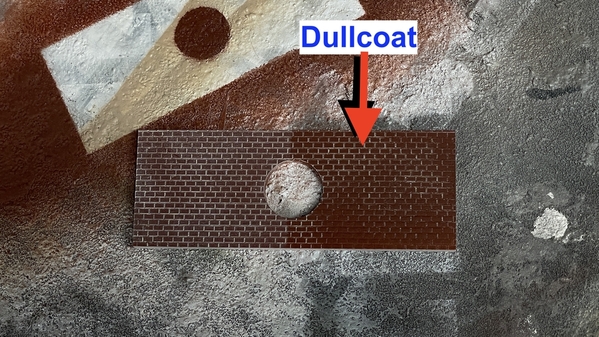
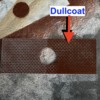
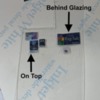
I took your advice (and that or Joel Bragdon at Bragdon Enterprises) and ran a test. I sprayed half of the test article with Dullcoat. The results speak for themselves.
I'm not going to coat it with anything.
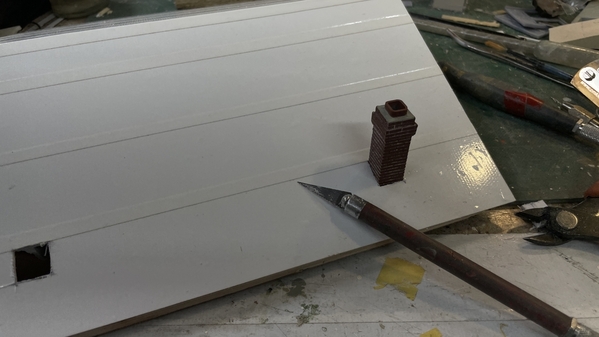
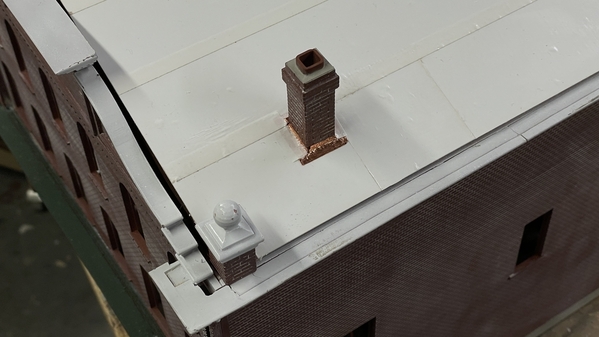
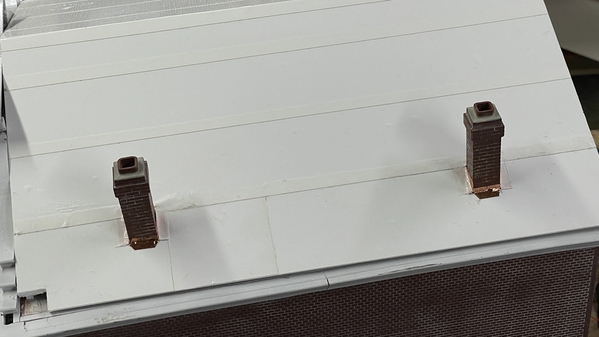
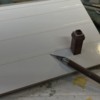
Spent a lot of time today installing the chimneys. While using the Duct Tape was easy to apply. It was the exact opposite when I had to manipulated it when I wanted to install copper flashing around the chimneys. It's not my best work. It was much easier to pull this off when I was using the Rail Scale Victoria Shingles. First I had to cut the holes in the roof. I first tried just wearing my way through the thick styrene, but it wasn't working. I then tried the super-fine razor saw and a regular razor saw and was still not right. Finally I used an Xacto sword saw that can be started in a small hole. This worked pretty well. As usual, the first hole was where I gained all this insight and the second is the one that came out nicely. Yes… there are teeth on the straight side of that blade.
After fitting the chimneys I peeled back the roof coating around the holes and worked the copper tape into the areas around the chimney. It was a iterative process. After putting down the copper I had to fold it back along with the roofing material. I then glued the chimney in with med CA and accelerator which trying to keep it plumb. The first one was a little off plumb and again, the second one was perfect.
I also had to open the front corners to the corner thingys could settle down onto their bases.
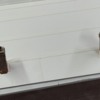
Here are both
Im posting now so I don't lose the images. I'll be back.
I'm back after watching some shows. You can see a roofing patch that I made after messing up some of the duct tape when manipulating it to add the flashing.
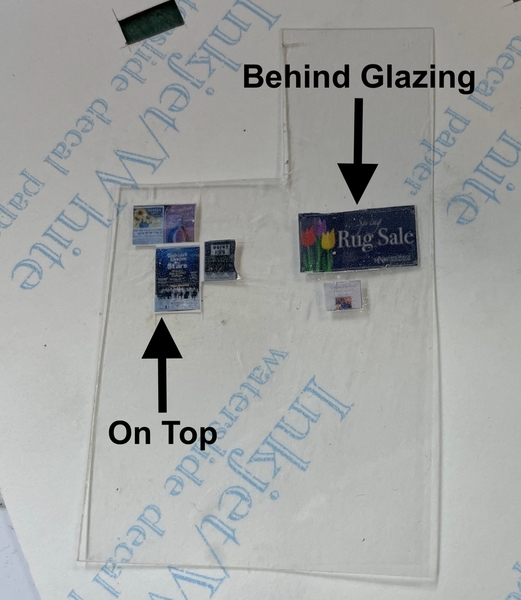
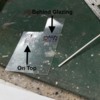
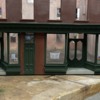
I did another test to see if I could successfully place the store window decals on the back side of the glazing. The test was successful. Here are the results.
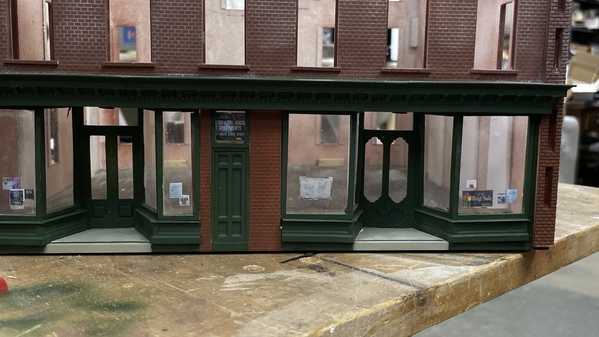
I then applied, with some difficulty, the window decals on the insides of the windows. The decal over the transom at the apartment entrance is and image of that entire window including a hint of the light in the foyer and a reflection of the street tree in front of the store. I'm annoyed that my windows aren't pristine.
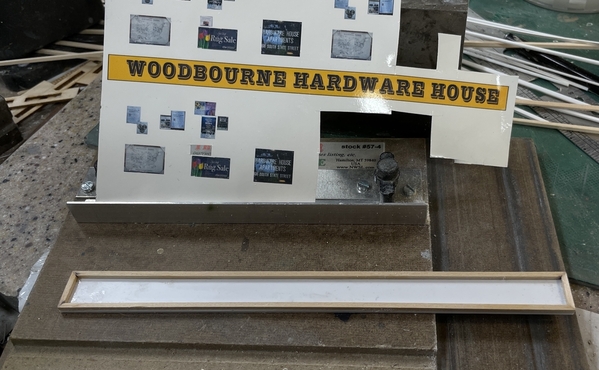
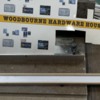
Last thing I did was build the large banner sign frame. I intended on making it entirely out of styrene, but did not have enough of the styrene square stock for the rim, so I substituted 1/16" sq. strip wood. To adhere wood to styrene required thin CA and accelerator. Behind is the large decal of the store with my town's name on it.
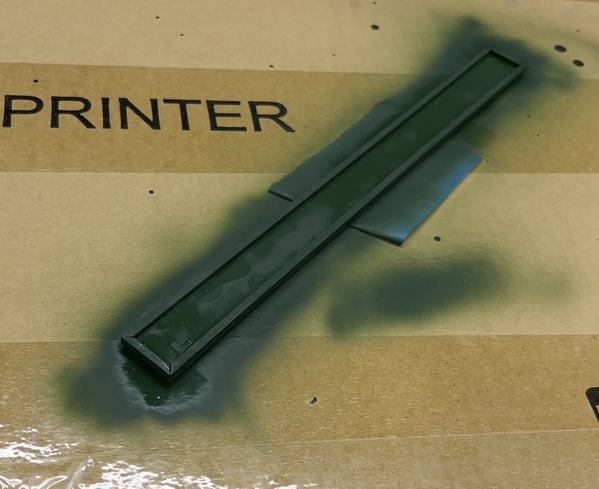
I airbrushed it with Deep Green and let it dry overnight. Tomorrow I will gloss coat it, add the decal and airbrush a flat seal coat.
I'll mount the sign when it's dry. I am now ready to start installing all the other windows. I've asked the store owner to take some more interior pictures looking down the rows in the main store, which I didn't get in my January photo shoot.


