G_d bless Amazon. Order connectors yesterday afternoon and have them to install today. And with Prime, no added shipping costs. How can you beat that? The LED drivers come tomorrow, but I don't need them now. Spent some time at the LHS so didn't get much done, but I did get something good done.
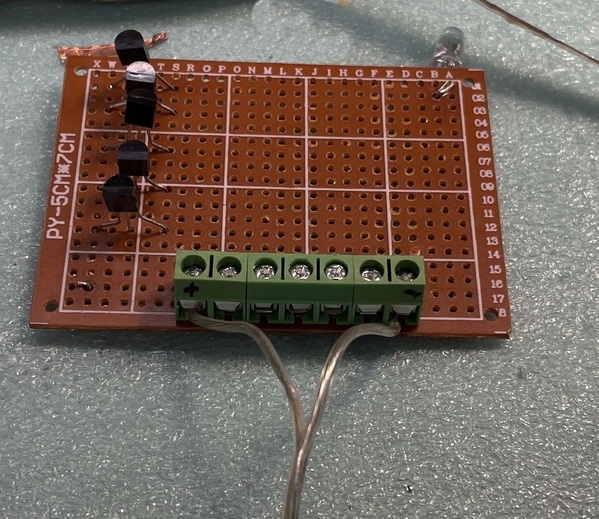
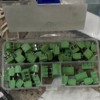
I added these connectors to the circuit board.
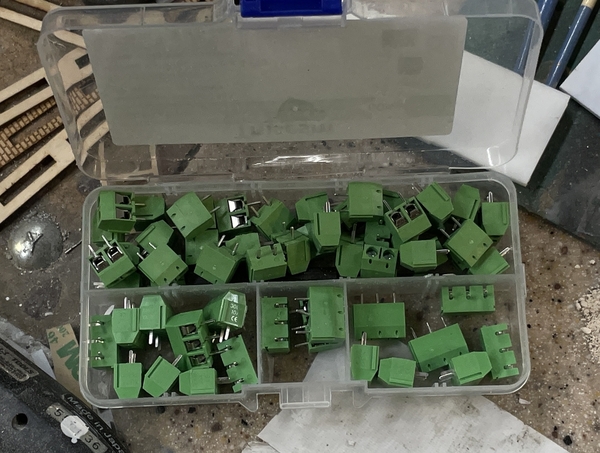
For 8 bucks you can't go wrong. They nest together to make a connector with any number of terminals you want. I chose 7. However, when I reviewed my work at the end of the session I realized I also need one for the negative electrodes, unless I want to solder them to the board. And avoiding that was the whole reason for this exercise. I'll add that next session. I had to trim my board holder (yesterday's work) to clear the newly added terminals.
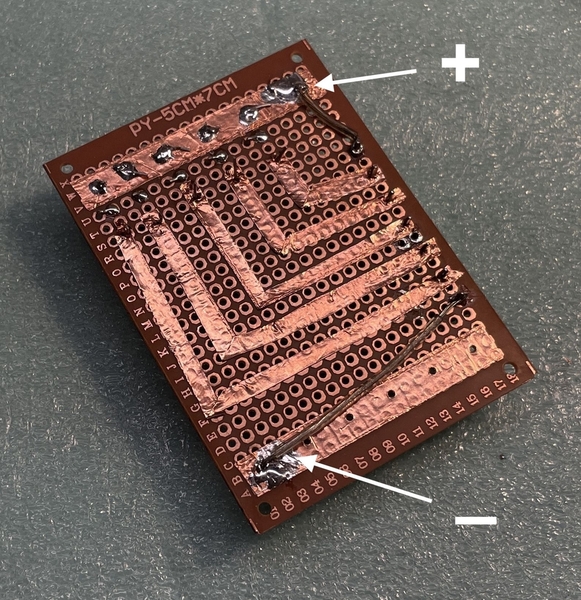
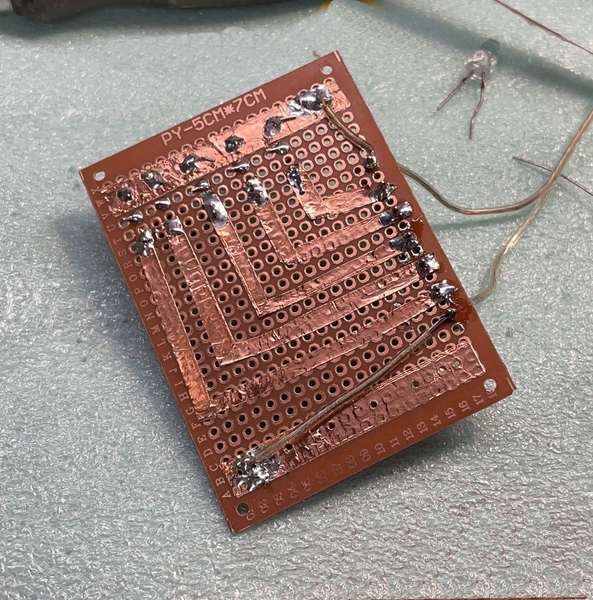
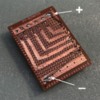
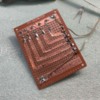
I did attempt successfully to use the foil to create psuedo printed circuit trails. I had to be careful that the runs did not touch solder pads that would also contact the adjacent trail. A short between these positive trails would not damage anything, but it would cause some of the LEDs to not light. I had to trim one trail to insure that it was not touching. The voltages and currents are so low that any cross-over would have be with direct contact.
I removed the leads I soldered yesterday and changed them to jumpers leading to the terminal's pins.
The hardest part was carefully cutting the slices that let the foil slip over the LED driver and terminal's leads. I then soldered everything. Soldering was more challenging than I expected due to the adhesive backing preventing the solder from wetting the cicuit board's solder pads. I had go back and resolder some of them to ensure that contact was secure.
Here's the board from the top showing the terminals. With that big box of terminals I'm going to use them a lot on future installations.
I tested all the circuits successfully which is when I realized I will have to add a negative terminal strip to terminate the field negative leads without soldering.
I also had to come up with a scheme to access the terminal screws when the board is in its space. I opened up a larger hole with the Dremel router so the board could be lifted up beyond the 2nd floor plate exposing all the terminal screws. This should work, but I won't know for sure until I actually start terminating wires. I also routed out another relief cut to keep the wires from being crushed by the 2nd floor.
The power lead wires will go straight down exiting the model through the big bottom access hole that is below the board in this image. This may be overkill as I've noted before, I like to control the wiring when dealing with multiple circuits and electronic components. While it was simpler lighting with grain of wheat/rice bulbs, they were hot and would melt plastic if touching it. They could burn out and they could present a fire hazard. And they weren't that bright. LEDs have none of those limitations, but introduce current management to ensure that they don't go PFFFTTT. If LEDs burn out, it will happen in the instant you turn on the power. I know about grain of wheat melting plastic when I tried to illuminate my Plasticville Signal Bridge with them when I was about 13 years old. It did not end well.
Tomorrow work on wall paneling and finishing the upper flooring.


