Thanks guys!
Happy Monday! Louisville survived the two-week Derby experience and the weather held off beautifully. It was an interesting race and people are getting worried about the number of thoroughbreds that died or had to be put down. Something's going on… They are very inbred animals and have a fragile skeletal structure especially in the lower limbs. You could put three race horses in one Clysdale.
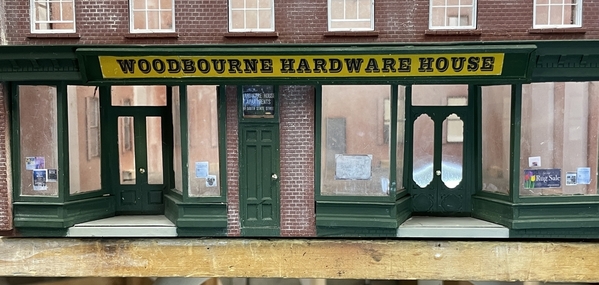
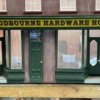
Did some punch list work on the building's front; got the door knobs in, glazed the main doors, decaled the banner and installed it, and built the power board and its mounting.
I used some small brass nails for the door knobs. I chucked them in the Dremel and polished their heads, drilled the doors with a #55 drill, inserted them and secured them with a drop of thin CA.
I cut the decal (on white decal stock) and applied it. The left end started losing some of it's color due to water leaking under the clear coat. It also got further munged up. So I cut it off and used the second decal to splice in the repair. You can see the match line, but it's not too objectionable. I then clear coated with Dull Coat.
To install the banner I applied contact cement strips along the top and bottom edges in the back and stuck it on the building.
Lastly, I measured, cut and installed the glazing on the main doors and held them there with PSA.
I also added mortar lines to the lower part of the front which I had overlooked last week.
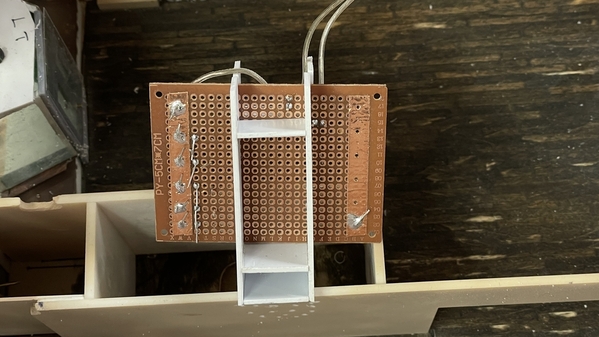
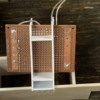
I built the power board out of some electronic bread board printed circuit panels. I bought a selection of these from Amazon to build my grandson's Tesla Coil. I used one to wire up the nine lighting circuits on the turret. In this instance I need five circuits, each with its own CL2N3 LED driver chip. I use the copper foil as a positve and negative busses. The CL2N3s go into a circuit with the power input side to the left of the flat on the casing when looking at the flat. The center tap is non-functional and just serves as another soldering point to hold the chip in place. The right side is the 20ma output that goes to the LED circuit. Since I'm using 12VDC as the power source, I can only power three LEDs in series that are dropping 3.3 volts each. They won't light with four since the total is 13.2 volts being dropped in the circuit. The negative sides of all the LEDs end up on the negative bus. After soldering all five chips into the board, I tested each one successfully.
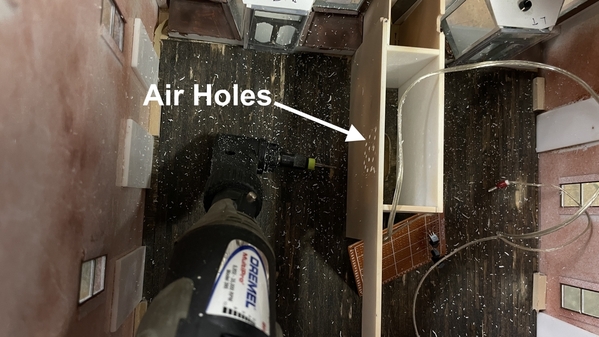
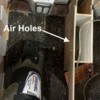
The board will sit in the stairwell space. While the chips don't get very hot, they do get warm and I made some air holes on both sides of the stairwell using a Dremel with a angle drive and carbide bit.
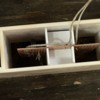
I then cobbled together a spacing piece (I know, I know… overkill) out of scrap styrene to center the board and keep it in place. In this image you can also see the positive bus on the left with one leg of the CL2N3s soldered to it and the output lead sitting tall where the LED positive inputs are soldered. And you can see the negative bus on the right side. Again, another application of that copper foil tape.
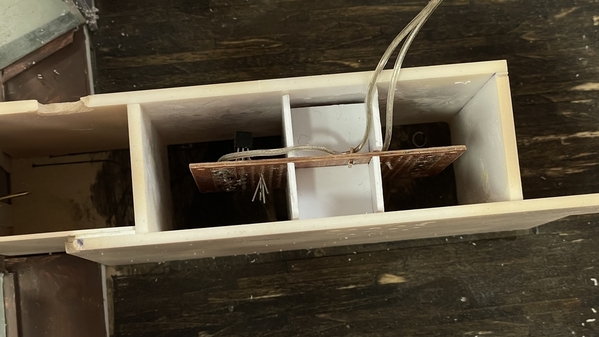
And here's the board as it will be installed, when I actually install it.
Now I have some thinking to do...
If I want to be able to remove the floors for whatever reason, I may want to tie the output leads to a terminal strip where they can be detached, rather than soldering them permanently and directly to the power board. I'm thinking specifically about getting into the main floor that detaches (with screws) to the bottom, but the stairwell is glued to it, so the circuit board will come down with it. If I have some barrier strips somewhere, I could therorectly remove the wires from the upper floors without creating a problem. Ideally, I'd like to have terminals that are soldered to the power board. I will look into that.
Tomorrow I will add some wall paneling to finish off the inside wall around the windows. I'm will use card stock for this. Unfortunately, I install the glazing already. If the window holes were filled with windows, I could have traced their locations onto the panels. Now I'll have to lay it out old school.


