Yesterday's and today's posts are combined...
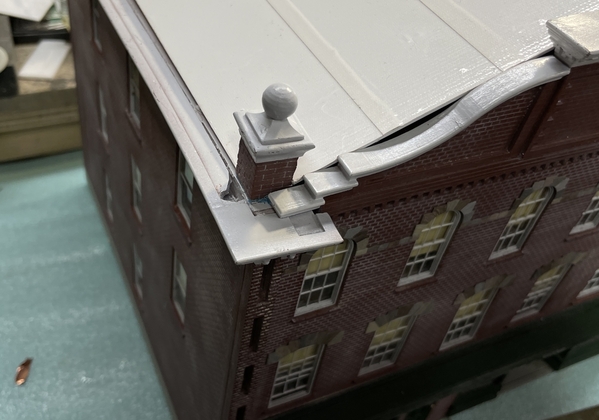
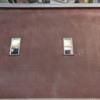
Since I'm going to put the model on the layout without the interior completed, I still needed to get all the exterior pieces secured. Instead of a permanent assembly, I used Blue Tack temporary adhesive to hold on the roof to the rafters and the corner thingys. This will let me take it apart if I need to.
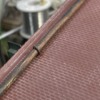
Also shown in this image is the broken piece of gutter that fractured during drilling of the 5/32" tubing. I filled that today with Milliputt epoxy putty and will final finish it next work session.
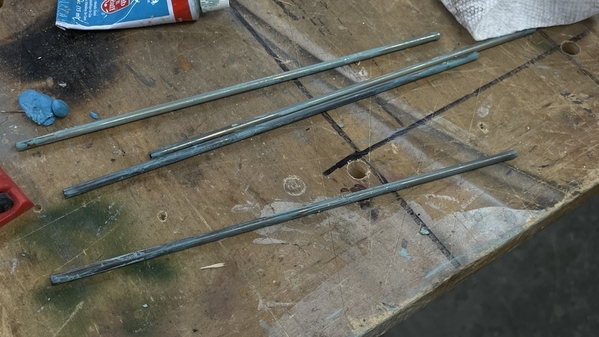
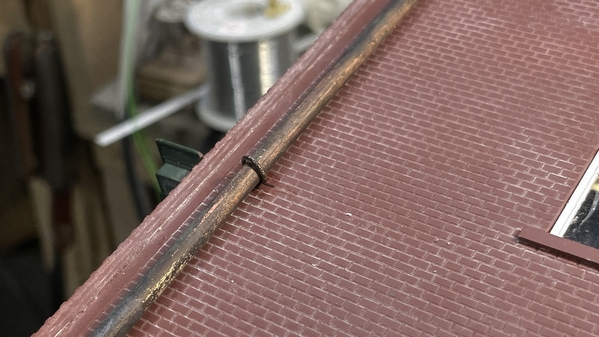
I also had to build the downspouts. As by my usual method I choose brass tubing, in this case 5/32" and then treat it too look like aged copper. This consist of steel wooling the pieces to remove any surface imperfections, soak them in JAX Brown/Black chemical treatment and following with JAX Patina. These are chemical reactions, not coatings per ce. However, I couldn't find the patina solution. I also didn't have much left of the blackening solution. After soaking in blackening, and washing, I chose to use Rub-n-Buff patina coating. It's a wax-based product. This picture shows the coating.
However; when I rubbed off the patina coating, the brass was re-exposed and it didn't work. Meanwhile, I was sure I had purchased new bottles of metal chemicals. Sure enough, not only did I buy the new material, but in much larger bottles. When the blackening chemicals are fresh, they do much better job. I steel wooled all the Rub-n-Buff of and put the pipes in the darkening bath. After a wash, I dipped them in the fresh patina solution. This has to dry. You don't wash it off.
The results were good.
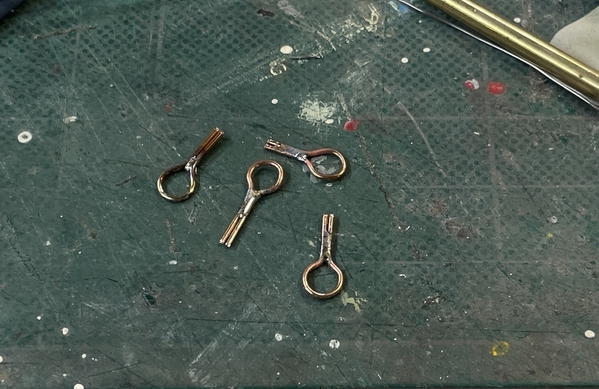
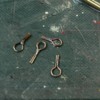
I made downspouts retainers out of 0.032" phos-bronze wire, looped with wire looping pliers, clamped and soldered with the RSU.
I also darkened these in the solution. The hole to pass the tails is somewhere between a 50 and 51 drill. I used the smaller (51), but it turned out to be too tight so I opened them up one size.
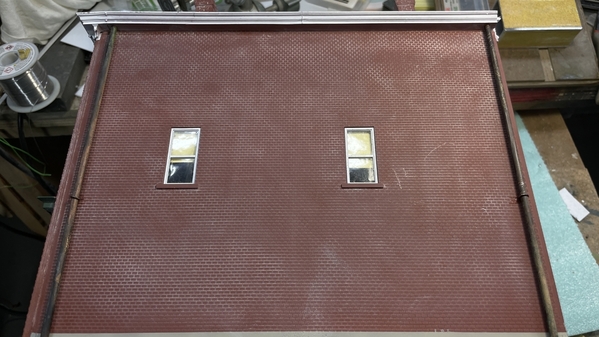
I marked the walls where the retainers should go and used the drill in the Dremel.
A closer look at the retainer install. It's held into the plexiglass with thin CA.
The last exterior work is the relatively complex two-story exterior stair. This is a similar build to many other timber projects I've built.
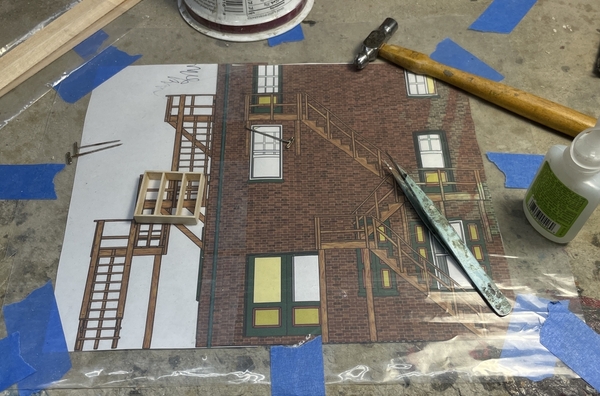
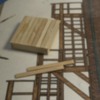
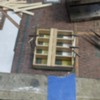
I tape the drawings onto my Homosote workbench top. This stuff is great since it holds T-pins very well. I place a piece of polyethylene film over top. All of the is taped so the drawings are taut. I used angle blocks and the T-pins. I started work with the landings. There are three and all different sizes. I have a lot of Northeastern Stripwood left over from the Rick House and planking the floor to complete the entire stairs (I hope). I have laser cut stair sets that will be pressed into service on this project. I will probably put a "concrete" base under this assembly to help hold it together and keep the symetry. Before starting I double-checked to make sure that this drawing accurately matches the actual building. It did!
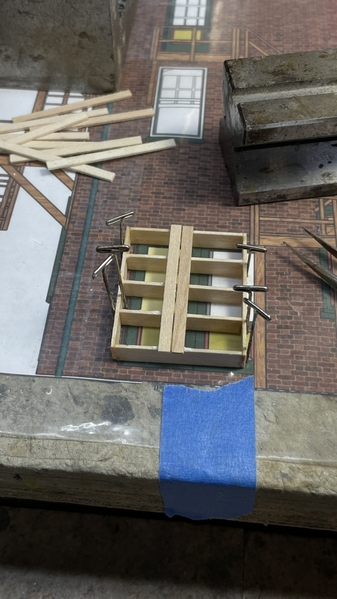
Above was the upper platforms framing (scale 2 X 12s).
The platforms are planked with the left over flooring material (scale 1X3), I sanded the ends to square them up.
This is the mid-platform which is the largest since it connects to stair cases.
We're heading out tomorrow for a family affair in Ann Arbor, MI. Work will pick up next week.
Have a nice Spring weekend.


