Boy! It's been a while since I posted. My last post was on the second page...
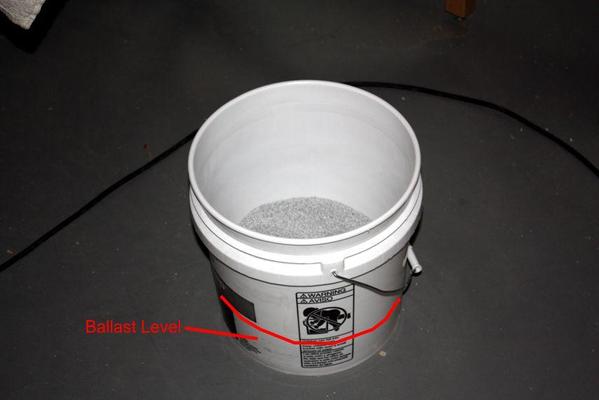
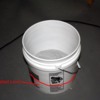
Track painting and ballasting continues. I lost a week due to a persistent sinus infection and cold, but got back to the RR this week. I'm going through ballast at an alarming rate I have less than 1/4 left of that pail, but only have 1/3 (or less) of the layout ballasted.
When full that pail weighs almost 50 pounds and I don't look forward to dragging another one out of the car and down to the basement since I pulled my back out getting this one there.
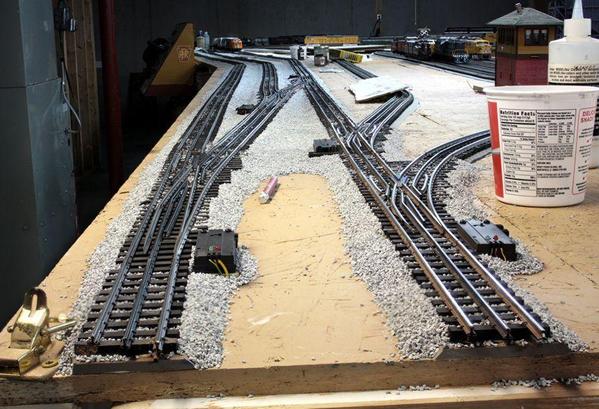
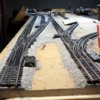
Here's a shot looking down the front main line showing all those stones. It's hard to tell by this picture, but the ballast covering between the tracks is just one stone thick, versus the piles that are covering the track and roadbed. I noticed that areas between double tracks are ballasted, but in the wider areas there will be ground cover, cinders, and some grasses.
Please note: once again, I was able to get all 30 feet in focus using CombineZP photo stitching software. It combined 7 exposures each focused further into the distance.
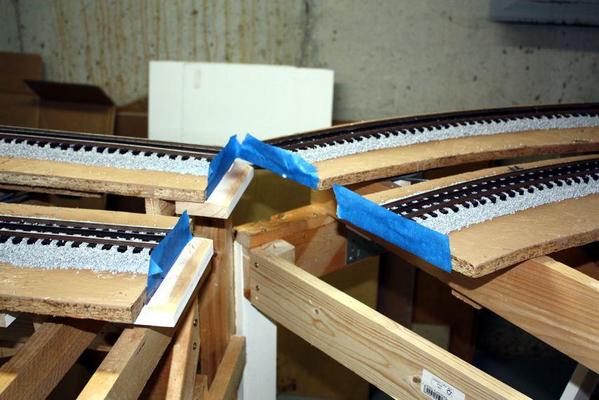
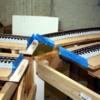
I got the swing gate ballasted today. I put masking tape on the ends to trap the ballast until it cures. I've also been very careful about ballasting around the Ross switches. No stones under the moving parts.
I've learned some things moving along. I solved the terrible air brush problem. The gun was just working awfully, stopping and starting and blocking up constantly. Apparently it was pulling thick paint off the bottom of the 1 oz. paint bottle which was gumming up the works. So I tried using the larger 2 oz. bottle, but still with the shorter pickup tube. In this way the paint was being pulled a 1/4" from the bottom. Besides being a bigger reservoir, the air brush worked perfectly letting me blast away at foot after foot of track.
I also found that Artist's Matte Medium mixed 50/50 with water works better than the pre-mixed Woodlands Scenics Scenery Cement. It's not cheap, running at $20+ per bottle, but it's holds like crazy once dry.
I've tried it both ways; pre-cleaning the rails before painting, or just blasting away. The jury's still out so I'm just blasting away.
I stopped using the template to shape the stones and just carefully spread and position it with a brush. The template was springy and just splattered stones all over the place. I can control it much better and it reduces the cleanup chores.
Ross track ties are pretty tall and it takes a lot of ballast to do each foot of track, but the results are worth it. The painted and ballasted track looks much better than bare.
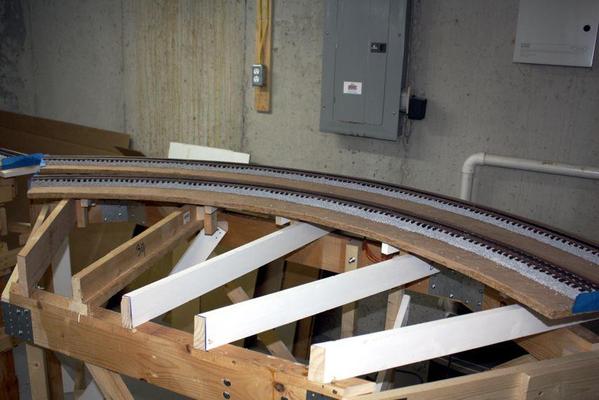
I painted the track around the right-hand back curve and then woke up this morning remembering that there's supposed to be a mountain and tunnels in that area, ergo, no ballast or paint. So I made sure I marked the OSB where the tunnel will be so I knew where to stop ballasting. No use in wasting precious time or resources putting detail that will never be seen.
With all the trains on the tracks, I'm having to jockey them around so they don't get sprayed or stoned. Notice that I've been ballasting the "easy" to reach tracks first. There are some areas, that are going to more challenging.
I'm also getting teased by my wife about the size of the railroad and the quantity of materials it's going to consume to finish it. She's right!


