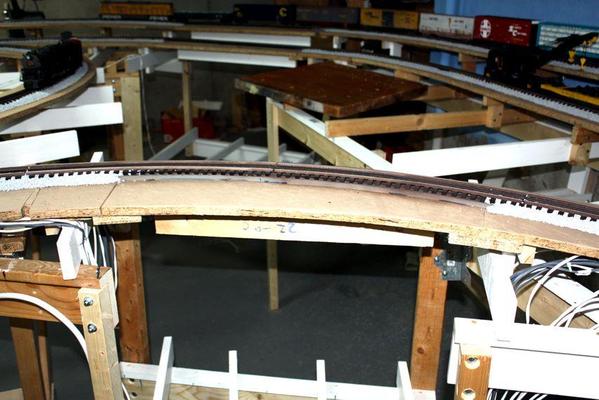
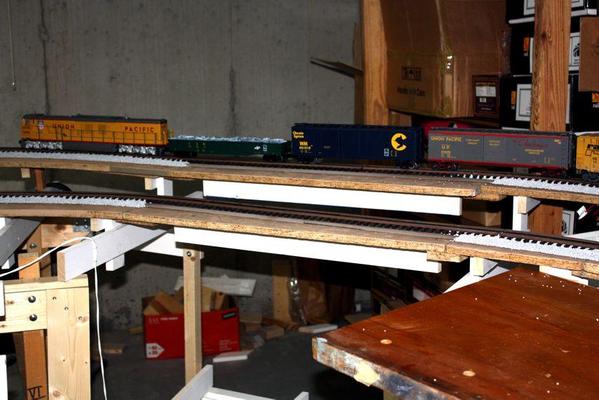
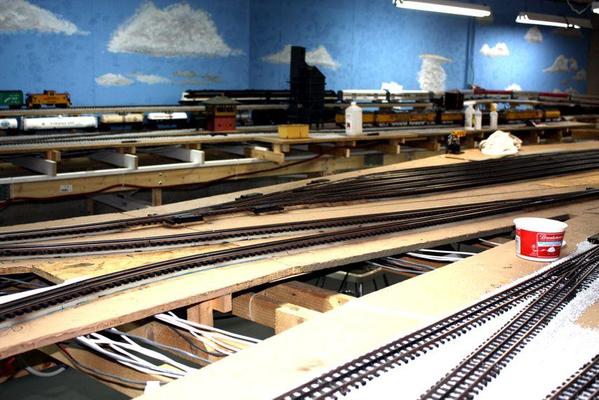
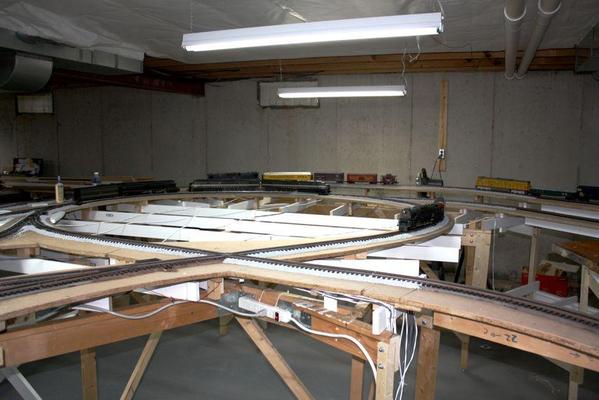
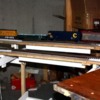
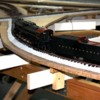
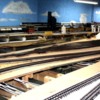
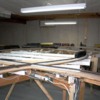
Ballasting is about 3/4 complete. I finished the back side of the railroad and the left side. All that's left is one mainline track coming off the reverse loop and all of the foreground yard tracks. I finished spraying rust brown on almost all the remaining track and will finish it all in the next work session. I'll ballast the mainline tracks as before, but can't do the yard tracks until I do one thing first.
I have to raise the ground level all around the yard tracks 1/2" so the ground level is just below the tops of the ties. Yard tracks are buried; they're not elevated and groomed like mainline tracks. Often you can't even find the ballast. It's often a mixture of dirt, cinders, and maybe some ballast. I'm hoping that I can find some 1/2" pink foam board. I don't want to use plywood, and I have some bead board scraps that could be used in a pinch, but they're slightly thicker. Once this filler is fitted, then I'll be able to do the ballast/ground cover.
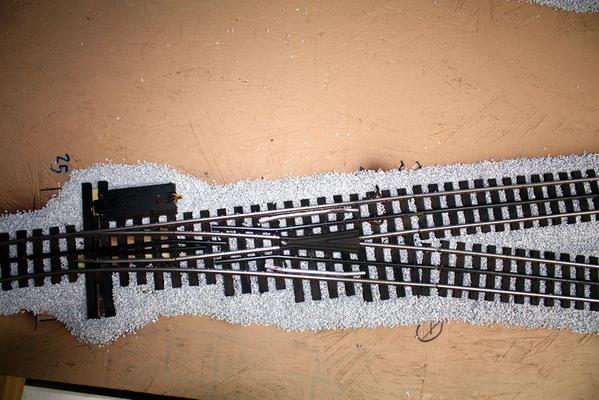
Here's an overhead shot of a typical switch showing "NO BALLAST" in the moving parts, and the car that it takes to get the ballast shaped right and not fouling anything up. Doing the switches is finicky and takes time. I exercise their motors to make sure that nothing is blocking them.
I one instance I accidentally got some stones down the slot where the manual controls is. It immediately jammed up the works. I had to remove the switch machine, turn it upside down and knock the stones out. Once cleared, everything worked okay.
I may have mentioned this before, but I've stopped using the ballast template that I made and just carefully distribute the stones from a plastic sour cream container. The template was springy and sprayed stones all over the place that had to be corralled back into place.
The actual steps I use are:
1. Do about 3 feet at a time. This seems the right amount so the wetting agent doesn't start drying before you get the glue down.
2. Pour a moderate amount of ballast down both sides of the power rail for the center ballasting.
3. Using an 1-1/2" cheap paint brush, sweep the stones towards one end until the ties are clear of stones and all the spaces between the ties are full and flush with the tie tops. It takes a couple of passes to get this right.
4. Pour a modest amount of stones towards the ties on the outside of track. Let the ballast fall naturally down the slope of the roadbed. Use enough so you don't see any roadbed showing through. This was very challenging especially in those areas that had very little subroadbed sticking out of the side. In a couple of places I used pieces of styrofoam bead board as extensions do the ballast had someplace to fall.
5. Use the brush and lightly sweep the stones of the tie ends. Go back and clean the center track area again.
6. With the brush, lightly push all the loose stones that are spread out from the track towards the ballast bed until no stray stones are seen. Make any final adjustments to the pile necessary to make a good-looking slope.
7. Repeat this for the other side of the track.
8. Liberally spray the ballast area with 50/50 alcohol/water mix until it's wet.
9. Dribble/pour/drip the glue onto the wet stones starting with the center track area. Go down one side of the power rail then back up the other. Try to keep glue off the rail tops, but it really doesn't matter since you're going to clean all the track running surfaces after gluing.
10. Dribble/pour/drip glue on the outside rail area working in and out of the tie ends and all the way to the bottom of the pile. It needs to be saturated. Stones that don't get wet by glue don't get stuck and will end up being loose.
11. With a rag wrapped around a finger, clean off the the rail running surface to prevent any power transmission problems. If it dries, use some alcohol to remove it.
I didn't ballast the temporary track where the bridges are going to go. It will hard enough extricating those pieces without having them glued in place with ballast.
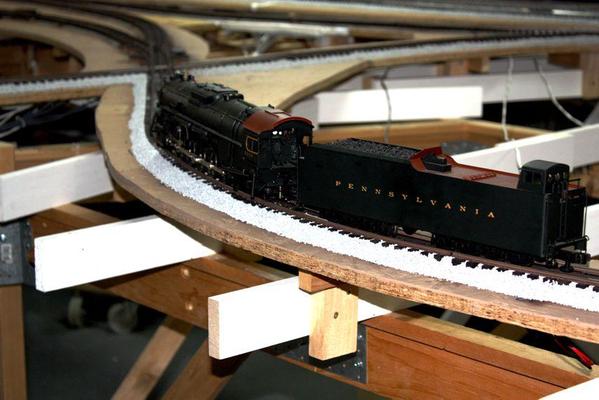
I think engines look much better on ballasted track, don't you?
The ballast looks awfully white in this picture. It's really light gray. I think I'm going to do some weathering on it, especially some grime running down the center. I may also go back and airbrush some rust on the ballast under the rails. My gun doesn't have pressure control and if it's too strong it can blow the ballast out... ugh!
Here's the yard tracks that are now painted.
Through careful juggling and a flew low speed collisions, I was able to get all engines and rolling stock away from the layout front so I could spray the yard tracks with impunity. I also let many of them stay under power since they were suffering from low battery problems.
It's going to be a lot fun getting them all back where they came from.


