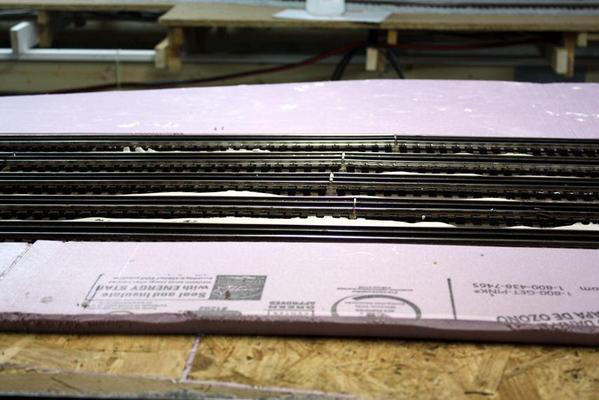
Jan, that's true, but my slopes are bi-directional since all the trains have access to both reversing loops. I'm going to do some light airbrushing down the center with some weathered black on all of the tracks... eventually so the break dust will be coming.
Today I started the plaster operation. First I off-loaded the 50 pound bag of USG Hydrostone into sealable paint buckets. Working out of the paper sack seemed a major mess waiting to happen. I bought the plaster at Jefferson Lumber for $22. That's seems like a fair price and is much less expensive than buying those one quart containers of WS scenery plaster. I also bought a bottle of the WS Raw Umber Tinting liquid to kill some of the high-whiteness of the plaster.
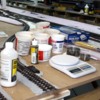
The digital scale worked great, but I didn't use the mixing head. It's just too big to stir the quantities of plaster I'm creating. Here's all the stuff.
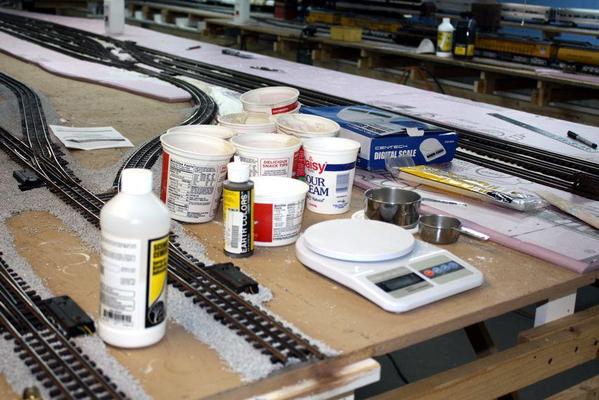
For several years now I've been saving all the poly containers from cottage cheese and sour cream just for this moment. Here's the routine: I take a cottage cheese container, put it on the scale and tare the weight. I then add 64 grams of water and a couple grams of tinting.
In a separate smaller container, I put in 200 grams of Hydrostone (after re-taring for the smaller container). I then pour the plaster into the container with the pre-measured water and mix until thoroughly homogenized and has a consistency of pancake batter.
Using these containers lets me make manageable lots sizes where I can carefully control the pour.
After I use the container, I set it aside and take another one, add the water and so on. I'm using about 8 containers. Once I get to number 8, the plaster in number 1 is hardened sufficiently where I can flex the container and break out all the plaster which doesn't stick to the polyethylene. I then re-use that one and keep going. I'm able to measure, mix and pour pretty quickly doing it this way and clean up is easy.
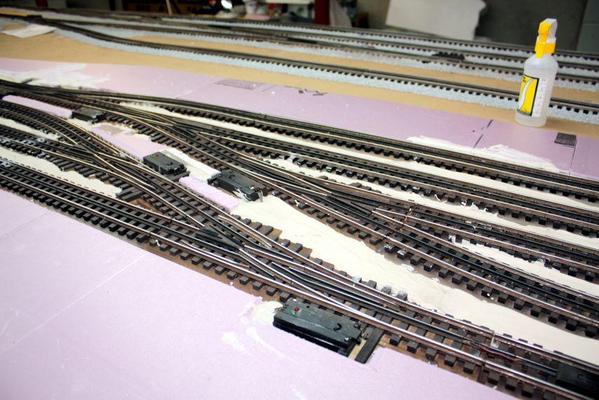
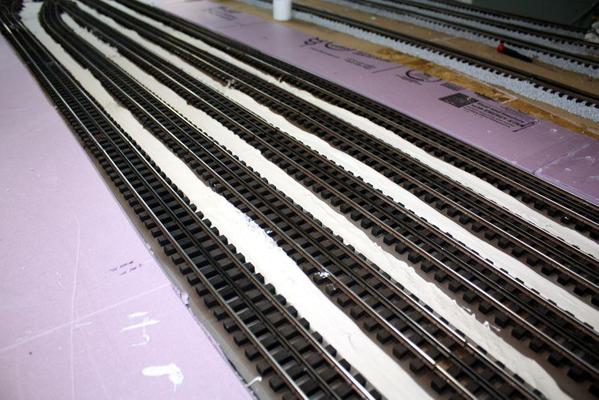
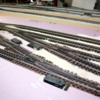
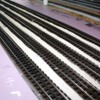
Here's some pictures of the plaster filling the spaces between the yard tracks.
While it looks pretty lumpy, the yard ballast mix is going to bury everything right to the tops of the ties. If I go higher than that, I'll have to make allowances for flangeways and I don't want to do that.
I could have probably tinted it much darker, but I don't have much tinting material. I may paint it earth color before ballasting.
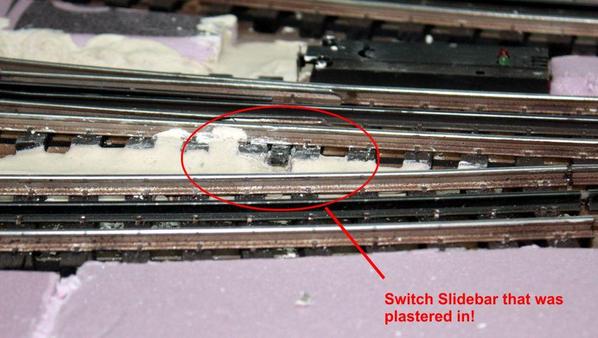
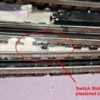
Just before I quit and was going up for dinner, I looked over it from the front side and saw to my horror that I plastered over one of the throw rods of a switch. The plaster was pretty hard already. I immediately got a hobby knife and dug it out until it moved easily. That would have been a disaster if I couldn't free up that switch. Removing track from this layout now is next to impossible.
This shows the corrected error. I will be more careful on the other end!
I'm going to go back and re-shoot the rail brown before ballasting since some plaster got onto the track's sides and looks awful.


