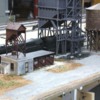
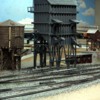
I finished up the small engine servicing area and it represents the first actual landscaping on the entire layout. It's quite a milestone and should probably break a bottle of Champagne against it. I used various W-S ground covers, coal, buff-colored fine ballast. This was after putting on another coat of Spackle and a last sanding. I decided that the "concrete" bases of the coal tower didn't need paint since the India Ink/Alcohol/water mixture I'm using for the wetting agent in the yard grunged the bases up enough to be passable. I may go back and do some powder weathering to simulate the coal dust that would be covering everything around the tower.
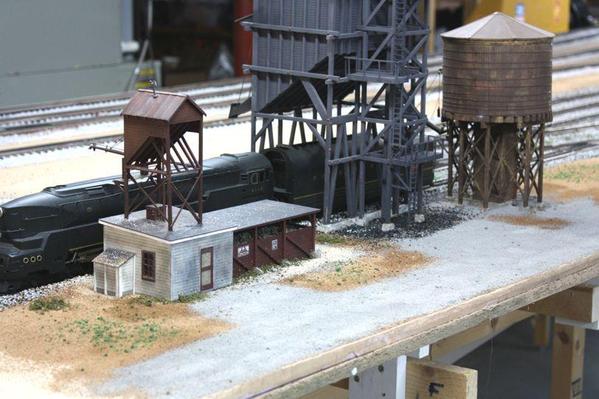
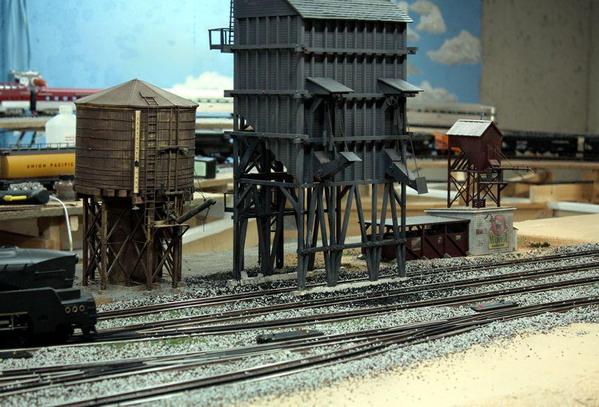
In the above pictures the W-S Scenic Cement is not yet dry so there's some color variation that is now gone. The engine getting its first coal, water and sand treatment is a 3rd Rail Pennsy T-1 demonstrator version with the full Raymond Lowey streamlining. It is my favorite streamline treatment and I especially like the portholes.
The Sculptamold is finally dry that surrounds the signal tower installation so I can put a skin coat on that prior to painting and landscaping. It took four full days to dry out.
Then I got working on the deck truss bridges. The plans I drew are working well and I made significant progress on the first of the twin bridges. The hardest part so far is the longitudinal I-beams that run directly under the running rails. These have to fit snugly between two slightly larger I-beams that make up the main cross-bracing. It's hard to make a direct measurement since the flanges block access so I scribed the place where the web is on top of each girder and used that distance to scribe on the I-beams. These then have to be coped to nest under and into the web of the cross braces. My first attempts did not fit as I would like and I will reinforce these joints with J-B Weld since these form part of the structure that holds the end beams in place. It is under the corners of the end beams that supports the bridge on the bridge shoes. The weight of many pounds of locomotives will be transferred to those beams and into the abutments. In the next bridge, I think I will install the cross-braces and longitudinal braces at the same time so the cross-braces can be butted up tightly to the longitudinal braces before gluing.
I'm building the bridge model-airplane style directly over the plans which are taped to my work bench with a layer of polyethylene sheeting over them. My work bench surface is Homasote which is a great surface for "T" pins. This is a much better way to build this bridge than the way the instructions shows since there are no full-scale plans with the model and you have to measure all the components and then assemble them. It's much easier to measure parts directly to plans.
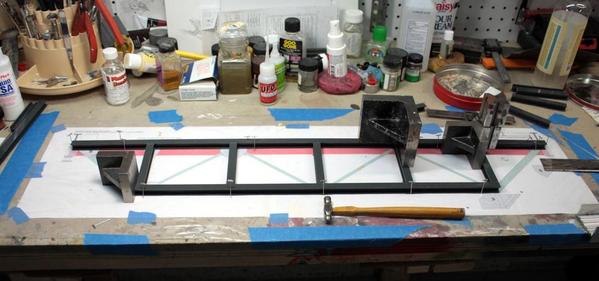
I'm also gluing the gusset plate paper templates onto the ABS sheeting and just cutting them out with a scissors. I use 3M #77 spray adhesive.

To remove the paper from the ABS I take some Goo Gone on a rag and saturate the paper. In a few sections it almost falls off by itself. A little more Goo Gone removes the adhesive residue. Isopropyl alcohol removes any residual Goo Gone since all this surface is going to get MicroMark rivet decals. I would someday like to have the NWSL Sensi-press and Riveter embossing system, but until that time, I'm hoping that these decals will make a passable job.
Once each truss side was complete, I set them up on the plans with angle blocks clamped to the sides to keep them perpendicular to the building plane. I cut the cross braces en-masse once I created one that was the correct length. After cutting I dress the ends with the NWSL True Sander to ensure that the ends are flat and dead square. I used the first one as a master to measure the lengths for the remainder.
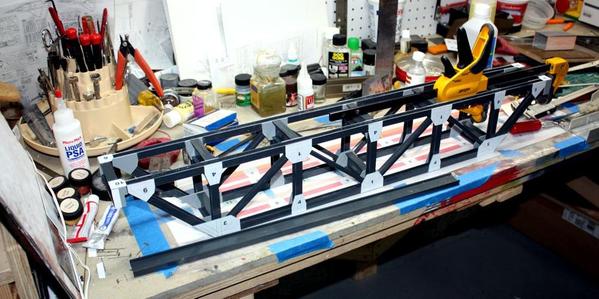
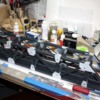
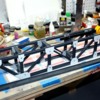
Here's the work as it was at the end of today's session. Cross members are mostly in place. I've left some out to grant access to the interior since there's cross-bracing that will go inside. The end beams are fully in place with gusset plates on the outside and bottom. For bridge number 2 I'm going to combine the angular gusset plate and the rectangular one that covers the end beam. It was an after thought in my plans and should have been one piece for a stronger joint. The end beams are the most important member on the bridge.
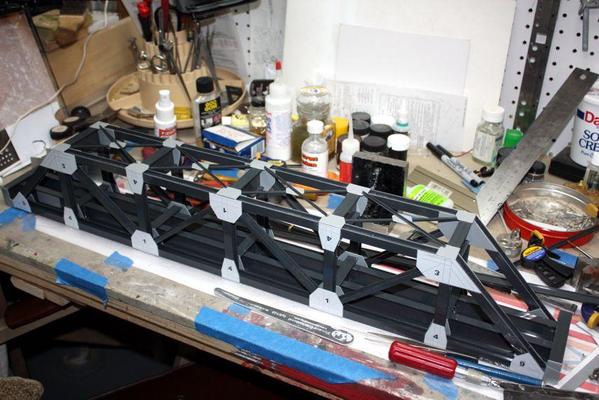
Because of the redesign, this bridge is almost 3 inches shorter in height than the through truss version and therefore will be a very stout, stiff structure.


