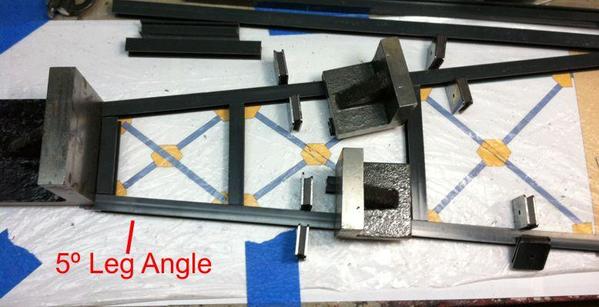
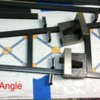
Started building tower. I've got the plans laid on top of a MicroMark magnetic steel building jig, but the width of the tower's base on the tapered side is just a little wider than the steel plate. The results were the magnets not having a good enough surface to really hold on the wide end. It did the job, but for the rest of this job I'm going back to pinning the parts directly to my Homasoted work bench top.
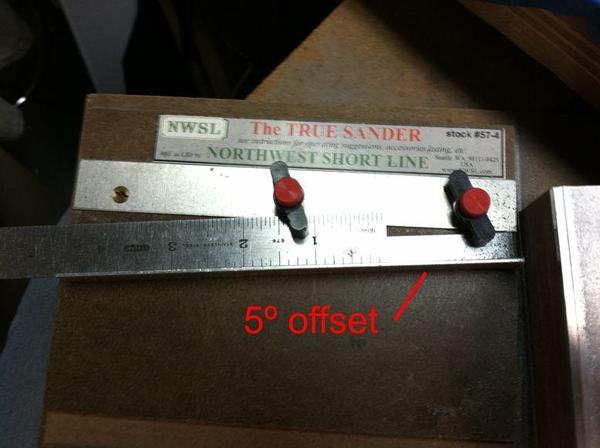
One side of the tower has a 5º taper and the other is straight. I adjusted the True Sander's fence to match the taper so the columns and horizontal members can be sanded to that specific value and fit nice and tightly. The ruler is providing more surface for the fence clamp.
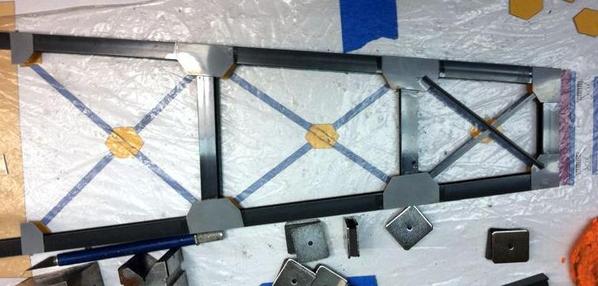
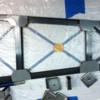
The next shot shows the cross braces fitted into position.
I then added the gusset plates which really tightens the whole thing up. I only had a short time to work today and was able to build one tower side and add the cross-bracing in the top bay. (I don't know why this picture is reversed?)
Tomorrow, I build the other tapered tower and then assemble them with equal-length spacers. Before cutting the H-beams I took the completed bridge and the tower plans to the spot on the layout and reconfirmed the height and how I was going to remove the temporary plank that now serves as a bridge in that area. I didn't want to waste the precious H-beams.
The tower's going to be embedded in a wood block which will then be surrounded with cast Hydrostone which will simulate a concrete foundation. I'm going to cast in the debris tapers on the upstream side of the base.
I also added the bridge shoes to the center section of the deck bridge. There are two ways to put on bridge shoes. The right way and the wrong way. It's clearly a 50/50 proposition. So I cleaned up the castings and put a drop of medium viscosity CA onto the mounting plate, and some accelerator on the bridge shoe and set it in very carefully. It set very quickly.
And then I realized I didn't check which direction the pin was facing. It's supposed to be cross-wise to the bridge axis and of course I just CA'd it with the pin in line with the bridge and WRONG. I had to use some force to pry it off, clean up the now cured CA and remount it correctly. I was rushing. Never fails. Don't Rush!


