Rather than starting to plaster cloth the ravines, I decided to work the entire topographic treatment around that entire end of the layout. I made this choice based on difficulty in imagining how to transition the scenicked area to the untreated area. By establishing the terrain for the whole area made it easier to visualize the total look.
I then realized that fascia boards needed to be fitted to provide an anchorage for the scenery that extends over the edge of the layout. So I bought a 25' roll of aluminum screening from Lowes. Also from Lowes I bought two 4 X 8 sheets of green extruded polystyrene, one 1/2" and the other 3/4". This will be enough to get started on the basis for the city.
The hardest part of this whole job is getting into the between-the-ravines space. I have to use my scooter to propel myself under the layout into this space. I'm leaving this space open so all areas of the layout are reachable except for the center of where the city's going to go. I still have to figure how I'm going to handle that.
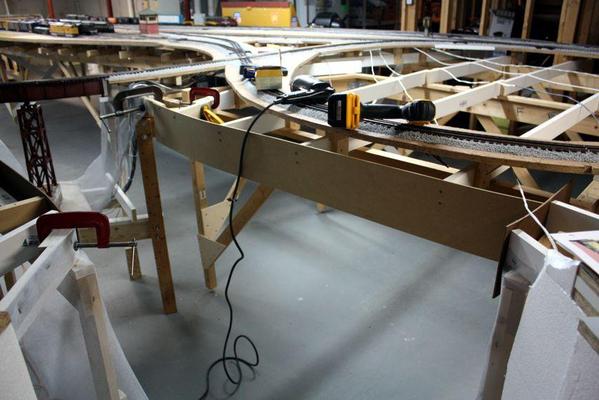
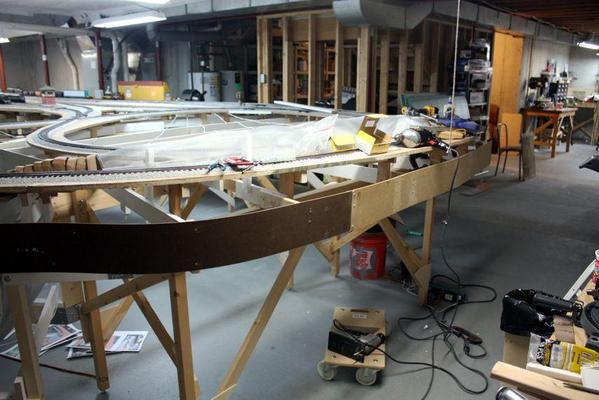
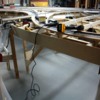
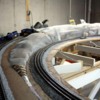
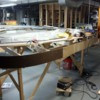
Here're some shots of this area with their fascia boards in place. I'm thinking I'm going to make the terrain height the same as the joists which would add more interest coming off of the track level. It's one of the advantages of building with L-girder and using shaped sub-roadbed pieces—being able to build below-track-height areas as easy as building elevations above.
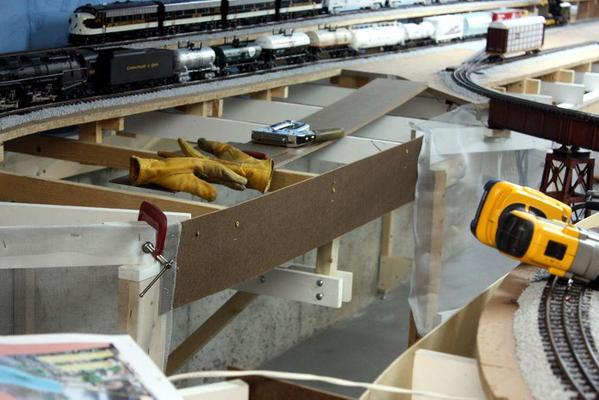
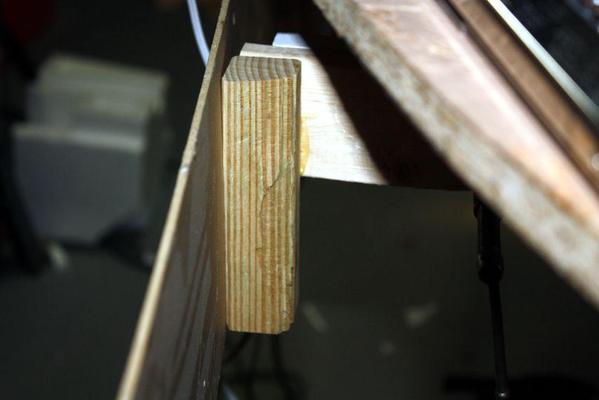
In this case, the screws holding the fascia are put into the joists end-grain. I'm not particularly happy about this, but these boards won't be bumped or touched very often. On the outside of the layout, I'm adding blocks to the joists or joist extensions for the screws are holding in cross-grain. The above picture also shows the depressed area next to the track that will be landscaped at that level.
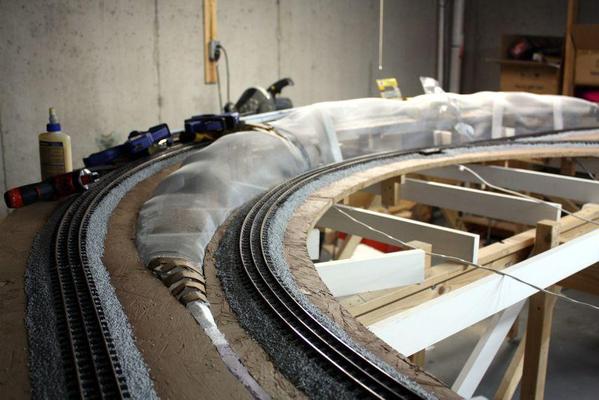
After putting in these boards, I went back outside and built the screen framework for the terrain that lies between the left-end tracks. I'm going to sculpt this area so the outside will be a cut, with bare Kentucky limestone strata, and the inner-face with a more gradual, nature land-form. To push the screen up more on the outside I quickly cobbled together some cut Styrofoam "beams" hot-glued to the layout framing. Again, you have to use Low-temp hot glue for bead board. Normal hot glue is too hot and melts holes into the foam. This is from experience.
Once the plaster cloth is added, the lumps will be worked out. This screen is not for strength which comes when layers of plaster impregnated cloth or paper towels hardens. Scultamold will then be applied for texturing the rock face. I've got good pictures of the rock formations that I'm modeling and probably won't need too many rock molds. Kentucky rocks don't look like that.
While the screen was being applied, I was letting joist extension and mounting blocks the chance to dry. In most cases I'm gluing the extension, not screwing them since they don't handle much load and Titebond joints are stronger than the wood when properly clamped during drying.
I have many feet of fascia board that's already prepared with junction plates that were used on the last iteration of the layout. In fact, I had just installed all the fascia boards when I was laid off, decided to move and had to disassemble the whole thing. There are extra screw holes since these pieces are no longer in the same place. I'll fill those holes before painting the boards.
As the fascia bends towards the foreground is another area where the landscape will gradually taper down from the edge. Further around the curve the edge will drop straight down. While I'm not happy with that, It gets into an area where aisle width get narrow and I can't afford to make the layout any wider.
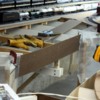
Here's one more shot showing how the fascia boards are fastened to the layout
All these little extensions and mounts help use up a lot of odds and ends in the wood scrap box.


