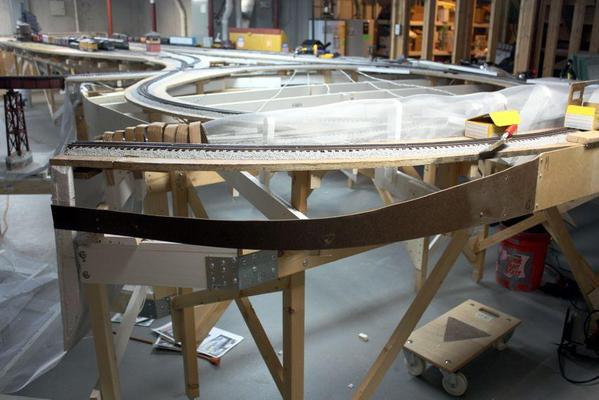
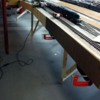
As I was lying in bed last night and thinking about what's coming up next with the layout—being retired and in reasonably good health, thinking about the layout project is what occupies my mind—I realized that I put the fascia boards on wrong. I was mounting them at the level of the lowered landscape area near the ravine, rather than level with the platform. This left a 2 inch gap between the top of the fascia and the layout top which would have been ridiculous to fill.
So the first thing I did today was to rip it all out and remount it at table level and then using the saber saw, cut out the area that would be landscaped lower.
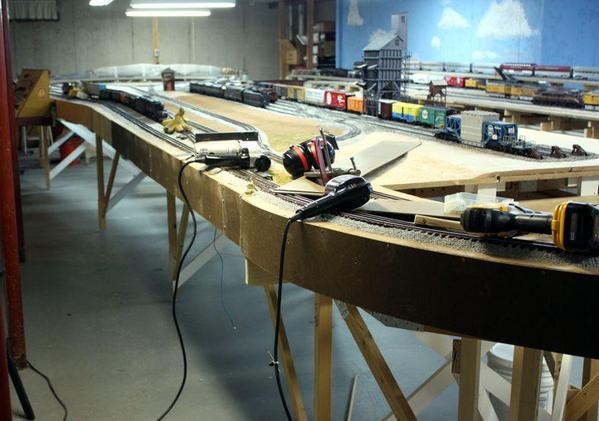
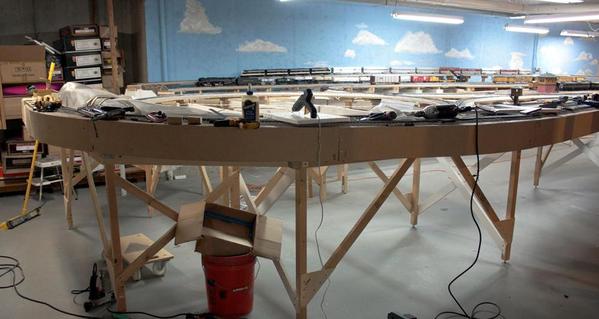
This change also made it much easier to attach the boards since they screw directly into the panels edge. This was going so well, I decided to do the fascias all the way around. Again, I have lots of boards from the last layout, and even though this layout is 11 feet longer, since I have 39 feet of it against a wall, I have enough to almost complete all exposed edges on this layout.
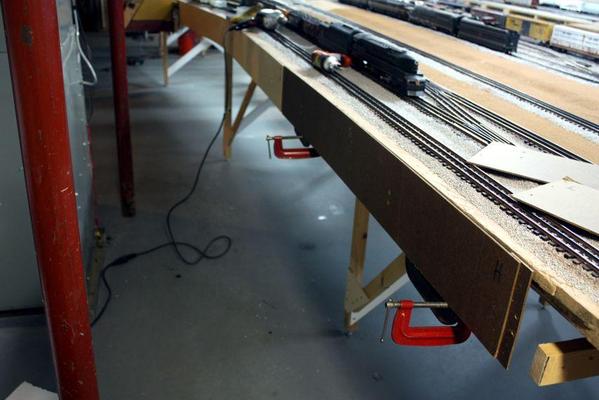
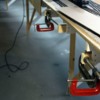
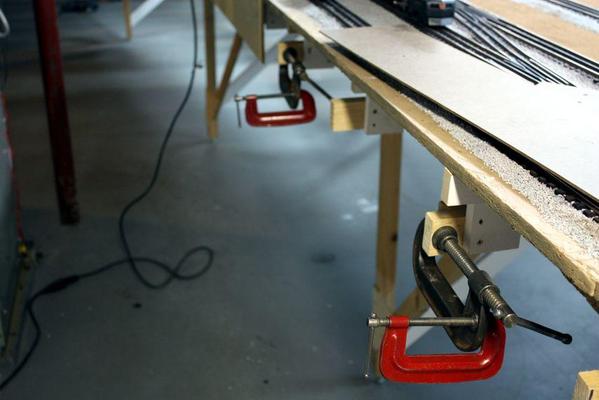
Since I'm doing this build mostly alone, he's how I hold the boards in place so I don't need three hands (or more) to align the pieces for drilling and screwing.
A large C-clamp fastened to a joist and then a smaller one set to support the boards at the correct height. It works nicely and makes the job go quickly. Individual boards are joined to each other using a backing plate glued to one side and 3mm screws, nuts and washers holding the mating piece. Metric sizes are because these screws were purchased when building layout #1 in Germany.
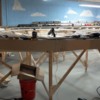
Here's the right end. I had to trim the piece slightly at the swing-gate to make sure it closed completely.
After all the boards are in place I'm going to mask the layout and track and spray with a nice deep green. I have some paint I used before, but I might by new low-odor paint so it won't smell up the rest of the house. The forced-air heating system is just leaky enough on the intake side to suck up any hobby smells from the basement and send it all over the place.
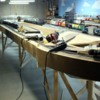
Resetting the fascia height meant that some of the supports that I glued on yesterday were now hanging below the boards. The saber saw made fast work of them.
The layout immediately looks more finished without those joist ends stick out all over the place. There's plenty of holes in the boards from when used in previous installations. I'll fill them before painting. The fascia board also adds a convenient place to add any local controls for more switches, and/or any operating accessories.


