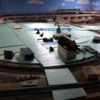
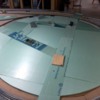
All the foam building foundations are glued. I had to make an adjustment to on piece when I saw that the two sides of the cross street didn't align anymore. Somehow, I had moved something. I cut an inch off one side of the foundation piece and made another 1" piece (longer) to glue to the other side. Problem solved.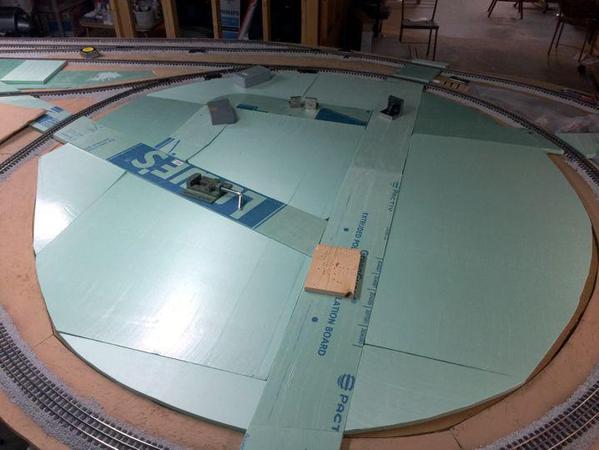
I used various kinds of heavy things to weigh down the building foundations while the foam adhesive cured. 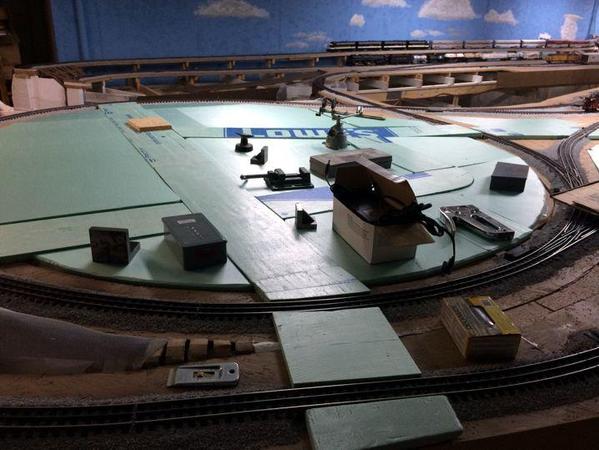
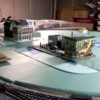
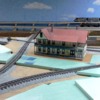
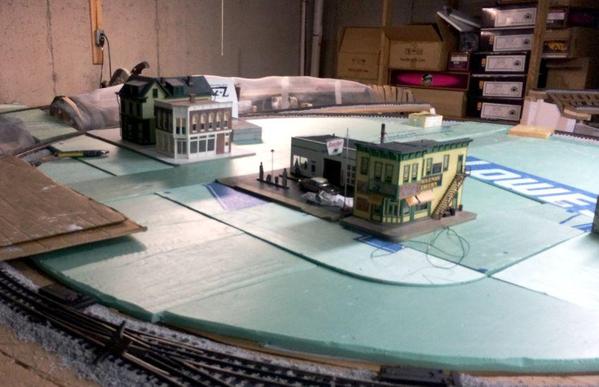
I then decided to start trying to fit some buildings into this matrix. Here's the first pass. I'm not sure if I like it. Corner buildings can be a challenge since they have "handed-ness". I also need to keep a space near the front for the Westport Models fire house which I haven't built yet. I also have Gravely and Parkside Diner to build, both of which will probably have interiors too. 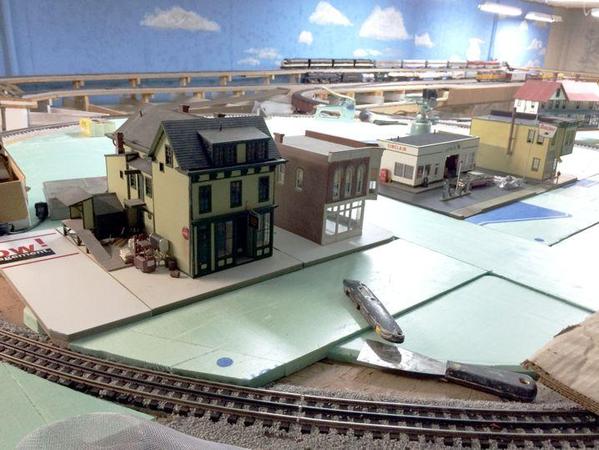
The candy store (foreground) has a loading dock on it's left side do it needs a driveway next to it, and there's a lot of detail so I'd like it to be facing front so you can see it. It also has a full interior. That corner building next to it, doesn't have an interior yet, but it's going to be an appliance store (I have a Miller Engineering "Zenith TV" sign for it), and it's facing the wrong way.
I also have to get some more lighting. This is the darkest area of the layout and all those building fronts are in shadow. I had to jack up the settings on these pictures to bring out any frontal details. I may get an LED track lighting setup since it would use no additional power to speak of.
I need to produce some more curb cuts. I'm going to make a master out of Sculpy and then make a latex mold and cast them out of Hydrostone. They came out pretty well for the gas station.
I'm going to try and locate the Idaho hotel "out of town" since it seems like a stand-alone structure with it's own kind of sidewalk. It looks like it should be "on the other side of the tracks" so to speak.
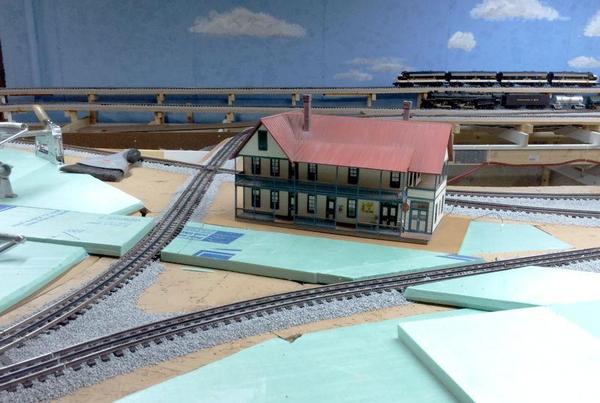
I can imagine sleeping here are being awaken at 5:00 a.m. by a train horn a la "My Cousin Vinny" where he asked "Does that train always come by here at 5:00 a.m.?.
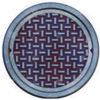
I also want to make the streets as realistic as possible. This means, in addition to weathering, to include manhole covers and storm drains. I Googled "manhole covers" and got a load of pictures. I found a number of them that were direct overhead shots and therefore were complete circles, not ellipses. I then cropped them in Corel PhotoPaint and imported them into CorelDraw and scaled them to 1:48. My research found that they vary from 24" to 36" in diameter so I picked 30". That's 0.63" in O'scale (5/8"). I printed them out on Avery sticky label and after spraying them with fixative, will stick them directly onto the streets in selected locations.
I also looked up Storm Sewer inlets and got a lot of technical info. Westport Modelworks has a cast resin storm sewer inlet which is a possible choice. And Berkshire Valley has a cast resin manhole cover. By making them stickers means not having to cut round holes in the street. From the viewing distance, they should look acceptable as long as I hide the white paper edges.
I'm going to try scratch-building the sewer inlets. I have lots more things to buy for this railroad and I have to manage the budget carefully, so for these small details I'm going to make as many as I can.


