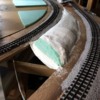
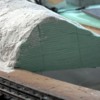
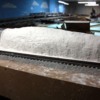
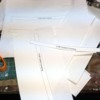
Started to plaster the hills separating the outer and inner loops on the left side. I began using the last 2 rolls of my J&J Specialist Bandage that I got from my doctor brother in law years ago. For the non-medical among us, Specialist Bandage is J&J's trade name for the plaster impregnated cloth that's used to make good old fashioned plaster casts. Mine was 3" wide, but it comes in other widths too. After using that up I used my one and only roll of W-S Plaster Cloth. This material, while similar to the J&J stuff, is not as good. The cloth substrate is a much wider weave and therefore produces a much weaker and more flexible result. It's also very expensive at $11 a roll which covers about 10 sq.ft.
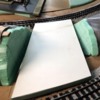
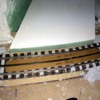
Before commencing with the plastering, I shaped two green foam pieces to serve as the rock cuts that flank both sides of the highway that's crossing the tracks. I used the hot foam cutter to shape them, mashed the screen wire back to fit them, and then used some hot foam glue to tack them into place. The glue joint was very flimsy, but it only had to hold until the plaster hardened. I scored the foam to resemble Kentucky limestone road cuts. Kentucky strata is very parallel and easy to replicate. It's much easier than Appalachian bedrock formations. Everywhere you drive around the Bluegrass Region of Kentucky you see this formation lining all the highways and railway cuts.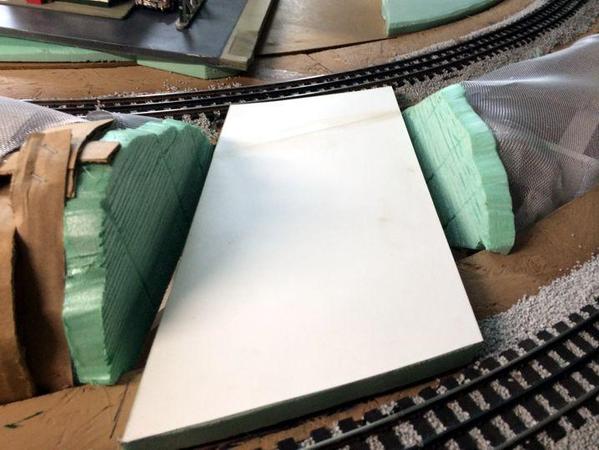
After doing the right side, I started the left side before running out of plaster cloth.
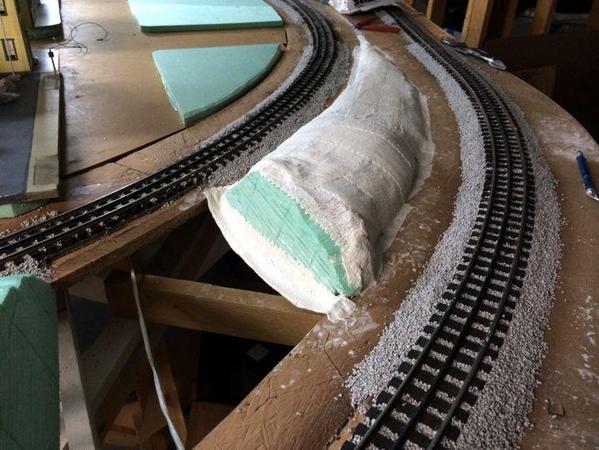
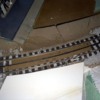
For the left side, in addition to layering on the plaster cloth, I added a second coat of Sculptamold, which is where I again carved Kentucky strata into the wall facing the outer loop. This was intentional and I shaped the screen wire to make a sharp cut-off on that side. On the inner side, I made the slope less severe and will not make a "cut" in that area. While I didn't run out of Sculptamold yet, I decided to stop and do some other stuff. One of which was to put the 2nd coat of latex mold compound on the curb cut master. I have two more coats to apply and then I'll reinforce the mold with some gauze before adding more layers.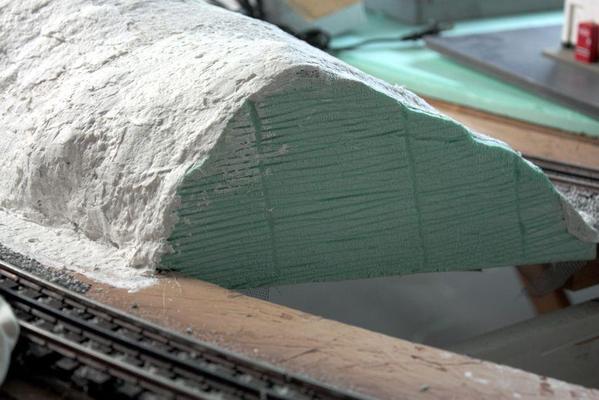
The vertical cuts in the foam represent the bore holes made when drilling the rock for the blasting that was used to create the cut.
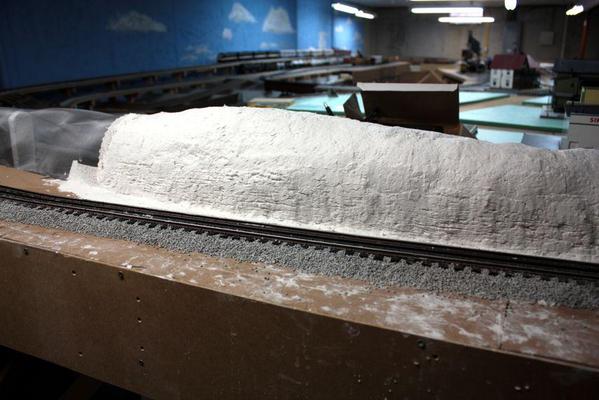
I'm amazed how strong everything becomes as the layers are added. Believe it or not, but this is actually the first O'scale hardshell modeling that I've ever done. I've read a lot of books, but had little experience. When I'm done this layout—someday—I will be experienced. As a kid (see my layout pics at the beginning of the thread in the layout design forum) I built the mountain out of paper mache and stunk up the house as the flour-based paste dried. I used rubber cement to hold the grass in place. Boy have things evolved for the better in this hobby.
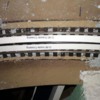
I decided to make the grade crossing filler pieces that will be needed when I install the streets. Because most of the crossings are at curves it's not as straight forward as it could be...no pun intended. I needed to create a shaped piece that would be accurate and would have sufficient flange-way relief. At first I was going to make a rubbing of the curvature holding a piece of paper over the track and using the side of a pencil to inscribe the curve. As I was doing this I realized that it wasn't precise enough, so I went back to CorelDraw and created the templates on the Laptop.
I had a piece of track with me and measured the various clearances using a digital vernier. Creating a 96" circle in the computer in full scale made a huge image, but I only needed a sliver of it. The width measured out at .467" so I created a series of concentric circles. And when it was all done, and printed, and glued to card stock, and cut out and tried on the rails themselves, I discovered the most basic of dumb errors. I was measuring a radius, but I forgot to double it when actually enlarging the circles (duh...diameters) and the parts were half as wide as they needed to be. So it was back to the digital drawing board to redo the who operation. At least I didn't start saber sawing out the parts from Masonite, which, BTW, was exactly the right height to provide a nice crossing but still be low enough to keep the all-important center rail proud of the crossing.
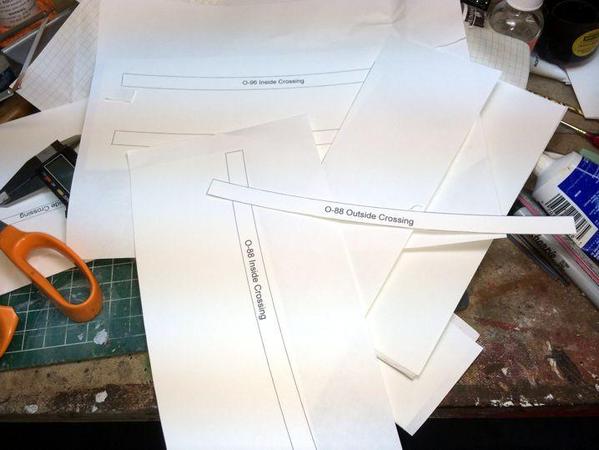
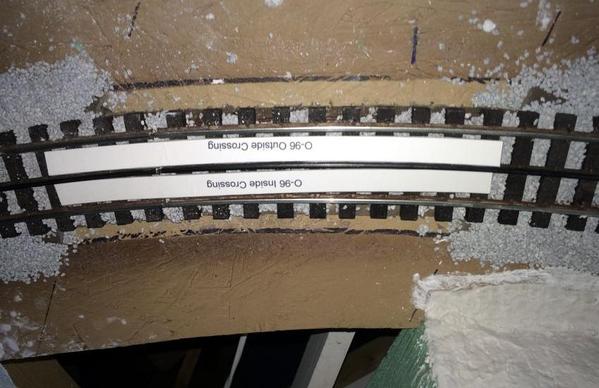
I traced these onto Masonite and cut out the actual parts. While they were close, they still needed a cleanup with the Dremel. Sanding Masonite makes a ton of messy, very fine sawdust. I had a mask and goggles on when doing this and had to vacuum my shirt before I went upstairs for dinner.
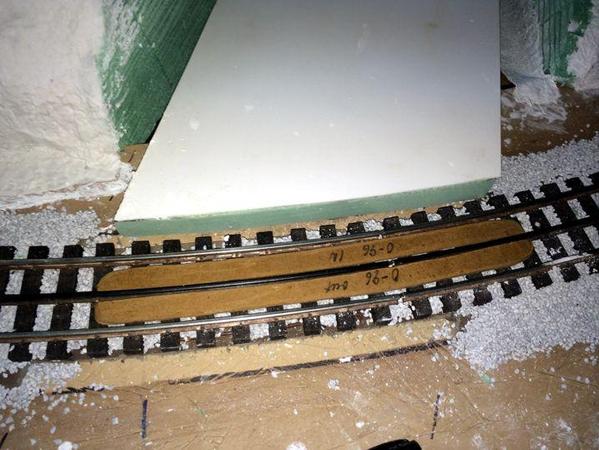
The ends are tapered so they don't catch a wheel, and the bottom edge in contact with the center rail is chamfered so it clears that rail's flange and the spikes Ross uses to fasten the rails to ties. I'm going to paint them asphalt color just like the roads themselves and glue them in with Liquid Nails.
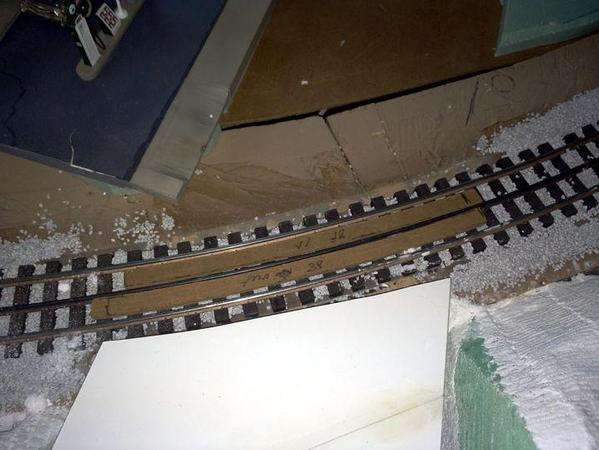
The space between the road and the outer rails will be filled so the road continues directly up to the rails.
Tomorrow, I'm going to try to use Hydrocast with paper towels to do the hard-shell. I've got a lot of paper towels and Hydrocast is much cheaper than plaster cloth. I'm concerned that it means mixing and losing lots of plaster as it hardens relatively quickly. Anyone with experience with paper towel method please comment.


