Taking some time off from substation I decided to add some more Sculptamold (STM). I'm getting tired of plastering and the mess it creates, but I have some more work to do on this left end until I can get the bridges reinstalled.
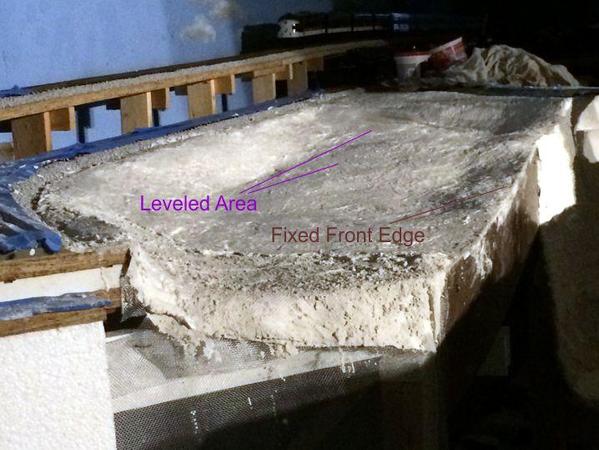
I covered almost all the area with STM that I previously had added some more Gypsolite/paper (G/P) towels. While this space is not completely level by a long shot, it is regular enough to lay down a road, and place some houses in the area. It could also be the "other side of tracks" area of town where I could put some Downtown Deco seemier businesses like tattoo parlors, pool halls or worse...

I also added more material to the front edge where the G/P had dropped below the fascia boards. This area alone took almost a bag of STM. I think I'll need another 3 bags to finish this end including both ravines. That leaves the right end of the layout where the mountain's going. I'm not doing that area for a long while. Once the bridges are in and trains running again, I'm going to get back to structures and get the town underway.
Also, the front edge that shows un-coated G/P was intentionally left that way. I still have G/P'd Ravine #1 and wanted some "raw" surface upon which to adhere the next layers of G/P. When I coat the ravine with STM, I'll go back and finish this spot.
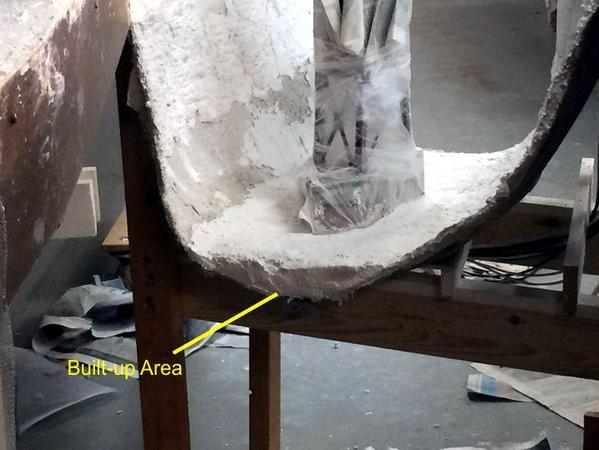
I then turned attention back to Ravine #2, getting it ready for the river bed.
There was a significant dip in the G/P on the front edge of this ravine that would raise havoc when I started pouring W-S Realistic Water. The river bed needs to be flat and level. Instead on piling on great gobs of STM, I rolled up some paper and made a wad of that, attempted to hold it in place, wet it down, and then lathered it with STM. It kind of worked. I will go back and then pour a layer of Hydrostone to fill in all the irregularities and really develop a level surface that can be painted and then coated with clear resin.
Hydrostone is self-leveling and I'll use a thin mixture so it flows and fills in all the imperfections. I'll dam the ends with styrene sheet held on with clear caulking. I sealed the area around the bridge tower base so the plaster won't sneak under there (too much). I now have the Masonite for the facings of both ravines. Once their all plastered and most of the slop is gone, I'll layout and shape them.
I also have a few areas in this ravine to STM since there's some G/P showing. But I ran out of STM and this is as far as I've gotten.
And then there's the challenge of creating a retaining wall/arcade to cover the front of the high line. Like everything else in this big pike, buying Scenic Express's pre-formed rock walls is prohibitively expensive when looking at 20 feet of the stuff.


