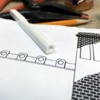
The plaster isn't dry enough yet to add the finish coat, the boys were again helping on scenery and painting the fascia boards, so I worked on the station project. I decided to attempt the gingerbread on the roof peaks.
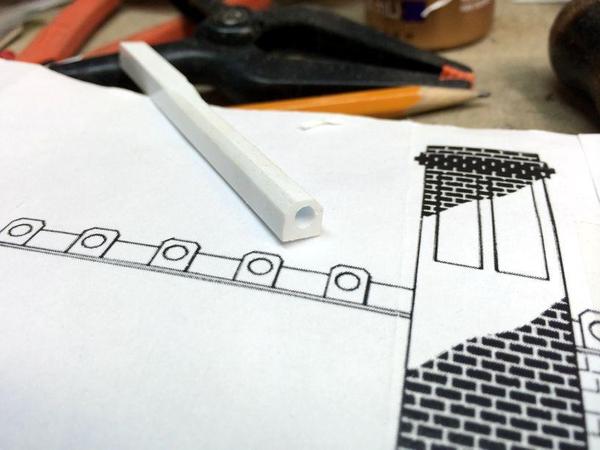
I took a piece of 1/4" square styrene rod, shaped a chamfer on two edges, and located the center point of the hole with an awl. I then drilled with a #50 pilot and a #30 drill into the rod about 3/4" deep.
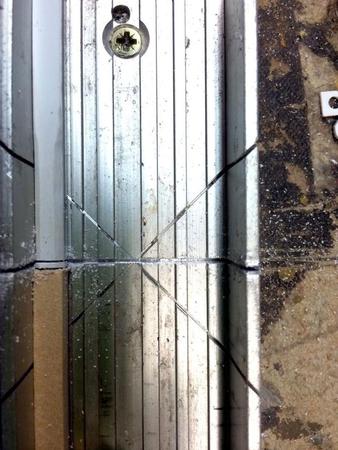
Next: set up the miter box with a stop to slice off the detail parts like salami. It was difficult to maintain a uniform thickness even with the stop because the box is wearing and the slots are no longer one-saw-kerf wide, but allow the saw some side-to-side play and therefore different slice thickness.
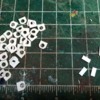
It took a few minutes to de-burr all these little bits, but here they are - all kinds of ginger... they're not yet bread until they are installed. Does that make me a "Gingerbread Man"?
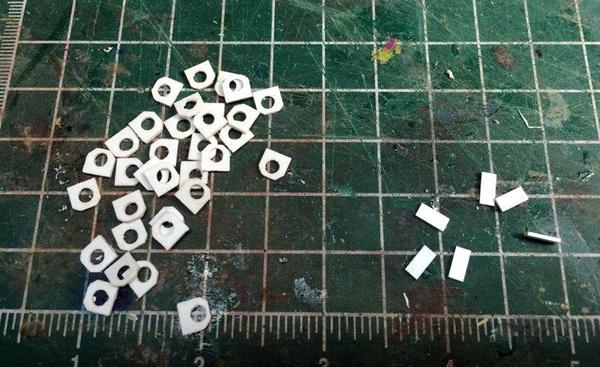
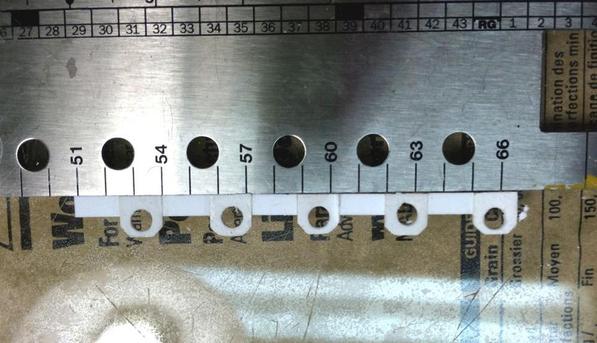
I had to determine the thickness of the intermediate pieces. The drawing pieces are slightly under 1/4", but my pieces are .252". Even this small difference would make a big difference as they stack up from one end to the other. So I counted the number of detail pieces in a given string and multiplied that by .252". Then I measured the exact length of the space on the various roof peaks on the model. Subtract that from the total from the previous addition giving the total length of the spacing pieces. Use the number of spacing pieces for a given run and dividing that into the total length gave the size of each spacing piece.
I used the "Chopper" to cut these pieces to length. Again it was more difficult to get it exactly right and took a few scrap pieces before I got the dimension I was looking for... .269"
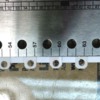
Holding the parts against a straight edge on plate glass and using a small brush to apply liquid cement, I put the string together for the first peak on the freight storeroom roof. (For some reason, this picture posted upside down)
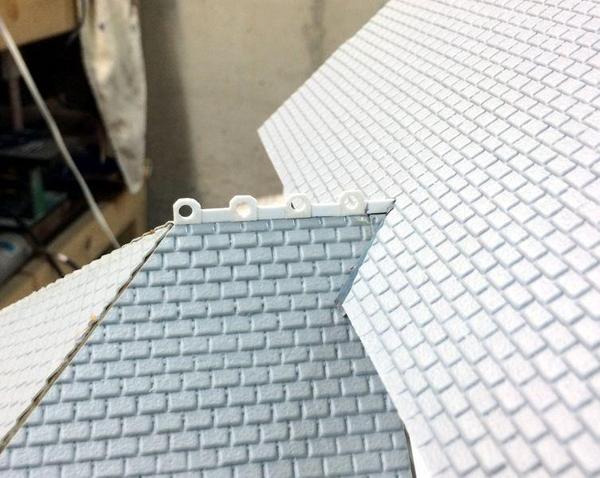
Here's the first strip installed. I have to hold off putting on the others ones until the eaves and other details are installed. One installed, this gingerbread will be fragile so it has to wait until later.
While I was doing this #1 grandson was painting the fascia board after he sanded the joint compound that he used to fill all those old screw holes.
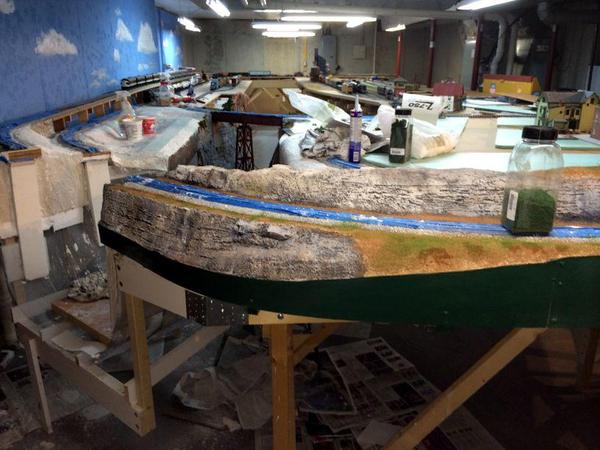 The area the under the layout will eventually get the usual black drapes treatment to hide all those legs and braces, but that will wait for a long time until everything is done. The color is "jungle green" and is a custom-mixed Behr color. It covers nicely, but two coats worked better. The contrasting color on the fascia highlights the landscaping (IMHO).


