This week was jury duty for Louisville Metro so I thought that I'd have no time for trains. Louisville jury duty lasts 14 days regardless of whether or not you're selected for a trial.
But today was a good day and we were dismissed at noon since no trials needed a panel until tomorrow, so I did get some work done.
I started installing the fascia boards on Ravine #2 so I could finish them up and remove the masking tape on the track and get some trains across for a photo op. I measured the width and height that I needed and them cut the Masonite. In order to hold the sheet up to the ravine's opening so I could scribe the shape I realized quickly that I couldn't hold it and scribe it at the same time without a helper. I needed a fixture.
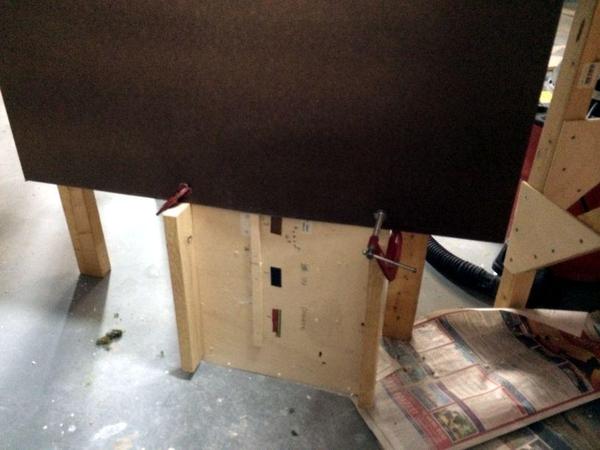
I used the old control panel body and hacked off the side rails so they could support the fascia. Then I marked the profile and used the saber saw to cut it out.
Here's the fascia supported by the fixture.
I used small clamps to tentatively hold the panel in place so I could drill some holes and screw the panel to the substructure.
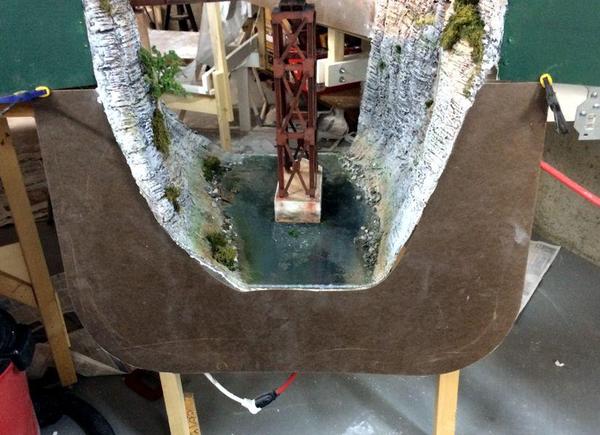
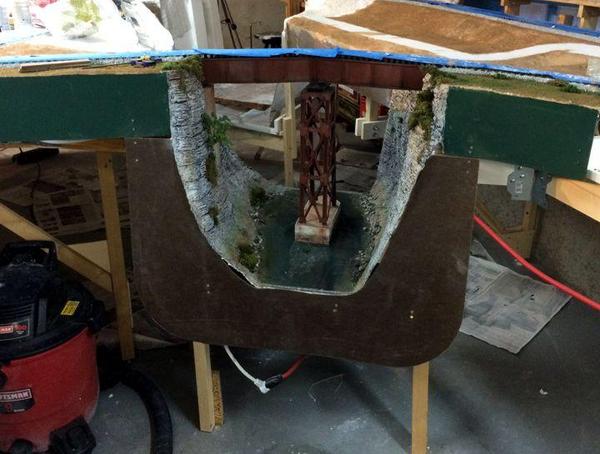
At first I left the bottom corners squared off, but then realized that they be nasty to hit while scooting underneath on my rolly-thing, so I rounded them off. It looks better.
Here's the panel in place.
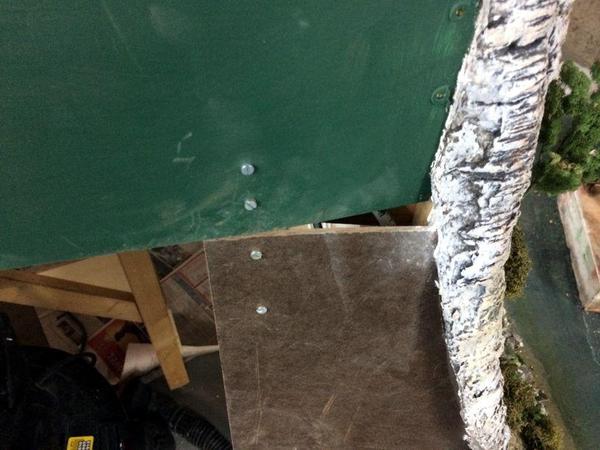
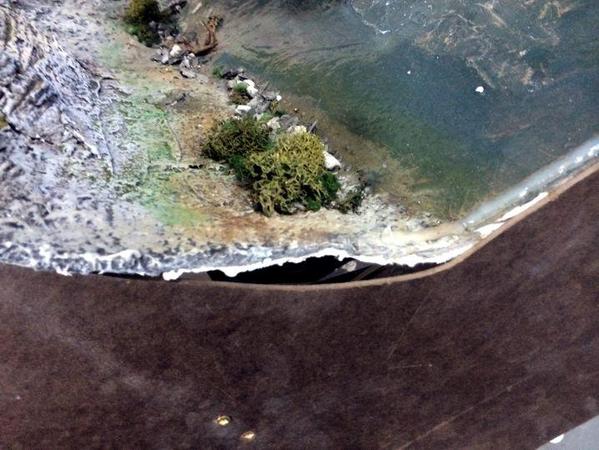
There's a couple of trouble spots on the inside facing panel. One is the angle change between the horizontal fascia and the ravine fascia. The other is a gap between the plaster and the fascia.
I haven't figured out what to do with the above yet. Suggestions are always welcome.
This is the other defect. This one won't be difficult to fix since I've become an expert in Sculptamold.
I'm still not sure what to do with that silicon caulk dam that's sticking up. I'm may try to trim it a bit.
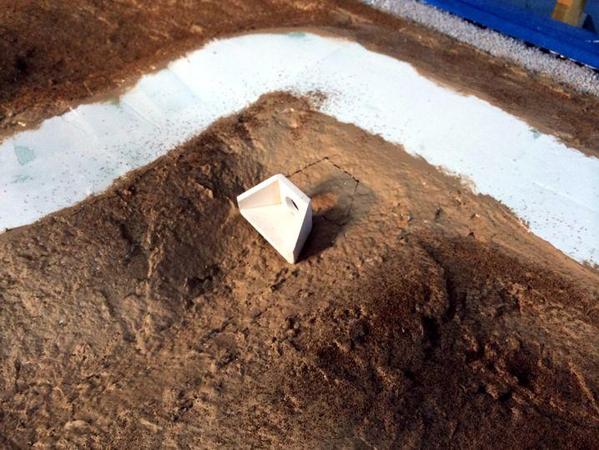
Yesterday, on the way back from the courthouse, I stopped at Roundhouse train store and picked up a W-S HO concrete culvert kit. As an HO culvert it would be an 8 foot drain pipe. In O'scale it makes a neat little culvert that fits perfectly in the place I've chosen. In this picture I've just plopped it there and traced around it for the cut that will insert it in the layout. I'll probably open the scenery with the Dremel and a multi-directional cutter.
 And great news! My jury pool group is not required to come tomorrow. They don't need us, so I have another train day. Retirement is a blast!
For the outside facing fascia (which is already cut, but not installed) I have to first build some mounting block extensions. On this side the plaster extends 3 to 4 inches beyond the substructure so there's no place in which to screw the fascia. I'm still noodling the best way to do that. They don't have to be wood blocks. They could be tubular standoffs and all-thread rod with nuts and washers on both ends. That may be the most simple solution since it's not a very visible place.


